Roasted Garlic Recipe
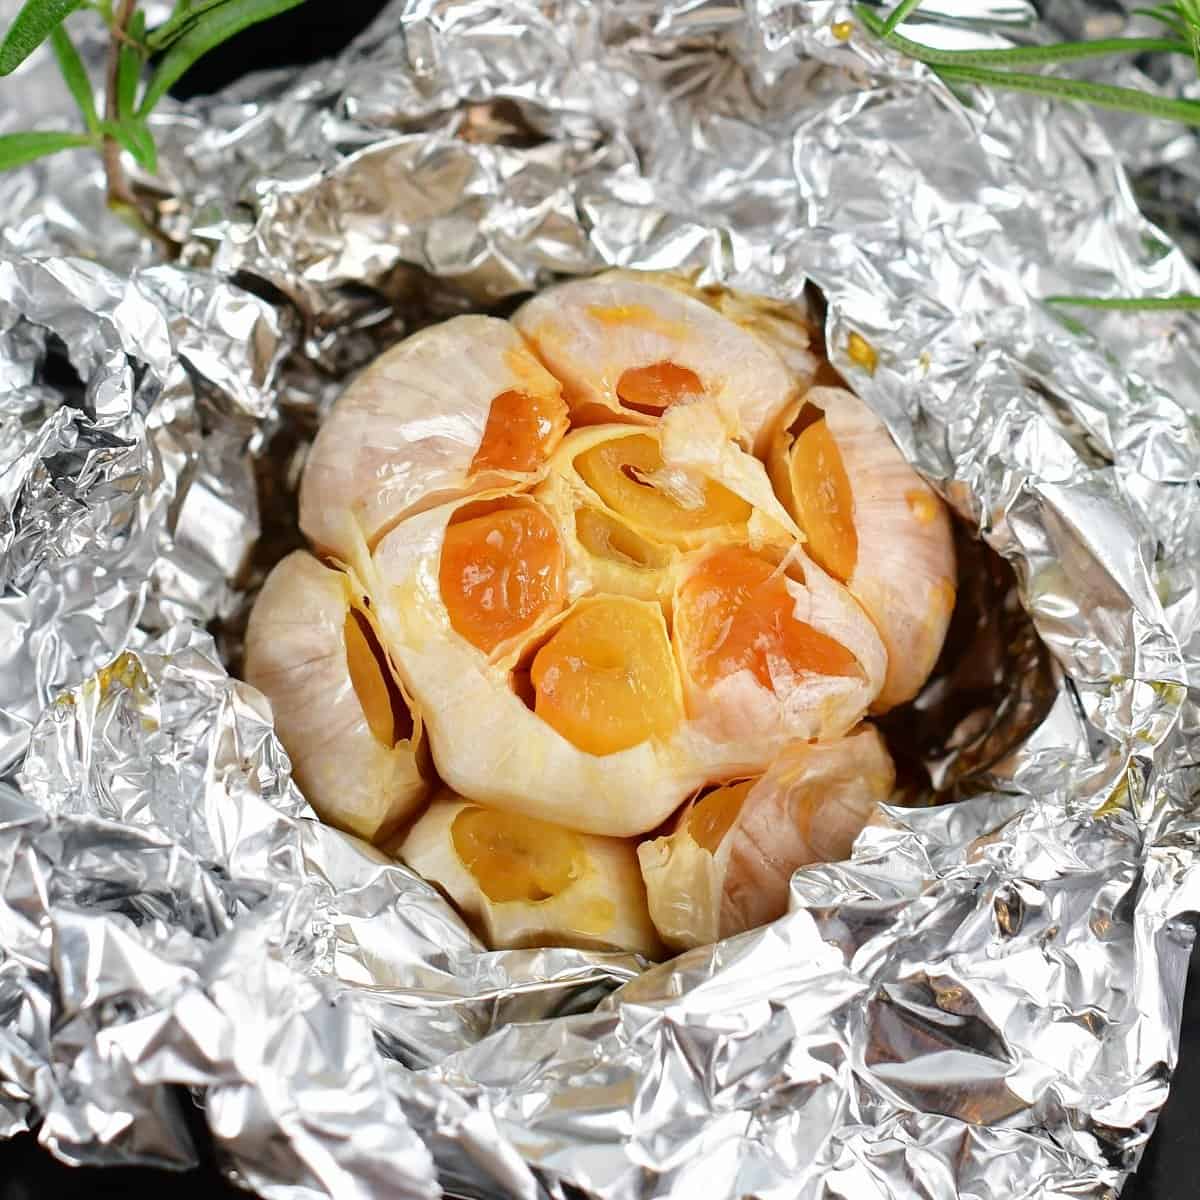
Roasted Garlic is one of the most simple condiments you can make and so tasty! Once roasted, use this garlic in a sauce, as a spread, and to add warm, caramelized garlicky flavor to just about anything. Oh, and all you need are TWO ingredients – garlic and olive oil!
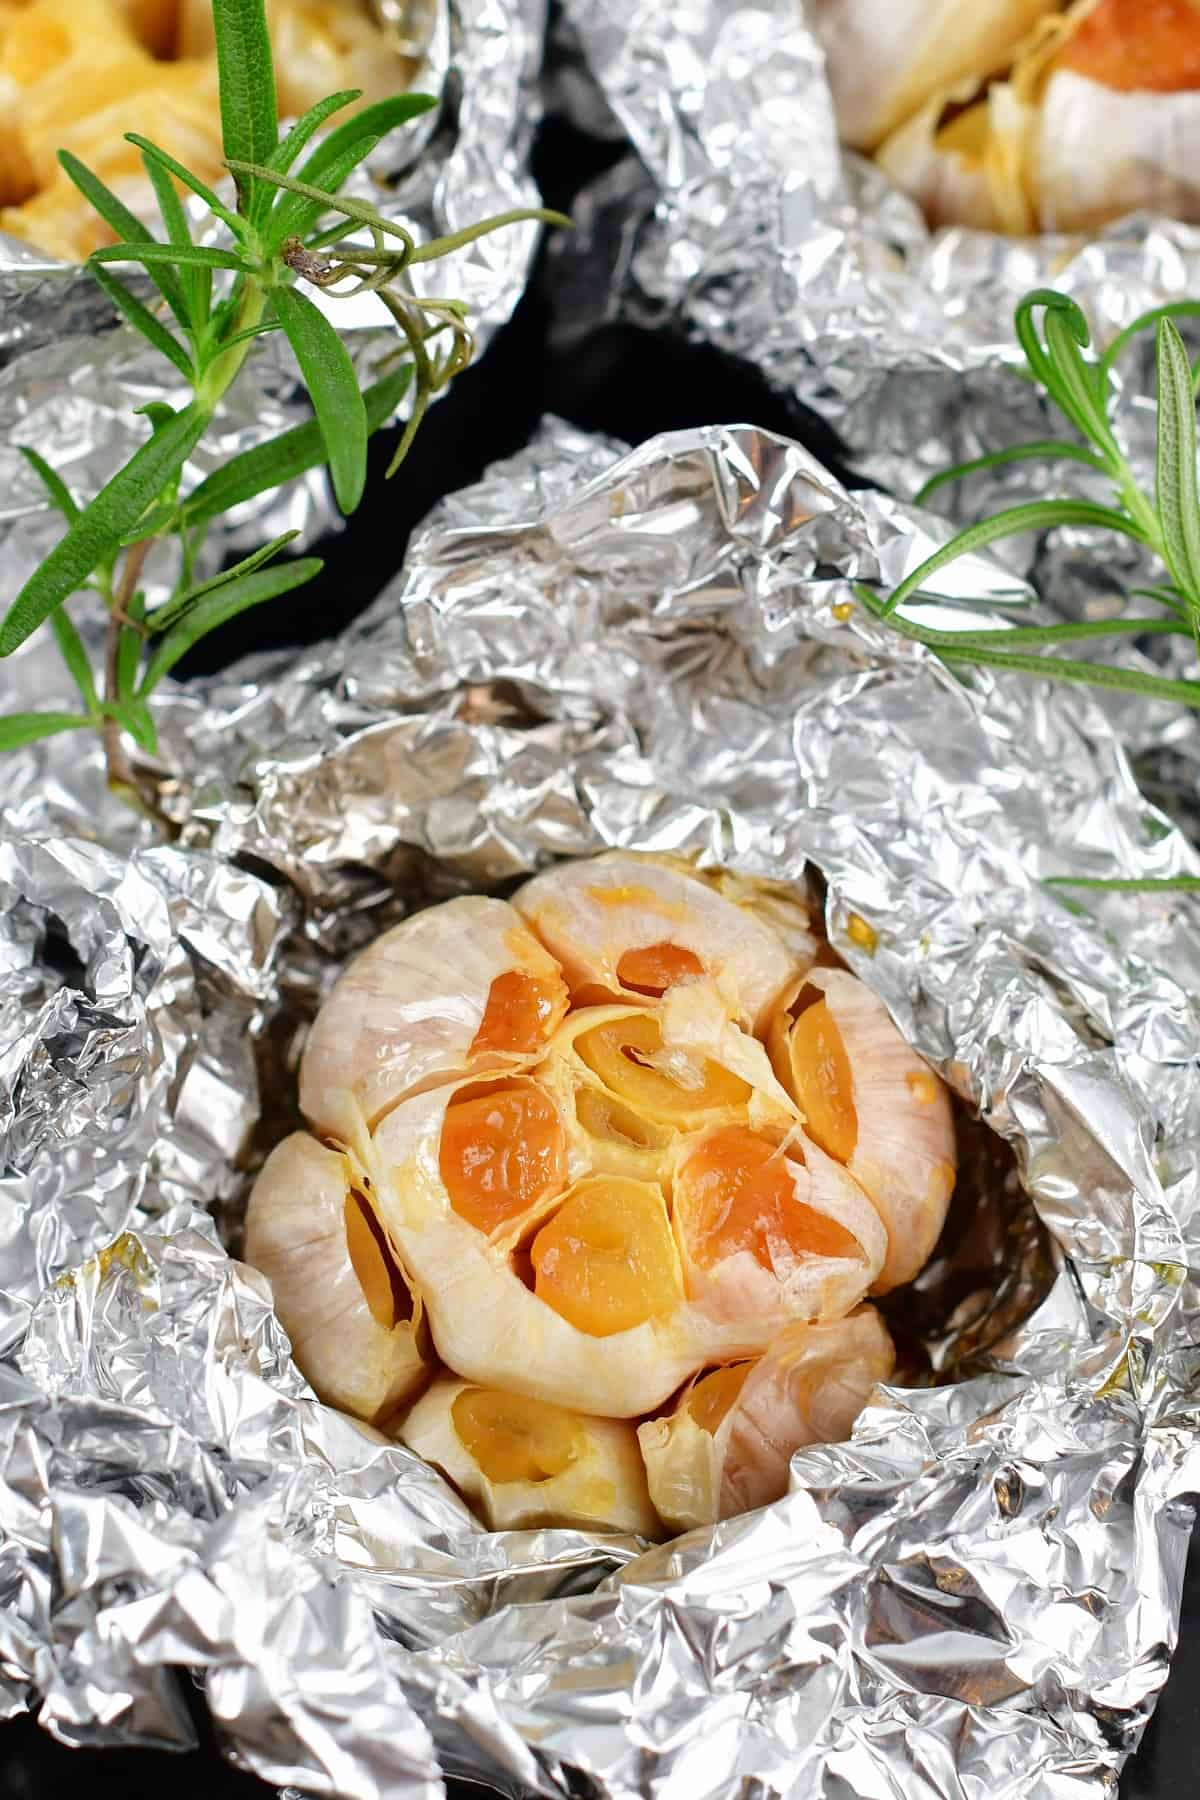
Table of Contents
When it comes to garlic, I always think that more is more. I believe in measuring garlic with your heart, and using as much as you need!
With that being said, sometimes garlic in its raw form can be a bit overpowering to other ingredients. That’s one of the many reasons I love roasted garlic – it tames the strong garlic flavor into something milder, and with a hint of sweetness.
Another great thing about roasting garlic is the aroma you get while doing it! When your whole garlic cloves are slowly caramelizing in the oven, the delicious smell permeates throughout your kitchen.
The best part is that roasted garlic stays delightfully aromatic and makes everything its served with have that signature garlic smell to it. Even if it’s mixed with other ingredients in a soup or sauce, you’ll still be able to detect that rich garlic aroma.
If you follow my easy, hassle-free steps, you’ll end up with spreadable, aromatic, and incredibly flavorful garlic every time.
Ingredient Notes
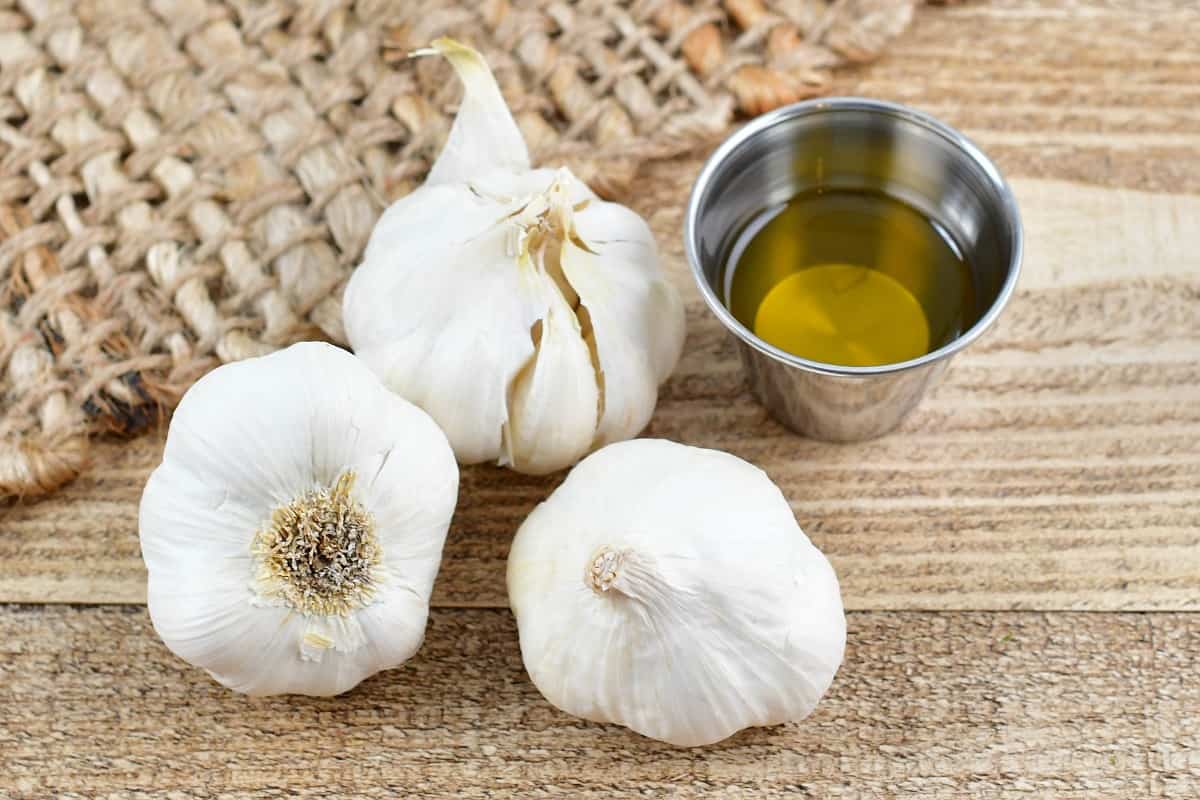
You only need two ingredients to make roasted garlic!
Garlic – Do NOT peel and separate the garlic bulbs! In order to make roasted garlic, the bulbs need to be intact. Shed away the sheer, loose outer layers of papery skin, but do not dismember the bulb as a whole.
Olive Oil – use olive oil that has a light and mild taste and high burn point. You can also use avocado oil, it’s a great substitution for olive oil.
How To Make Roasted Garlic In The Oven
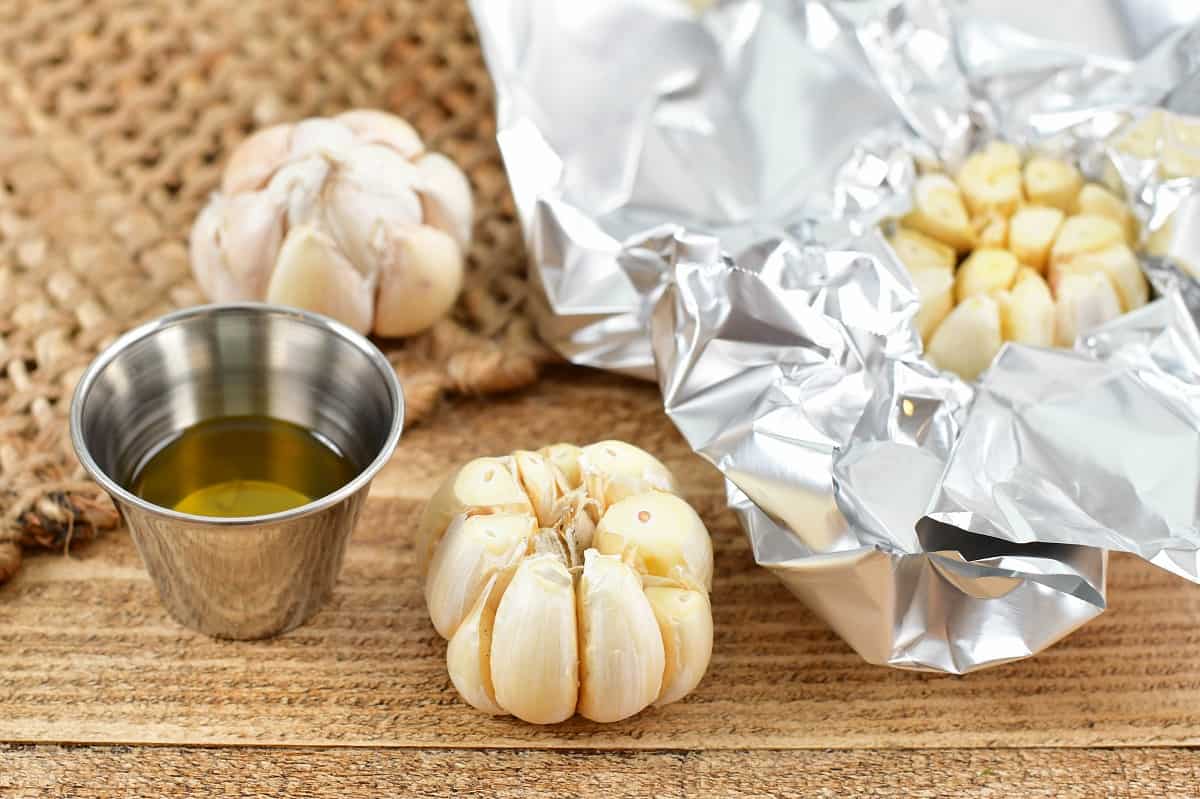
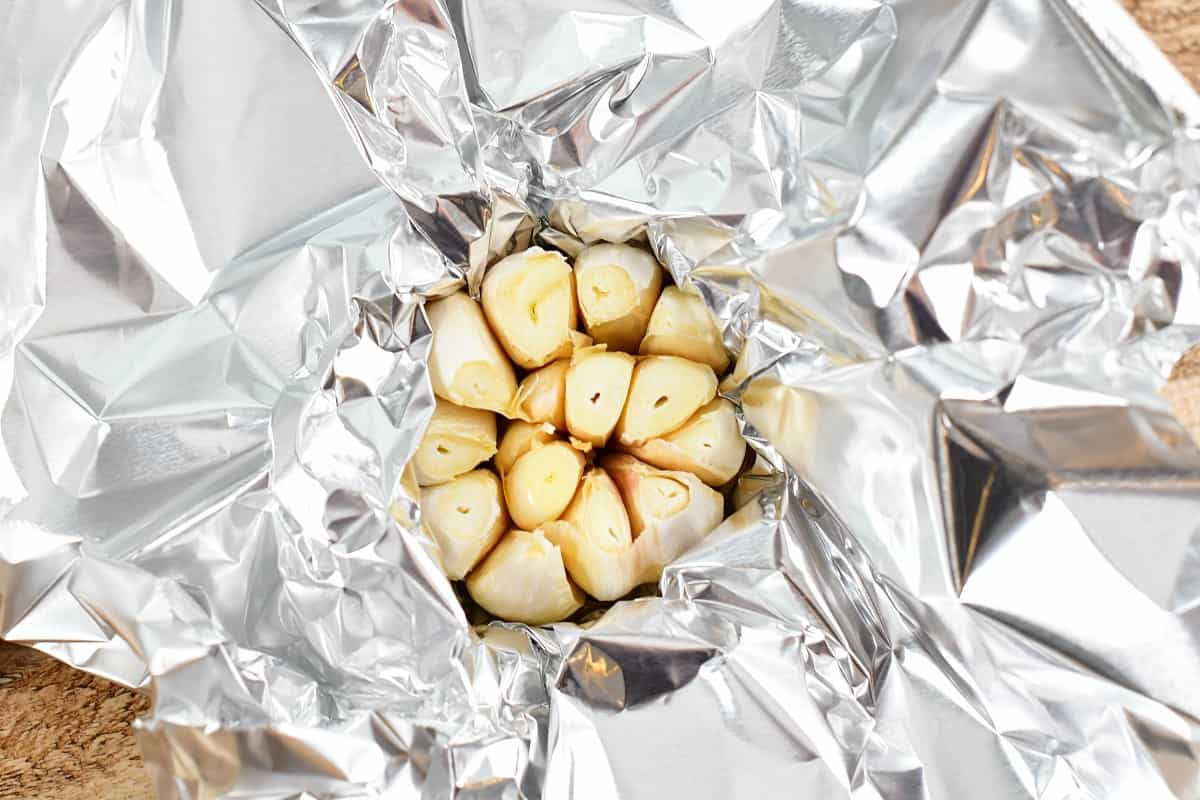
Prepare the garlic for roasting.
Clear the very outer sheer layers of the garlic bulb, but leave the thick inner skin on. Keep the bulb intact!
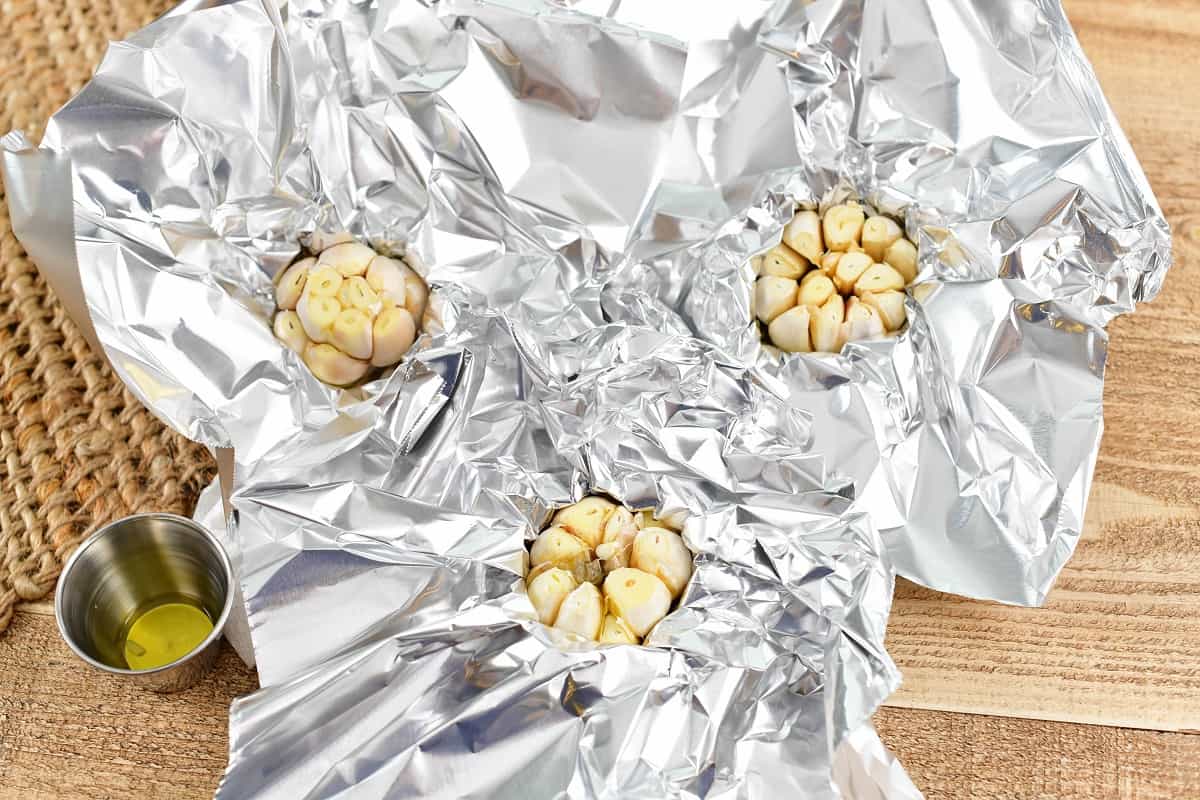
Slice off the tips from the garlic cloves on the bulb. You should only be removing a little, about 1/4 inch.
Place each bulb by itself on a square of aluminum foil.
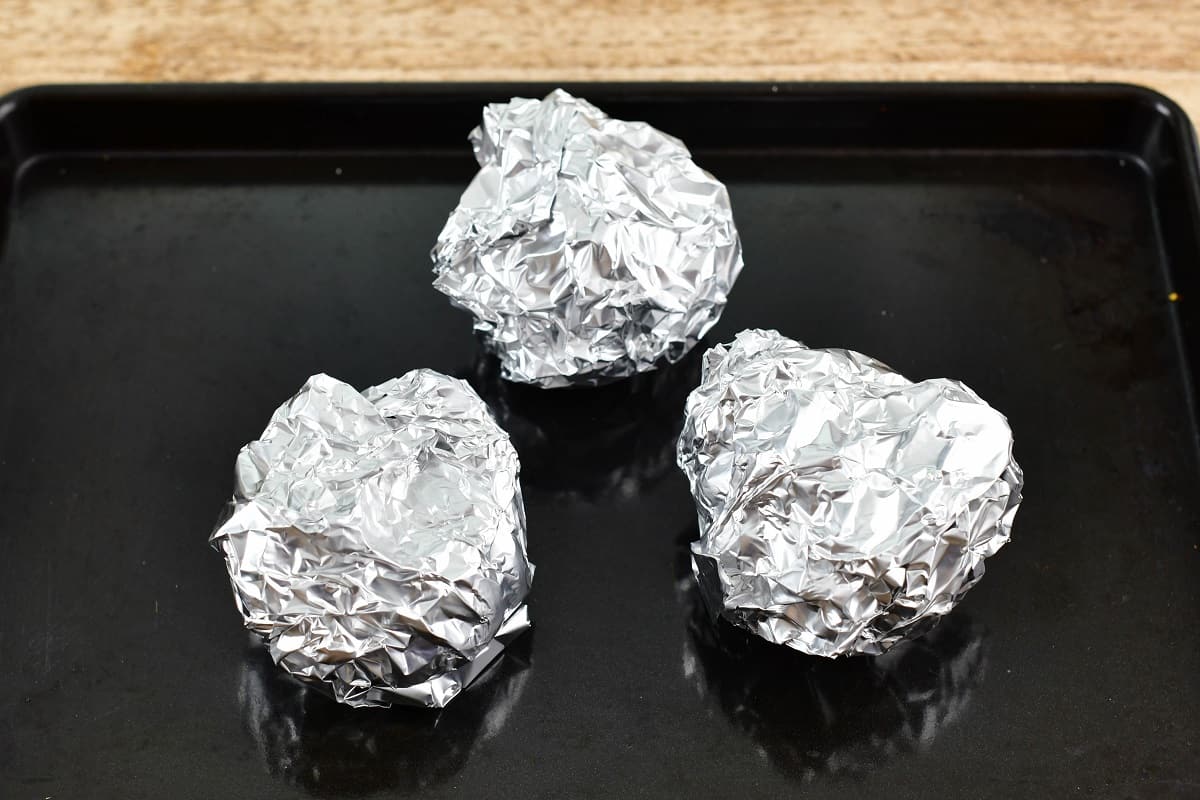
Drizzle about a teaspoon of olive oil onto each bulb and wrap them all tightly with the foil.
Roast the garlic.
Preheat the oven to 400°F.
Place the wrapped garlic bulbs onto a roasting pan. Bake for 40-45 minutes.
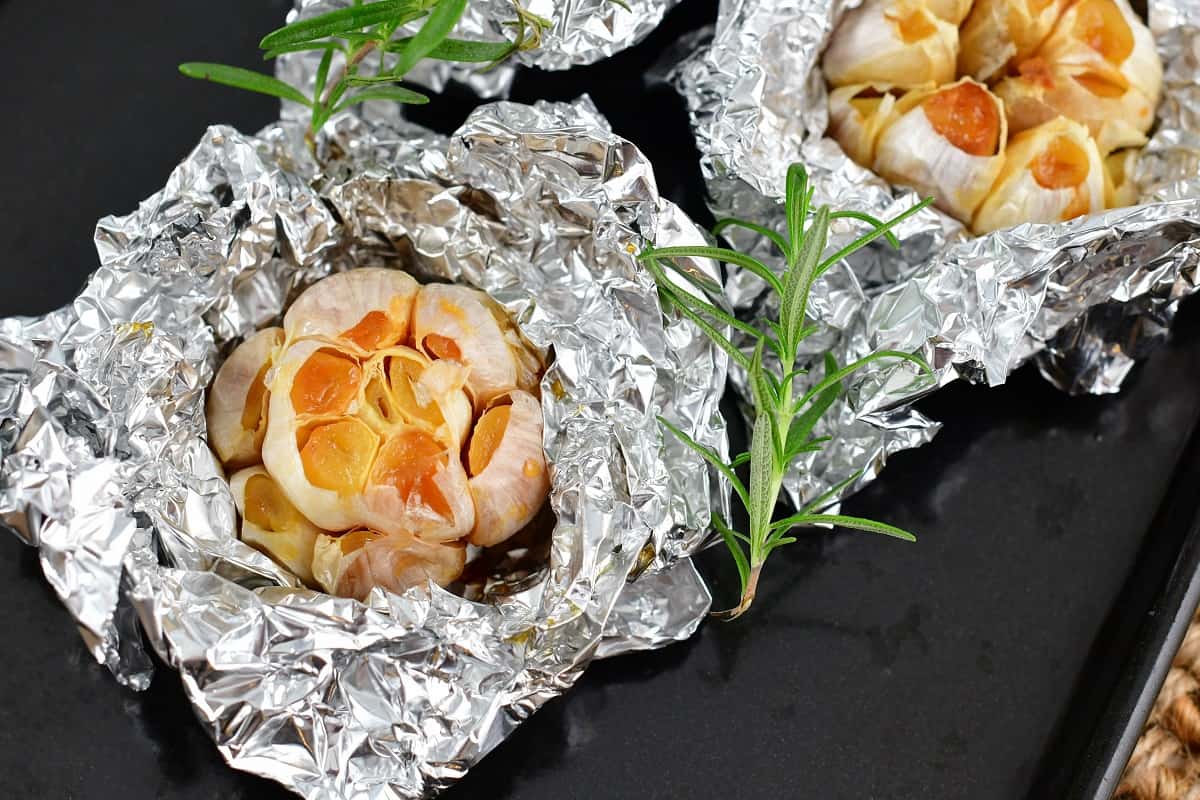
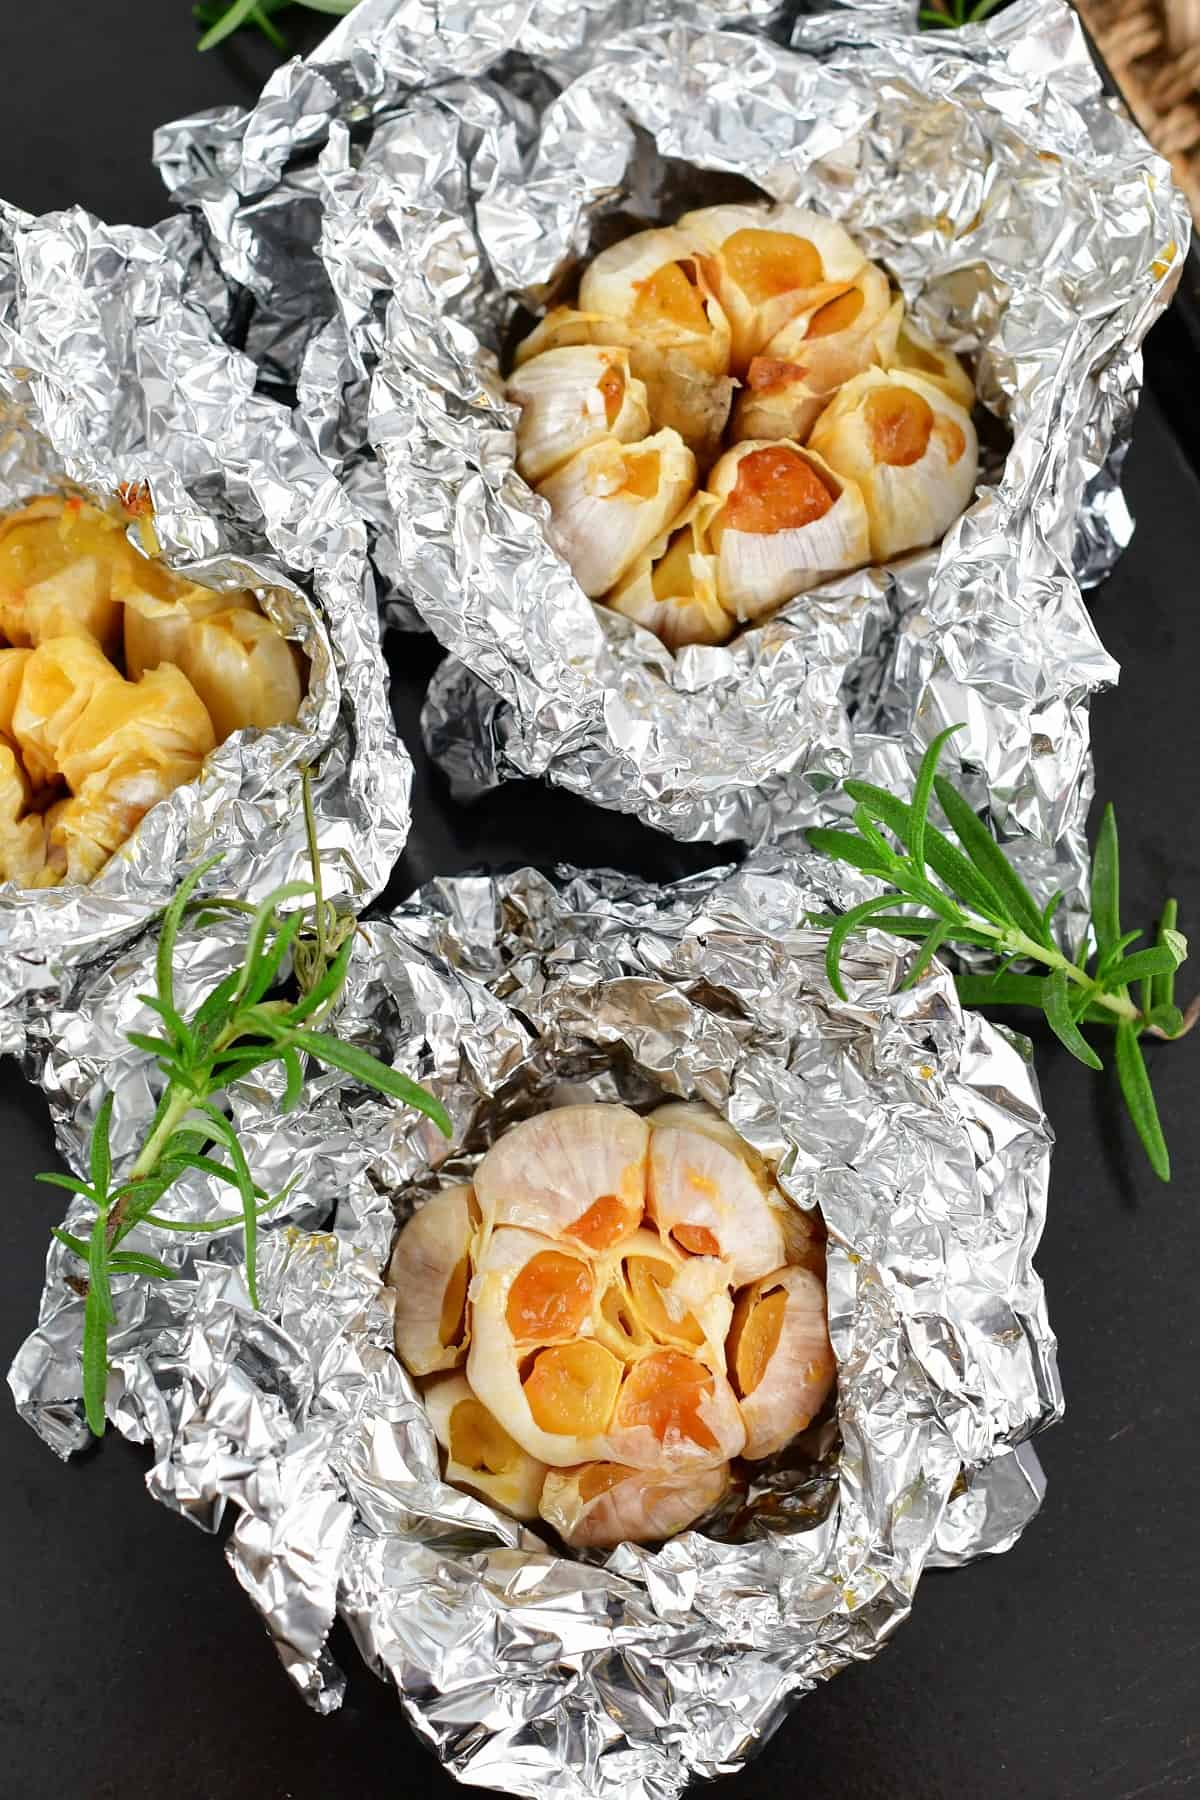
Let the bulbs cool before using. Once they’ve cooled enough to handle, squeeze out the garlic, and enjoy!
Frequently Asked Questions
No, do not peel the garlic or separate the bulb. You can peel the sheer, outer layers of the bulb but make sure not to peel it all the way or separate the individual cloves.
You can also freeze roasted garlic, whether it’s in oil or not. If you do store it in the freezer, make sure to use tempered glass or a freezer friendly food storage container. You can freeze it in oil or without oil, in the skin or taken out of skin. Make sure to keep it air-tight and get as much air out of the container or bag as you can. Frozen, it should last for up to a year.
It’s best to roast garlic at 400°F. Caramelization process takes time! Rushing the process by raising the oven temperature will not give you the same results.
How to Use Roasted Garlic
The options here are pretty limitless! Here are just a few of my favorite ways to use freshly roasted garlic.
- Mix it into classic, soft and fluffy Mashed Potatoes.
- Mix it with some olive oil and use that mixture to toss your Oven Roasted Potatoes and roasted vegetables.
- Blend it into your Hummus or white bean dip.
- Combine it with room temperature butter for a delicious roasted garlic butter spread.
- Make roasted garlic aioli.
- Spread it on toast or crostini.
- Toss it with roasted vegetables.
- Mix it into pasta sauce, whether it’s tomato pasta sauce or alfredo pasta sauce.
- Use it in soups like Potato Soup, Cauliflower Soup, Tomato Soup, Beef and Vegetable Soup, and many more!
- Mix it with ground meats to make burgers, turkey burgers, and chicken burgers that much more flavorful!
How to Store Roasted Garlic
You have to store it in the refrigerator or freezer!
If you plan to use it within about a week, you can store roasted garlic in a zip-top food storage bag or an airtight container in the refrigerator.
To store it in the refrigerator for longer, place the bulbs into a glass jar or another food storage container and add enough olive oil to cover it. Make sure to refrigerate it! This should help keep it good for about 2 weeks.
(Perk, you get delicious roasted garlic olive oil!)
You can also store roasted garlic, whether it’s in oil or not, in the freezer. If you do store it in the freezer, make sure to use tempered glass or a freezer friendly food storage container. You can freeze it in oil or without oil, in the skin or taken out of skin. Make sure to keep it air-tight and get as much air out of the container or bag as you can. Frozen, it should last for up to a year.
Do not store roasted garlic at room temperature! Keeping roasted garlic at room temperature will create the perfect conditions for development of botulism-causing bacteria.
More Garlic Recipes To Try
DID YOU MAKE THIS RECIPE? PLEASE leave a 🌟 star rating! Let me know how you liked it by leaving the 📝 comment below or share and tag me on social media @willcookforsmiles. DON’T FORGET to subscribe to my newsletter!
How To Roast Garlic
Equipment
- aluminum foil
- baking sheet
Ingredients
- whole garlic bulb as many as you'd like to make
- 1 tsp olive oil about 1/2-1 tsp per bulb
Instructions
- Preheat the oven to 400°. You can roast as many garlic bulbs as you wish, just roast them individually wrapped. You will need aluminum foil squares, each square big enough to wrap the bulb.
- Clear the very outer, sheer layers of of the garlic bulb but leave the thicker inner skin on. Keep the bulb intact.
- Slice off tips from garlic cloves on the bulb, just a little, about 1/4 inch.
- Place each individual garlic bulb in a middle on an aluminum foil square.
- Drizzle about a teaspoon of olive oil over the top of the bulb and wrap the bulb in foil.
- Place wrapped garlic bulbs onto a roasting pan and bake for 40-45 minutes.
- Let the bulbs cool down before using.
Notes
How to Store Roasted Garlic:
You have to store it in the refrigerator or freezer! If you plan to use it within about a week, you can store roasted garlic in a zip-top food storage bag or an airtight container. To store it in the refrigerator for longer, place the bulbs into a glass jar or another food storage container and add enough olive oil to cover it. Make sure to refrigerate it! This will help keep it fresh for about 2 weeks. (Perk, you get delicious roasted garlic olive oil!) You can also store roasted garlic, whether it’s in oil or not, in the freezer. If you do store it in the freezer, make sure to use tempered glass or a freezer friendly food storage container. You can freeze it in oil or without oil, in the skin or taken out of skin. Frozen, it should last for up to a year.Nutrition
All images and text ©Lyubov Brooke for ©Will Cook For Smiles. Please do not use my images without prior permission. If using my posts in collections and features, please link back to this post for the recipe.
Disclaimer: Nutrition information shown is not guaranteed to be 100% accurate as most ingredients and brands have variations.


I use this in so many recipes it’s very good!