Garlic Chicken
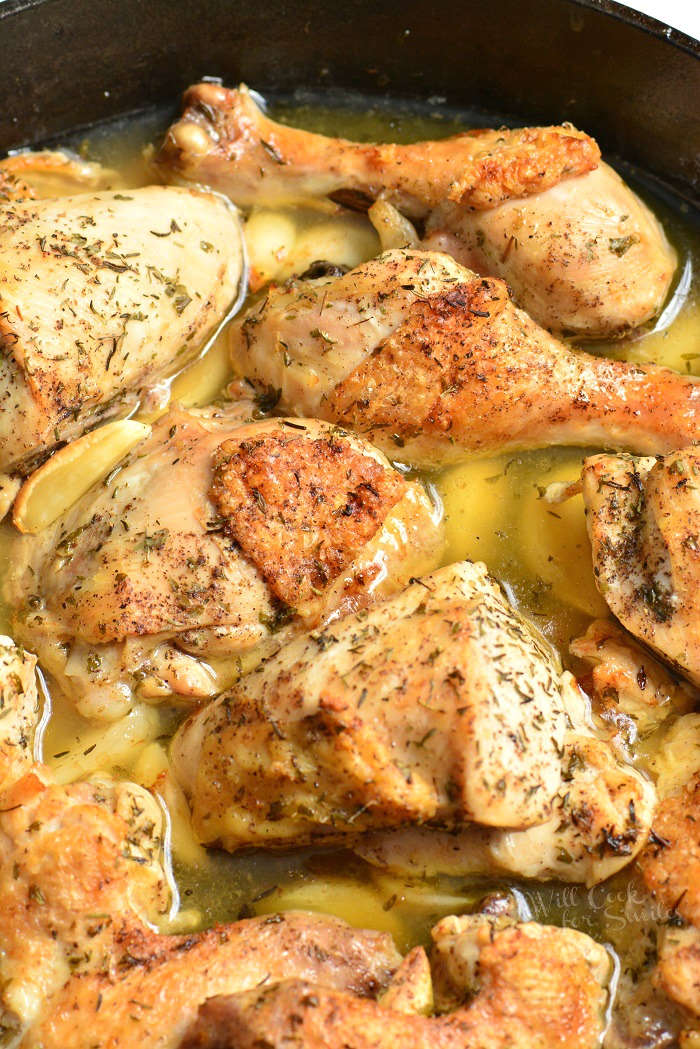
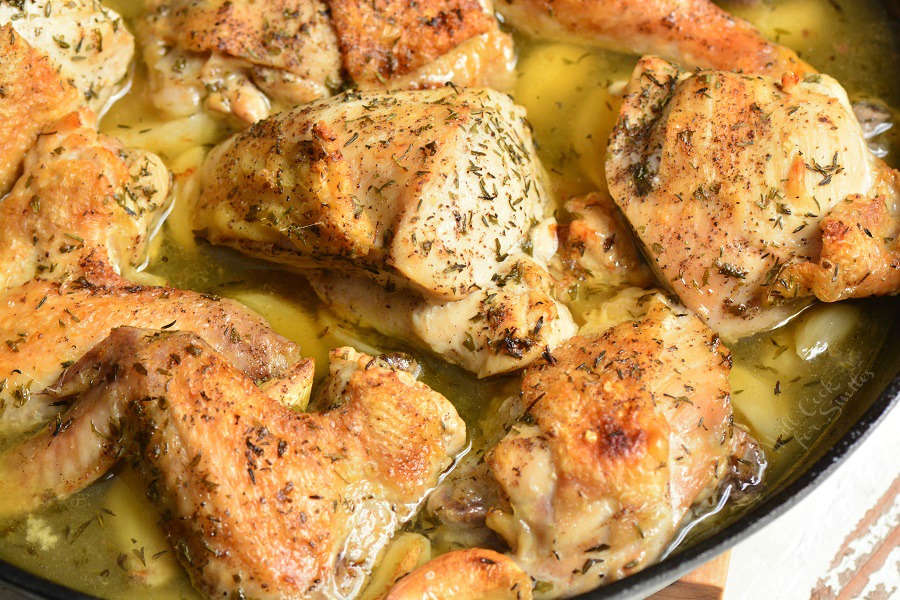
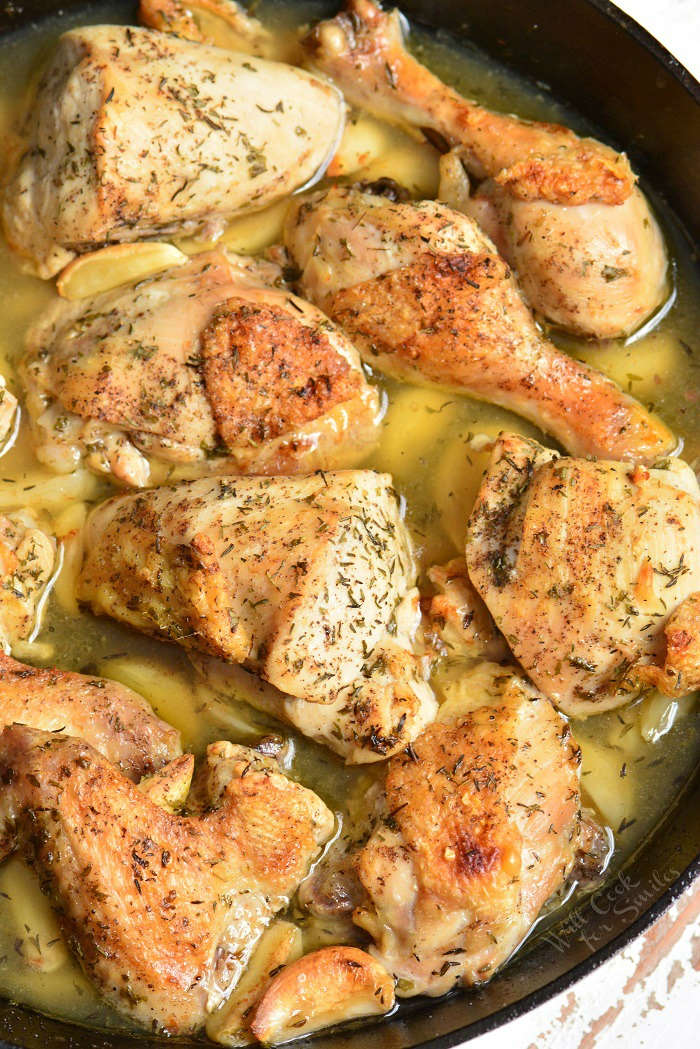
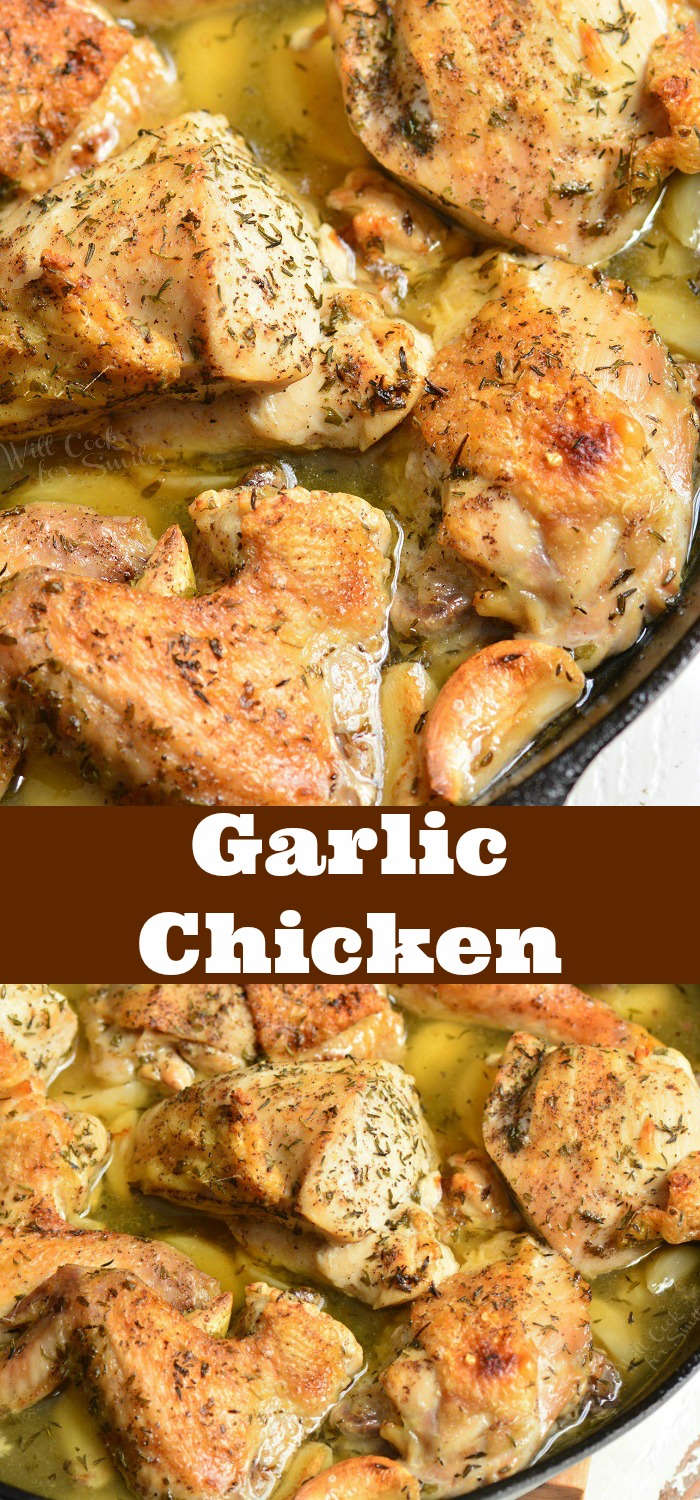
Amazing baked chicken made with lots of garlic, white wine, chicken broth, and herbs. Learn how to easily break down the whole chicken for this garlic chicken recipe. It’s much easier than you think to break down a chicken and only takes 5-10 minutes. Serve this chicken with any side and everyone will get a choice of white meat or dark.
For some more baked chicken ideas, check out some unbelievable Baked Chicken Wings. You also don’t want to miss this simple baked chicken breast and Ginger Peach Baked Chicken Thighs.
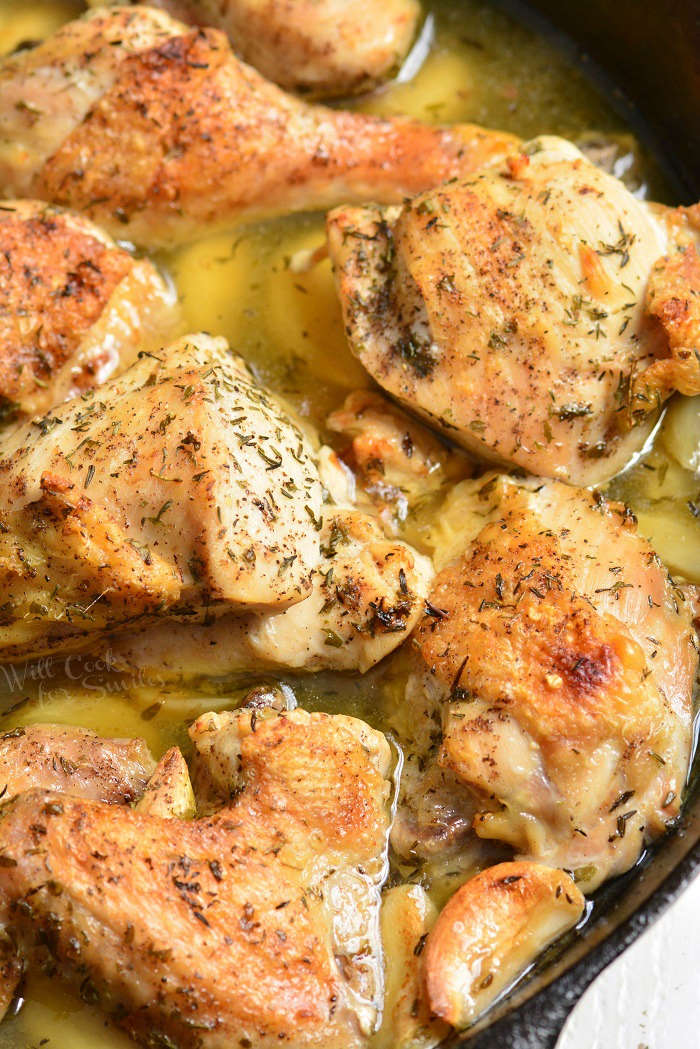
GARLIC CHICKEN
When I want an easy dinner that I know everyone will eat, I turn to chicken. Everyone lives chicken and it’s very easy to work with. Chicken also takes on the flavors of whatever seasoning, sauce, veggies, and spices that it’s cooked with. It’s the most versatile meat.
So if I don’t feel like taking half a day to decide what to make for dinner, I go to the old-faithful garlic chicken. Simple flavors, simple ingredients, and easy to prepare, all add up to a great dinner.
I like to use a whole chicken for many baked chicken recipes. It takes about 10 minutes to break down and the more you do it, the easier and faster it will take. You get a mixture of dark meat and light meat. And, it’s actually cheaper than buying the same cuts already broken down.
Another great reason to use a whole chicken is because I can utilize it in two different recipes. After breaking down a chicken, the back of the chicken is not used. Don’t throw it away but use it to make chicken stock for soup instead. This way you have a chicken for dinner and you can make soup for lunch out of the same whole chicken.
HOW TO BREAK DOWN A CHICKEN
Clear out counter space to work with raw chicken safely and get a large plastic cutting board.
You will need a large sharp knife but you can also use a kitchen cleaver or kitchen scissors to cut through the breast bone.
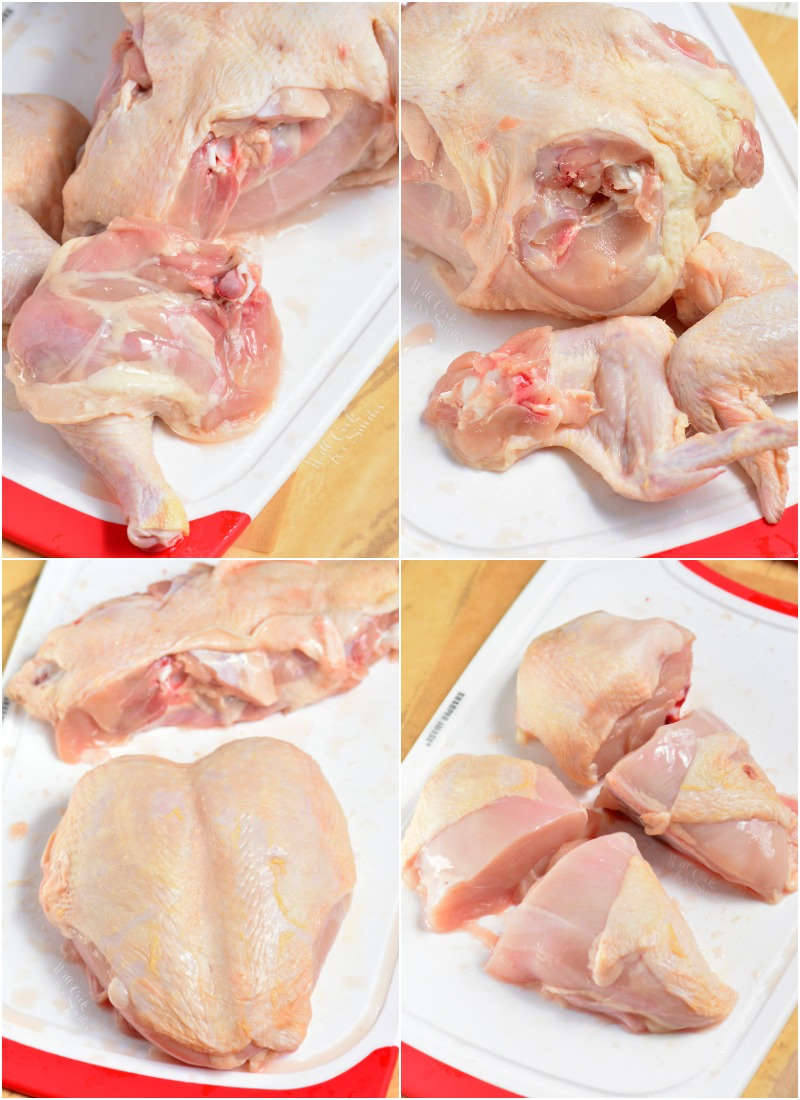
Remove the thighs and wings first. To do that, slowly pull the thigh away from the body and slice the skin between the thigh and the body. Don’t cut all the way through but just to the bone.
Feel around for the joint and once you find the joint, pull it up and down to pop the hip bone out of the joint. Cut through the remaining meat and skin to separate the leg.
Do the same thing with the other leg.
Follow the same process of making a small cut, finding the joint, and popping the bone out of the joint with the wings as well.
Remove wish bone at the neck next. Feel around to find the wish bone and separate it off the meat. Pull it out and discard.
Stand chicken up, neck side down. Cut through the middle between the front and the back. You may need to use a heavy chef knife of a cleaver to cut through the rib bones and all the way down.
Set the back part aside but do not discard. You can use it to make chicken stock and soup.
Place the beasts on the cutting board skin side down to easily see the bone. Cut through in the middle to separate the breasts in two. You will need to put a little muscle to cut through the bone.
Cut each breast in half to create smaller quarters. Since chicken breasts are larger than thighs, cutting them in half will help cook them evenly in the same amount of time.
To separate each leg into a drumstick and thigh, make a cut where the joint is between the drum and thigh. Find the joint and pop it out. Cut through the rest of the meat and skin.
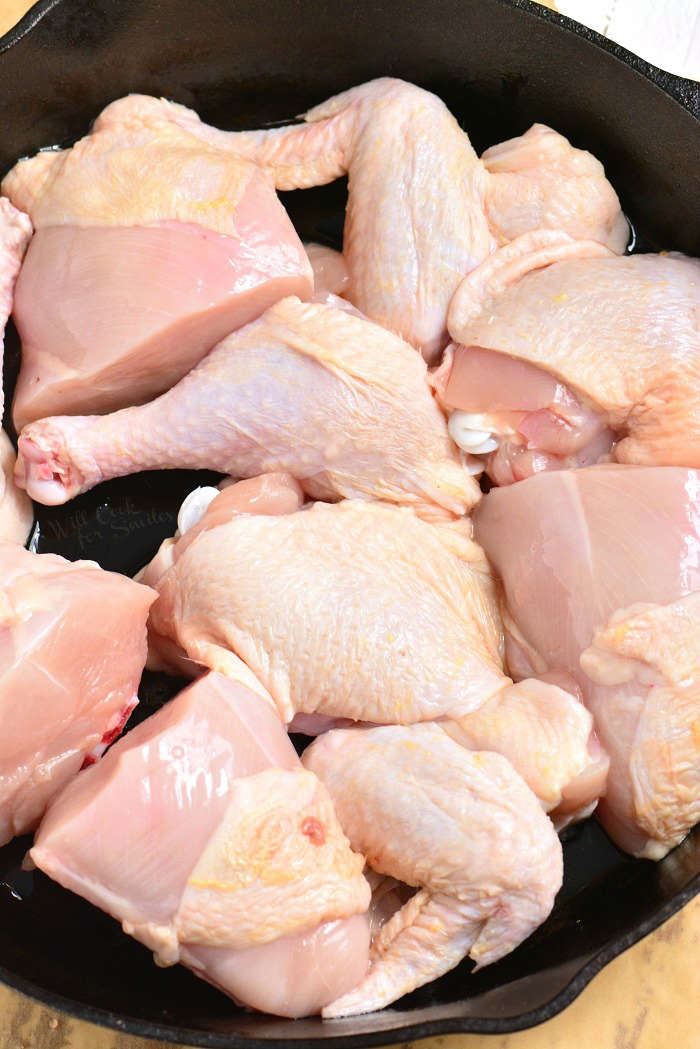
You will end up with 10 pieces of chicken.
TIPS FOR MAKING GARLIC CHICKEN
As I mentioned above, save the back bone for making chicken stock for soup. Place the back part of the chicken into a pot of water with a couple of bay leaves and a few coriander seeds. Cook it over low heat for about 2 hours. Strain the liquid and save it for the stock. Separate meat off the bones and use it in soup.
This recipe takes 3 oz of garlic, which is 1-2 garlic bulbs. Depending on the type of garlic, that is a lot of peeling. To save yourself a lot of time, get already peeled garlic at the store or peel ahead of time.
Can this recipe be made without wine? Yes, you can omit wine if needed. The taste will change slightly but it will still have the main garlic flavor.
Make sure to use a pan that is safe to use from stove to oven.
HOW TO STORE AND REHEAT GARLIC CHICKEN
Leftover chicken can easily be stored in a food storage container fitter with an air-tight lid. Store chicken in the refrigerator for 3-5 days. Save the juice and garlic from cooked chicken as well, it can be reheated together to flavor the sides and chicken.
Chicken can easily be reheated in a microwave, covered with the plastic microwave lid.
You can also reheat it in a cooking pan, oven medium-low heat, covered with a lid.
SOME MORE CHICKEN RECIPES TO TRY:
Chipotle Pepper Baked Chicken Thighs
If you made any of my recipes and shared them on Instagram, make sure to tag me @willcookforsmiles and #willcookforsmiles so I can see all the things you tried!
Connect with Will Cook For Smiles!
Be sure to click below and follow me on my social media, so you never miss a recipe.
Don’t forget to sign up for email, so you won’t miss any new recipes.

Garlic Chicken
Ingredients
- 2 tbsp canola oil
- 5 lbs whole chicken
- 3 oz garlic (1 large or 2 small bulbs) peeled
- 1/2 cup white wine
- 1 cup chicken stock
- 1 tsp dry thyme
- 1 tbsp dry parsley
- salt
- fresh cracked black pepper
Instructions
- Break down the whole chicken into 10 pieces - 4 quarters of breasts, 2 drums, 2 thighs, and 2 wings. (Directions to break down the chicken are in the post and on the printable recipe card below.)
- Preheat oven to 375°.
- Preheat a large, oven-safe pan, over medium heat and add canola oil.
- Season all the pieces of chicken with salt and pepper (on both sides), and sear them in the pan for a couple of minutes on each side.
- Pour in wine and let it simmer for about a minute.
- Add chicken stock, nestle in garlic cloves all over, and sprinkle herbs over the top.
- Transfer the pan into the oven and bake for 30-35 minutes. Check the temperature of the thickest piece. Chicken should be cooked to 165°.
Notes
Nutrition
Breaking Down A Chicken
Ingredients
- 5 lb whole chicken size may vary
Instructions
- Clear out counter space to work with raw chicken safely and use a large plastic cutting board.
- You will need a large sharp knife but you can also use a kitchen cleaver or kitchen scissors to cut through the ribs and breast bone.
- Remove the thighs and wings first. To do that, slowly pull the thigh away from the body and slice the skin between the thigh and the body. Don’t cut all the way through but just to the bone.
- Feel around for the joint and once you find the joint, pull it up and down to pop the hip bone out of the joint. Cut through the remaining meat and skin to separate the leg.
- Do the same thing with the other leg.
- Follow the same process of making a small cut, finding the joint, and popping the bone out of the joint with the wings as well.
- Remove wish bone at the neck next. Feel around to find the wish bone and separate it off the meat. Pull it out and discard.
- Stand chicken up, neck side down. Cut through the middle between the front and the back. You may need to use a heavy chef knife of a cleaver to cut through the rib bones and all the way down.
- Set the back part aside but do not discard. You can use it to make chicken stock and soup.
- Place the beasts on the cutting board skin side down to easily see the bone. Cut through in the middle to separate the breasts in two. You will need to put a little muscle to cut through the bone.
- Cut each breast in half to create smaller quarters. Since chicken breasts are larger than thighs, cutting them in half will help cook them evenly in the same amount of time.
- To separate each leg into a drumstick and thigh, make a cut where the joint is between the drum and thigh. Find the joint and pop it out. Cut through the rest of the meat and skin.
- You will end up with 10 pieces of chicken.
Nutrition
Would you like to save this recipe?
All images and text ©Lyubov Brooke for ©Will Cook For Smiles. Please do not use my images without prior permission. If using my posts in collections and features, please link back to this post for the recipe.
Disclaimer: Nutrition information shown is not guaranteed to be 100% accurate as most ingredients and brands have variations.





375 for 30 to 35 minutes does not sound like enough time. Is that correct?
Eek in the process of making this and like the person mentioned above I think you forgot to include the oven temperature.
I’m so sorry about that, Kristin! I’ve fixed the recipe card. The temperature is 375°.
With this recipe, you do not have what temperature the oven needs to be set at I would think 350 – 400, but it would be nice for anyone else that would think of something like that.
Thank you, Tim! Yes, I missed adding that step and I’ve adjusted the recipe card. The oven temperature should be 375°.