French Silk Pie
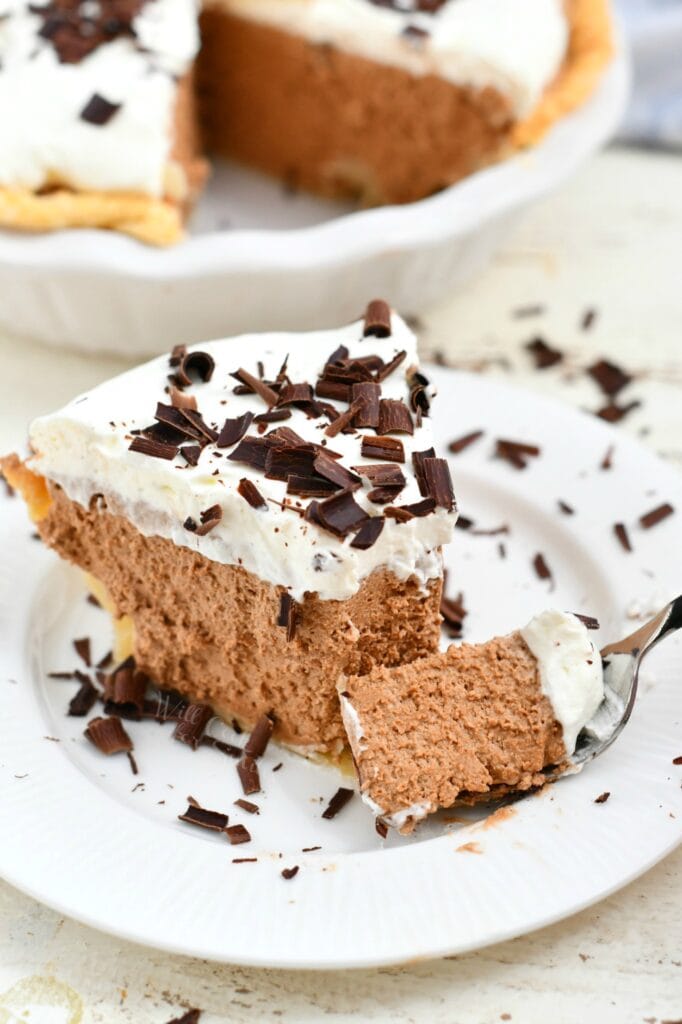
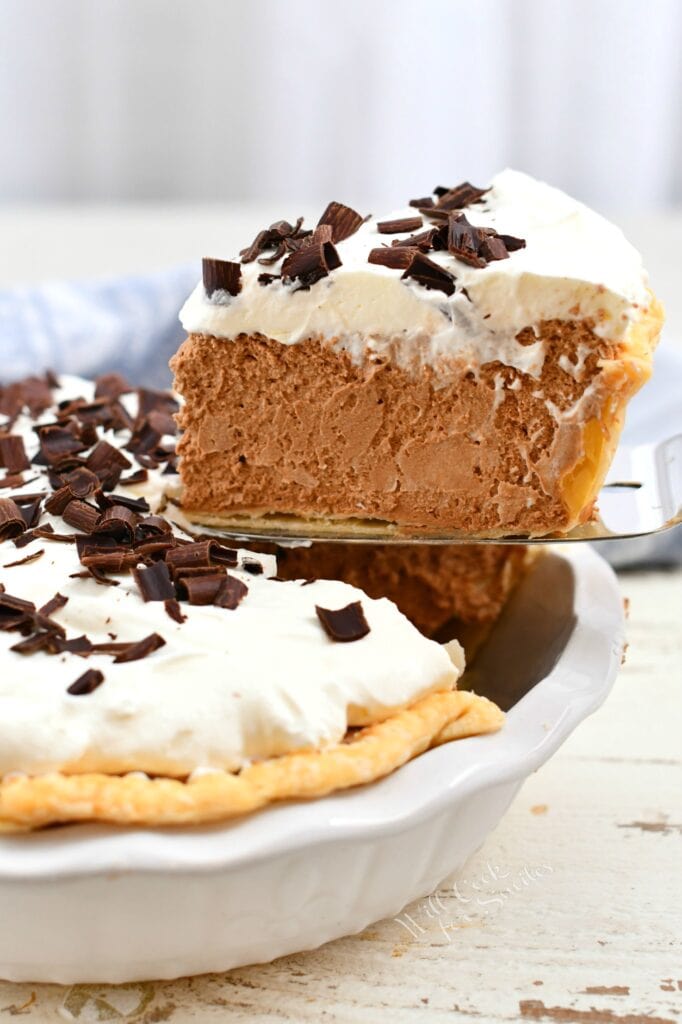
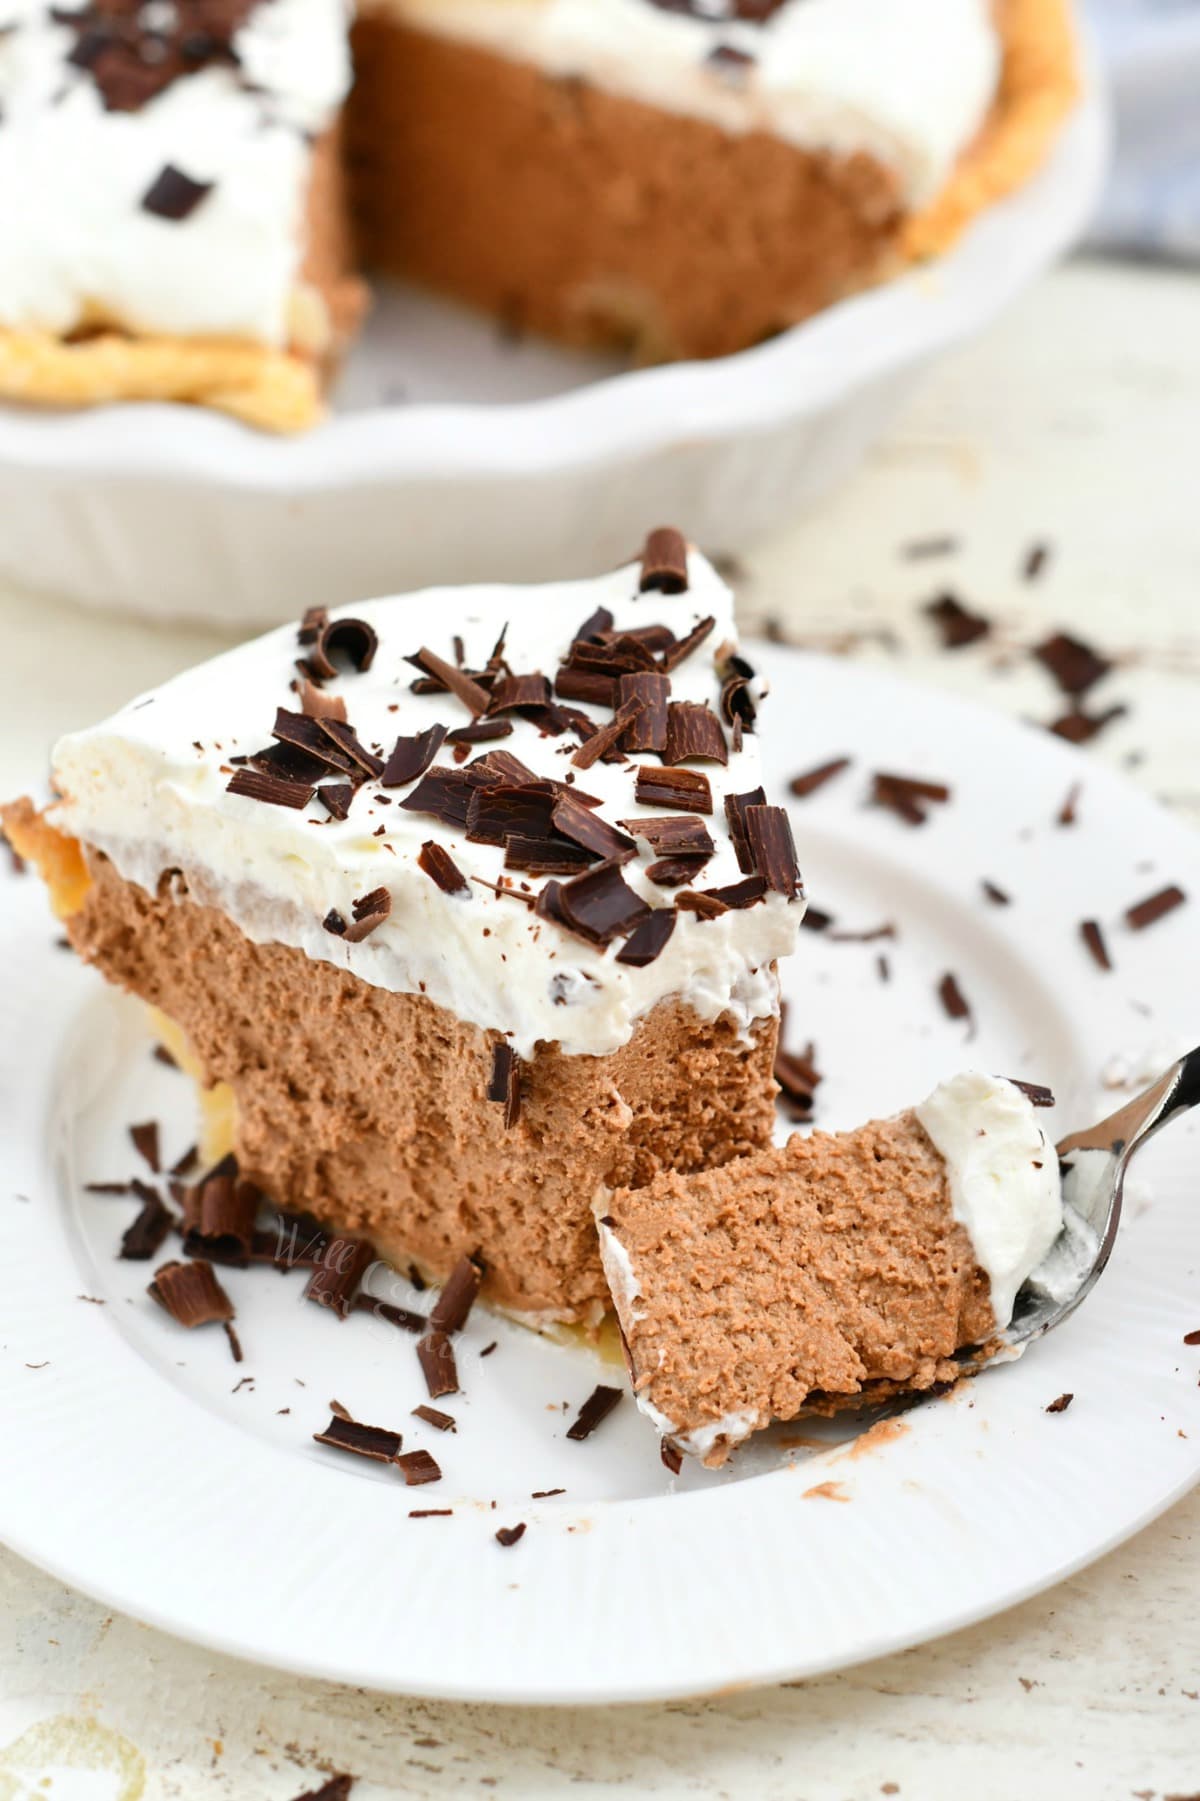
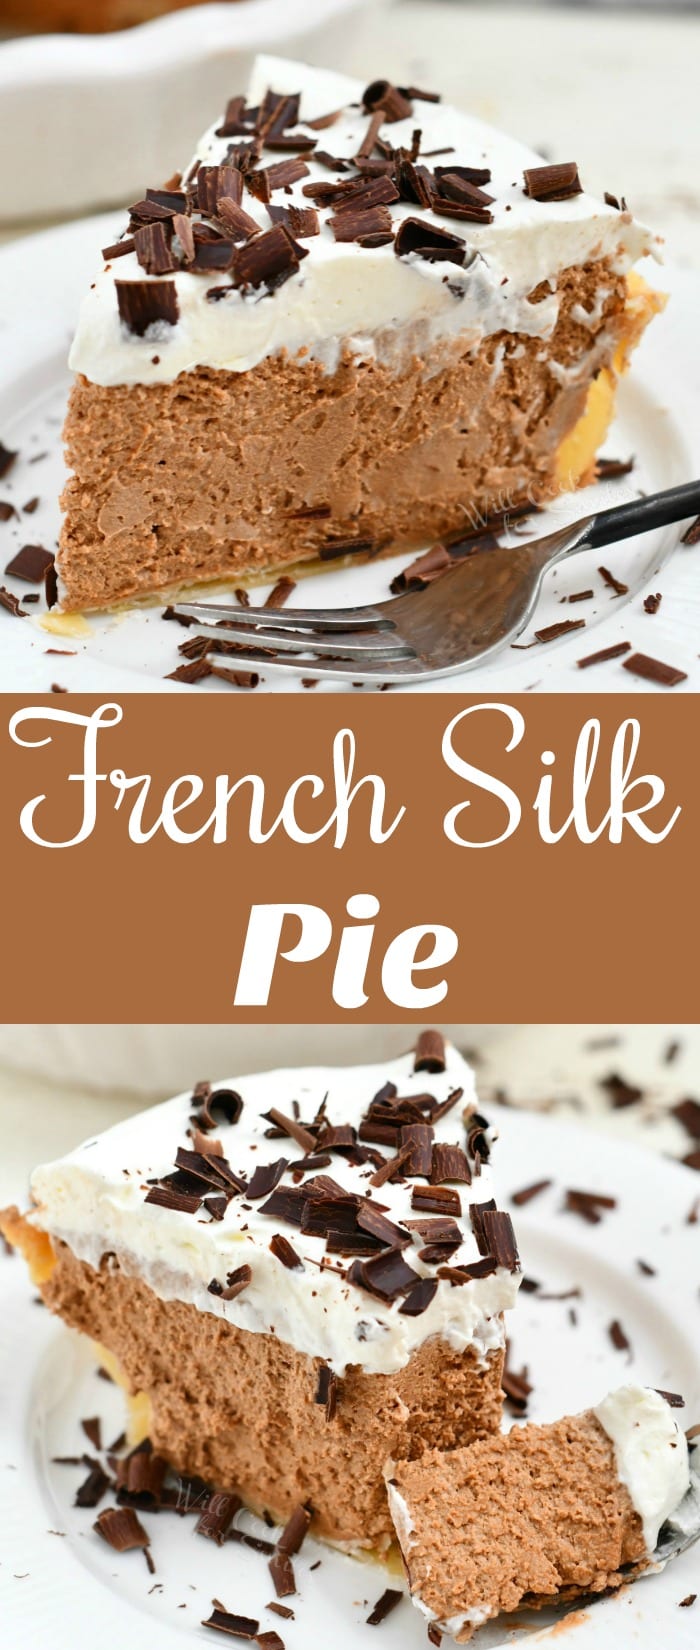
French silk pie is a silky smooth chocolate pie with a light, creamy texture. You will enjoy a flaky pie crust filled with smooth chocolate filling and topped with homemade whipped cream. Much like my Chocolate Mouse, this pie is made with eggs cooked to a safe temperature.
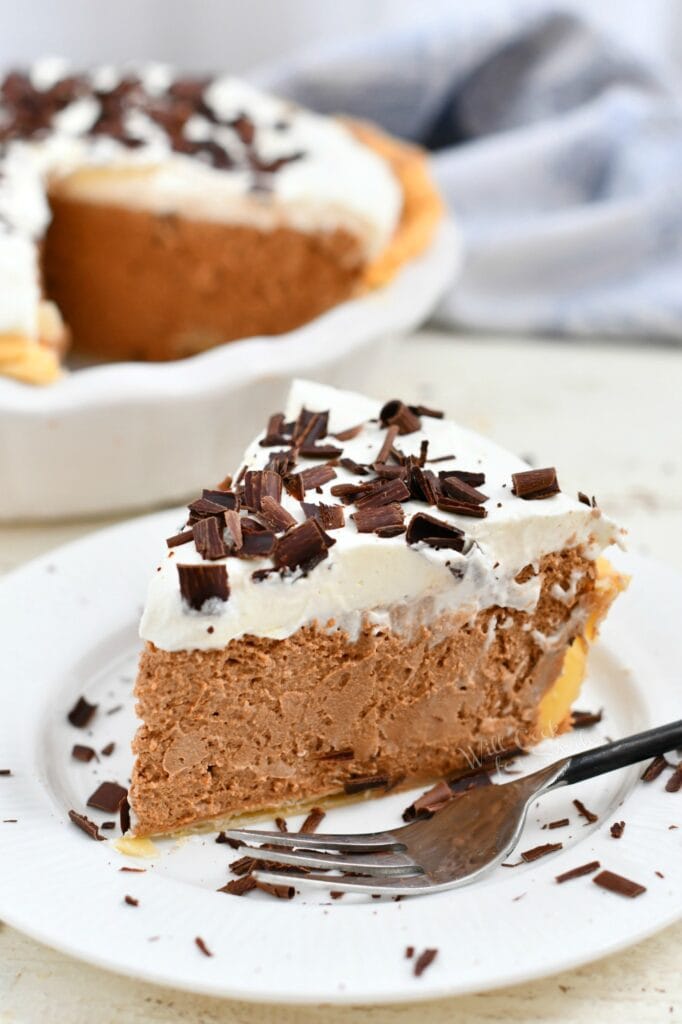
Some people enjoy eating chocolate, while others find it a life-altering experience. For a true chocolate lover, this pie will be an experience where you want to savor every moment and every bite.
Making French Silk pie is a similar process to my Chocolate Mousse and similar in taste. So if you’ve made my chocolate mousse recipe before, you shouldn’t be familiar with the process.
This is truly a perfect pie any time of the year but especially perfect for the holidays.
What is French Silk Pie?
This dessert is a French version of an American chocolate cream pie recipe. The latter has a pudding-like consistency, while a silk pie is firmer, with a soft, smooth, and airy texture.
An authentic recipe calls for a lot of butter and heavy cream, which is how the pie gets its silkiness. It isn’t dense like cheesecake, it’s much lighter than that.
It fits perfectly into the category of rich, indulgent desserts like flourless chocolate cake and chocolate mousse. This dessert is absolutely perfect for holidays and special occasions!
Recipe Notes
INGREDIENT NOTES
- Crust – To save time, I buy ready-to-use refrigerated pie dough. If you have a favorite pie crust recipe, you can make your own. Even a pre-baked shell will work.
- Butter – It’s important to use unsalted butter, especially when you bake. This is because the amount of salt in butter can vary a lot from brand to brand. While a little salt helps to enhance the chocolate flavor, too much can easily ruin your dessert.
- Chocolate – Use semi-sweet baking chocolate and of good quality. Chocolate is prominent in this pie, so you will want to use one that will taste the best.
- Heavy whipping cream – Sorry, there is no substituting the heavy whipping cream in this recipe. Because of the delicate nature of this dish, it has to be correct ingredients.
Not Using Raw Eggs
Many people get worried about the use of raw eggs in their food. There are quite a few recipes that call for raw eggs like Tiramisu, Caesar dressing, eggnog, Hollandaise sauce, and so many more.
There is small risk in using raw eggs and that is why it is safer to cook the eggs (or bring them to safe temperature) in desserts like custard, chocolate mousse, and tiramisu.
It is recommended to bring the eggs to a recommended safe temperature of 160°F.
To get the eggs to a safe temperature, slowly heat them up in a small sauce pot or a double boiler. (If you don’t have a double boiler, set a glass mixing bowl over a pot filled about half way with water. Water should not be touching the bowl on top.)
Use a thermometer to track the temperature while cooking the eggs. Cook them low and slow and remember to stir constantly so you don’t end up with scrambled eggs.
Kitchen Tools and Equipment
- 9-inch pie baking dish
- Parchment paper or aluminum foil
- Dried beans or pie weights
- Electric mixer with paddle and whisk attachments
- Silicone spatulas
- Vegetable peeler or box grater
- Double boiler or tall saucepan
How to make French Silk Pie
Making this recipe does take some time, but when you taste that first bite, it will all be worth it!
How To Prebake Pie Crust

- Prepare the baking dish.
Preheat your oven to 350° F and be sure to grease the bottom and up the sides of your pie dish. This prevents the crust from sticking to the pan.
- Roll out the dough.
If you’re using homemade crust, follow the instructions for your recipe. For refrigerated dough, you’ll want to roll the crust to about 12 inches in diameter. This ensures that there is enough crust to fold over the top and crimp the edges.
- Line and weigh down the crust.
Fit a sheet of aluminum foil or parchment paper into the baking dish, and gently press it all over the bottom and sides of the crust. Then, spread an even layer of pie weights or dried beans across the inside surface.
Parchment paper is a good option because it is gently on the pie crust. Aluminum foil can be folded over the edges of the pie crust to prevent it from darkening too much but it can rip the pie crust.
- Remove weights and foil, and finish baking.
Bake for about 25 minutes. Then, remove the paper or foil liner with the weights inside.
Use a fork to poke a few holes over the bottom and sides of the crust, then bake for another 10-15 minutes.
After you remove the pie crust from the oven, be sure to cool it completely before adding the filling.
Make sure the pie crust is cooled completely before adding pie filling!
Make Chocolate Filling:

- Chop chocolate into small pieces and set it aside.
- Combine and cook eggs and sugar.
Heat the eggs stirring slowly but constantly, until the mixture reaches 160° (F).
IMPORTANT: To prevent the eggs from cooking, it’s important to do this over low or medium-low heat. Also, be sure to slowly stir the mixture the entire time and keep cooking thermometer handy
- Remove pan from heat and add chocolate.
Add chocolate chunks into the hot egg mixture and slowly whisk and stir until chocolate is melted and incorporated. Set aside to cool completely while you work on the other parts of the chocolate custard filling.
Easy way to cool it fast is to place the sauce pot into a larger bowl filled with ice and stir often.
Cool chocolate mixture completely before combining it with butter mixture!
- Make and refrigerate whipped cream.
You can use a whisk attachment on a hand-held electric mixer or a stand mixer for this. Whichever method you use, place the whisk into a freezer for about 10 minutes first. This helps to create stiff peaks
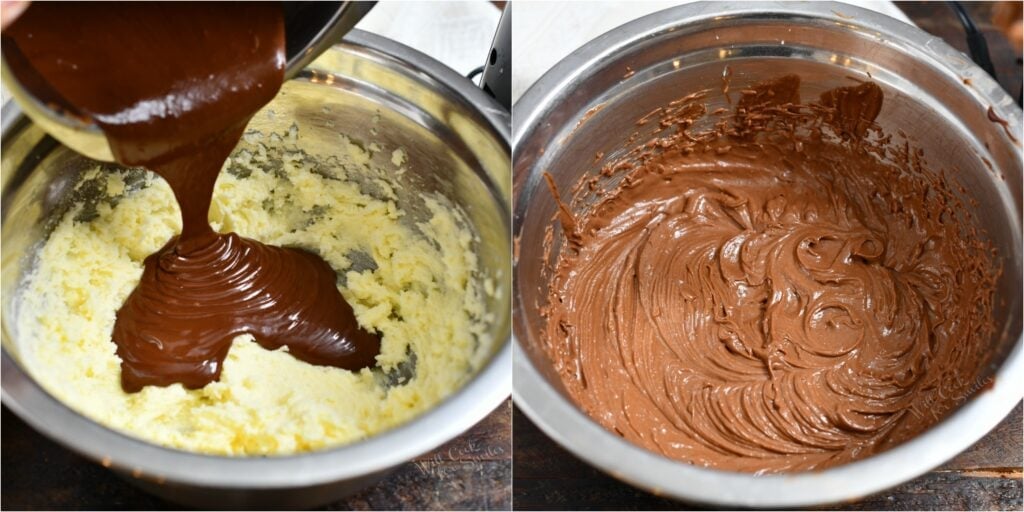
- Beat butter and remaining sugar.
For this step, you will need to switch over to a paddle attachment. Use medium-high speed and beat until the mixture is really pale yellow, light and fluffy.
- Incorporate the chocolate/egg mixture.
IMPORTANT: Before you add the chocolate/egg mixture to the butter/sugar, be sure that the eggs and chocolate are no warmer than room temperature. Beat for 3-5 minutes, until smooth and silky.
- Fold in whipped cream and fill the crust.
Carefully, fold in the whipped cream until all evenly incorporated. Transfer the French silk pie filling into a cooled pie shell.

Finishing Touches for French Silk Pie
- Cover, wrap and chill the pie for 6 hours.
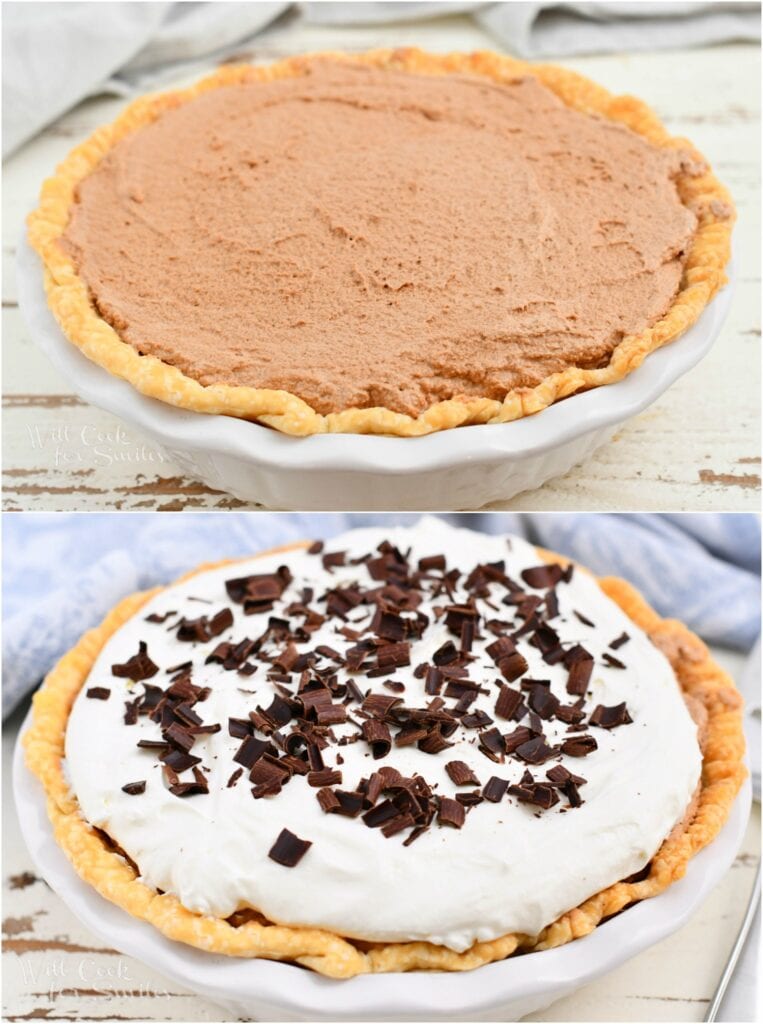
- Make the whipped cream topping.
Just like the earlier step, chill your whisk attachment (and even the bowl, if you are able to) before you whip the heavy cream.
- Finish and garnish the dessert.
Spread whipped cream over the top of the cooled pie. Use a vegetable peeler to create chocolate curls, or a cheese grater for chocolate shavings.
If you made any of my recipes and shared them on Instagram, make sure to tag me @willcookforsmiles and #willcookforsmiles so I can see all the things you tried!
Don’t forget to sign up for email, so you won’t miss any new recipes.
French Silk Pie
Equipment
- Pie baking dish
- Parchment paper or aluminum foil
- Dried beans or pie weights
- Electric mixer with paddle and whisk attachments
- Silicone spatulas
- Double boiler or sauce pot*
Ingredients
- 1 pie crust
- 3 eggs room temperature
- 1 cup sugar separates in 2
- 4 oz baking chocolate
- 12 tbs butter room temperature
- 1 1/2 cup heavy whipping cream cold
- 1 cup heavy whipping cream cold
- 2 tbsp powdered sugar
Decorating option:
- 2 oz chocolate bar
Instructions
Prebaking pie shell:
- Preheat the oven to 350° and rub a pie dish with butter all over the bottom and up the sides.
- Gently roll out the pie shell to about 12 inches and fit it over the pie dish. Carefully fit it into the bottom and sides of the pie dish and try not to break it. Fold and pinch the edges of the pie shell all along the perimeter of the dish.
- Fit a sheet of aluminum foil or parchment paper into the pie dish and gently press it all over the bottom and sides of the pie crust. (Note: aluminum foil will be better because you can fold it lightly over the edges of the pie crust to keep it from getting too dark.)
- Fill the inside with pie weights or dried beans and make sure it's spread evenly all over the crust.
- Bake for about 25 minutes. Take the pie dish out of the oven and carefully remove the foil or parchment paper with the weights inside.
- Poke a few holes over the bottom of the pie crust and a few on the sides and bake another 10-15 minutes. Take it out of the oven and make sure to cool completely before adding the filling.
Chocolate Pie Filling:
- Chop the baking chocolate bar into small pieces and set aside.
- EGGS: In a small, heavy-bottom sauce pot, over medium-low (to low) heat, whisk eggs and 1/2 cup of sugar together. Heat the eggs stirring slowly but constantly, until the mixture reaches 160° (F). This could take up to 10 minutes but don't walk away and don't stop slowly stirring or you will cook your eggs. Take off heat.
- Add chocolate chunks into the hot egg mixture and slowly whisk and stir until chocolate is melted and incorporated. Set aside to cool completely.
- WHIPPED CREAM: Using a cold whisk attachment, beat cold heavy cream in the cold bowl of an electric mixer, until stiff peaks appear. Place the whipped cream into the refrigerator until ready to use.
- In an electric mixer, using a paddle attachment, beat butter and remaining 1/2 cup of sugar on medium-high speed until light and fluffy.
- Slowly pour in cooled chocolate egg mixture (make sure that eggs and chocolate are no warmer than room temperature). Beat for 3-5 minutes, until smooth and silky.
- Carefully, fold in the whipped cream until all evenly incorporated.
- Transfer the pie filling into a cooled pie shell. Cover with plastic wrap and refrigerate for about 6 hours before serving.
Topping:
- Using a cold whisk attachment, beat cold heavy cream and 2 tbsp. of powdered sugar in the cold bowl of an electric mixer, until stiff peaks appear.
- Spread whipped cream over the top of the cooled pie.
- Shave a chocolate bar using a vegetable peeler over the top of the pie to get chocolate curls. If you want fine chocolate shavings, you can use a cheese grater to grate chocolate bar over the top.
Nutrition
Originally published on Will Cook For Smiles on November 17, 2013. Updated October 14, 2020.
All images and text ©Lyubov Brooke for ©Will Cook For Smiles. Please do not use my images without prior permission. If using my posts in collections and features, please link back to this post for the recipe.
Disclaimer: Nutrition information shown is not guaranteed to be 100% accurate as most ingredients and brands have variations.


So far I tried whipping the eggs, milk, and vanilla stirring constantly on medium/low heat- it still looks like vanilla scrambled eggs. What should it look like?
Followed the recipe exactly, all ingredients seemed to separate and looked nothing at all like the picture. Flavor was not good either. I would not recommend this recipe.
Hi Adrianne,
I’m sorry the recipe didn’t work out for you. If it separated, I wouldn’t think it would have good taste. I’m not sure why it separated but the only change I can recommend is adding eggs one at a time and beating well for a couple of minutes after each egg.
I’m sorry again it didn’t work out.
Recipes like this are why I don’t mind waking up at 3:30am and not being able to go back to sleep. It looks so good! I have had not great luck with heating eggs, so will probably heat the milk and temper the eggs before adding them to the saucepan, but that’s a simple change. Otherwise I’m dying to taste this pie! Thanks for posting.
I’m so glad you liked it! Thank you 🙂
Have you tried using a double boiler to bring eggs to the temperature? That’s what I use. Otherwise, I’m sure you will be just find tempering the eggs into milk. Enjoy!!
Thanks for that recipe, I had never heard of it… and I’m French !
I’m gonna try it real soon but would it be possible for you to give me metric measures ?
I know that you guys use your “cup” system all the time, I have hard times when trying American recipes online, but in France we rarely use them, all recipes are in the metric system.
So anyway, thanks a lot for this recipe, and I hope you can answer me.
Love your website.
I noticed in the comments that you used semi sweet baker’s chocolate. I didn’t read the comments before and I bought unsweetened baker’s chocolate. Can I still use it and maybe add extra sugar?
Hi Billie! I’m sorry for the delayed response. You can definitely use unsweetened and may be add a tablespoon or two extra of sugar. I hope you’ll like it!
Thanks so much! I’m going to make it now 🙂
I made this pie today and OMG, it’s delicious!! I’m adding this to my FAV Recipes!!
That makes me so happy! Thank you, Jan. I’m glad you liked it 🙂
yum.. i am definitely making a french silk pie now! thanks for the inspiration + great post. love it!
This looks absolutely delicious and can’t wait to try it. I am assuming the sugar measurement is 3/4 of a cup, is that right? Thanks!
Thank you, Michelle! You are correct 🙂 Thank you for pointing it out to me!
This looks amazing! I was curious about the eggs and vanilla. How long do I cook it? Meaning how does it need to look before I take it off the stove.
Hi! Found your pie through Pinterest, and I made it for Christmas Day. Truly the best French Silk Pie ever! Your instructions were perfect and simple to follow. My husband fell in love with me all over again!
This makes me so happy!! Thank you so much, Megan! I’m so glad you enjoyed it!
I’ve been making French Silk Pie for at least 30 years and I still do it the old fashioned way…yes, with raw eggs. Soooo, to appease the nervous Nellies in my crowd I’m looking for a solution and your pie seems to have the same lightness that we’ve come to know and love but you’ve cooked the egg…I’m going to have to try it!
I use a graham cracker crust with pecans in it…you should try it sometime; I do believe it’s to die for!
That sounds like a great way to make crust! I’ll have to try it next time I make it. I hope you like my version. It really is light and fluffy 🙂
Made this last night for Thanksgiving can’t wait to eat it today! Wasn’t hard to make, just need to remember to set the butter out hours before making pie. Thanks for the recipe.
Yay! Happy Thanksgiving! Enjoy 🙂