Cinnamon Raisin Bread
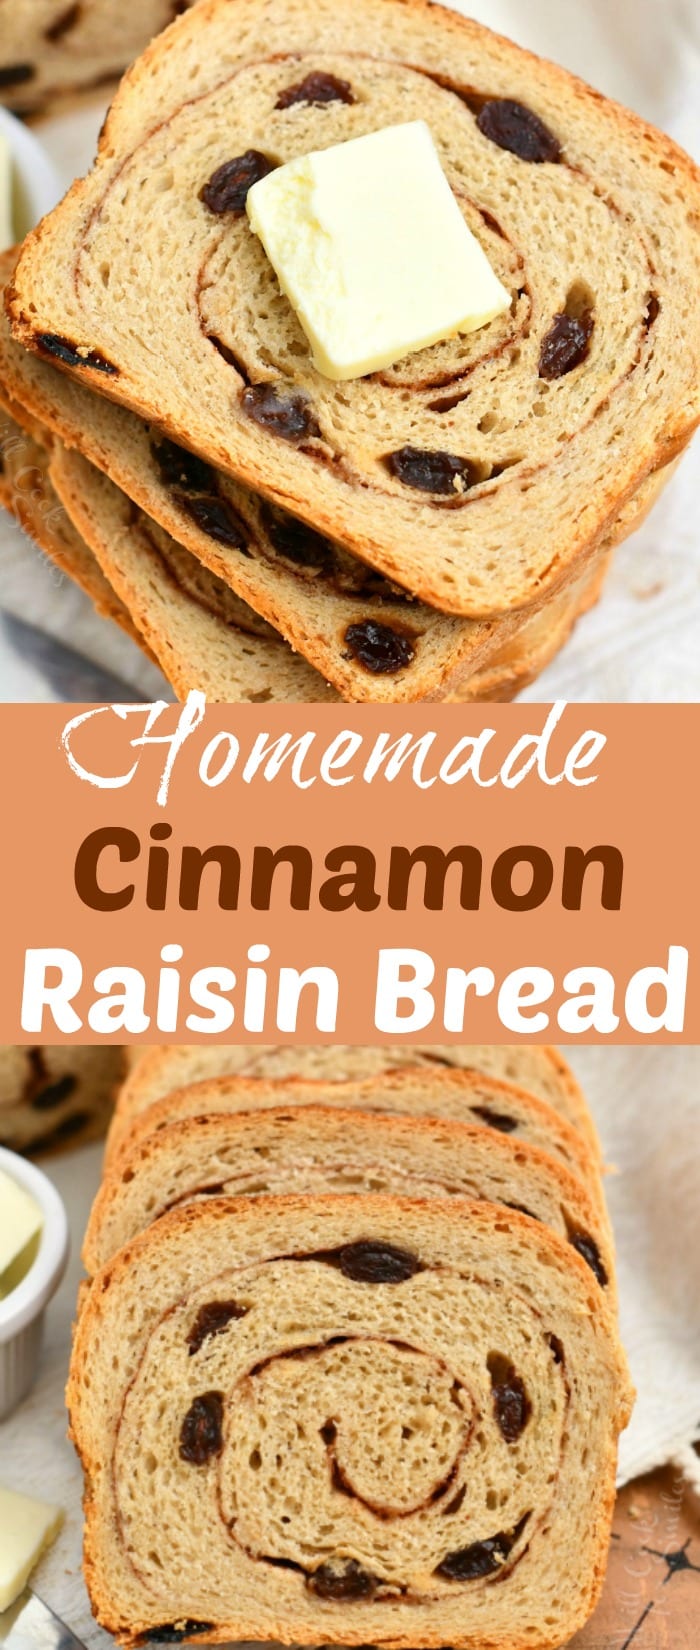
Cinnamon raisin bread is sweet and soft with swirls of cinnamon, sugar, and plump raisins. A family favorite comfort bread that you will want to make every weekend.
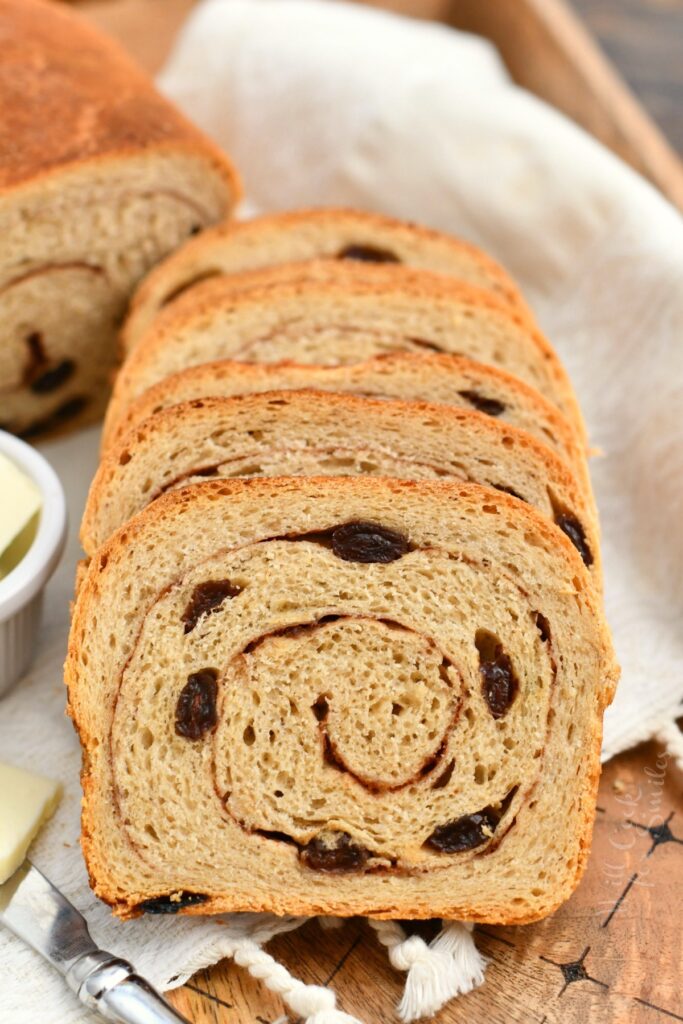
My family absolutely loves this bread, it’s the boys’ favorite snack and breakfast. They love the taste of sweet cinnamon swirl and the burst of sweet raisins. It’s a perfect fast breakfast in the morning or snack in the afternoon.
Making yeast bread may seem intimidating and it was very intimidating to me years ago too. I’ve gathered up some courage though and realized that it’s so easy! I promise, if you take it slow and follow all of the steps, you will see for yourself that it’s no big deal. The house will be filled with the unmistakable aroma from the oven in just a little while.
Cinnamon and raisins are a classic flavor combination that everyone loves, even picky kids will jump on this bread.
Ingredient Notes and Tips
This recipe calls for active dry yeast, which is usually clearly marked on the package.
Make sure you aren’t buying rapid rise (also called “instant yeast”). That is an entirely different type of yeast, often found right next to the active dry yeast in the baking aisle.
Active dry yeast needs to be proofed in warm water before proceeding with the recipe.
I highly recommend buying the yeast right before you need to use it. Yeast works best when it’s fresh, so don’t stock up far ahead of time.
Plumping raisins in warm water first helps them retain moisture while the bread bakes. It will also reinvigorate the raisins and help keep inside of the bread moist too.
I’ve tested this cinnamon raisin bread recipe several times to find the best amount of cinnamon swirl filling. Too little and you won’t see the classic swirl or be able to taste it. So don’t be concerned that the recipe calls for 1 1/2 tablespoons of cinnamon in the swirl and a teaspoon in the dough.
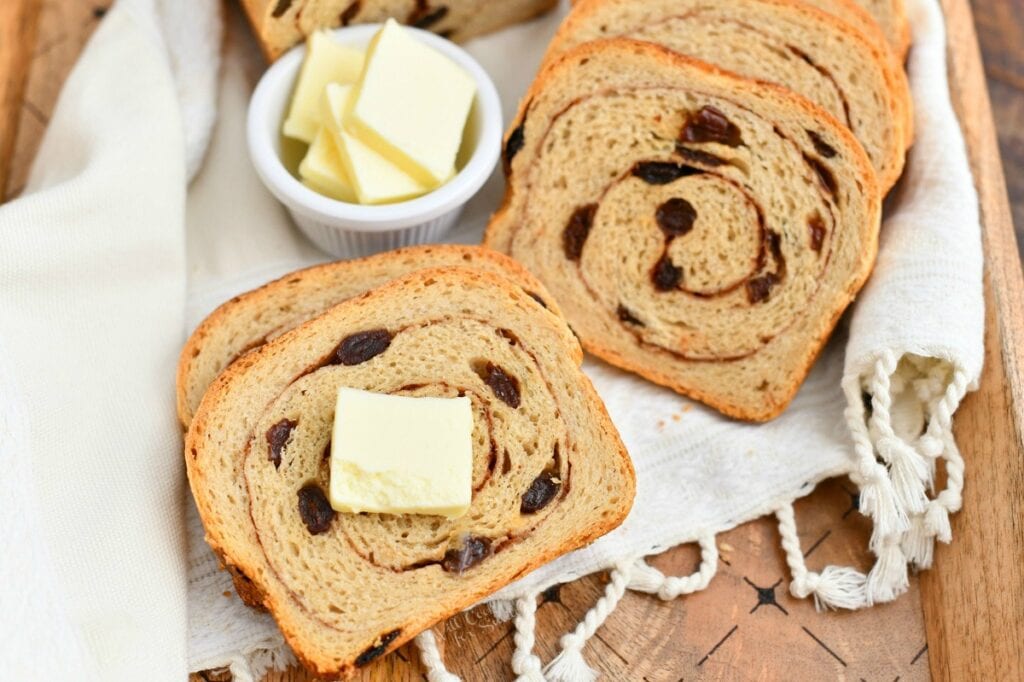
Making Cinnamon Raisin Bread Recipe
Don’t be put off by the amount of time it takes to make the bread. The actual work is not that much. This recipe involves a lot of waiting time, which is inactive time, so you can do other things while you wait.
- First, you’ll want to plump the raisins in a bowl of hot water. Then, use that water to proof the yeast in the bowl of your stand mixer.
- After proofing the yeast, stir in milk, butter, and salt. Then add the flour and let the mixer create a shaggy dough. Shaggy means it will still look rough and ripped apart, and it will feel wet.
- Use the mixer’s dough hook, or knead by hand, until the dough begins to smooth out. It may still be sticky, but will look stretched out and smooth as it pulls together.
- Gently knead in the raisins about half way through.
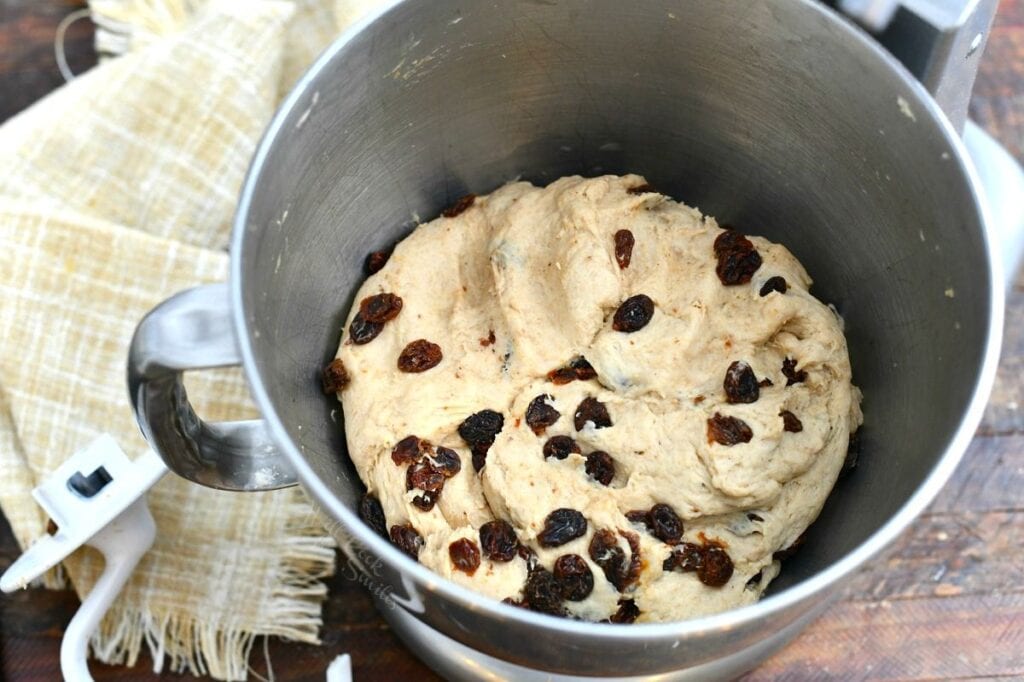
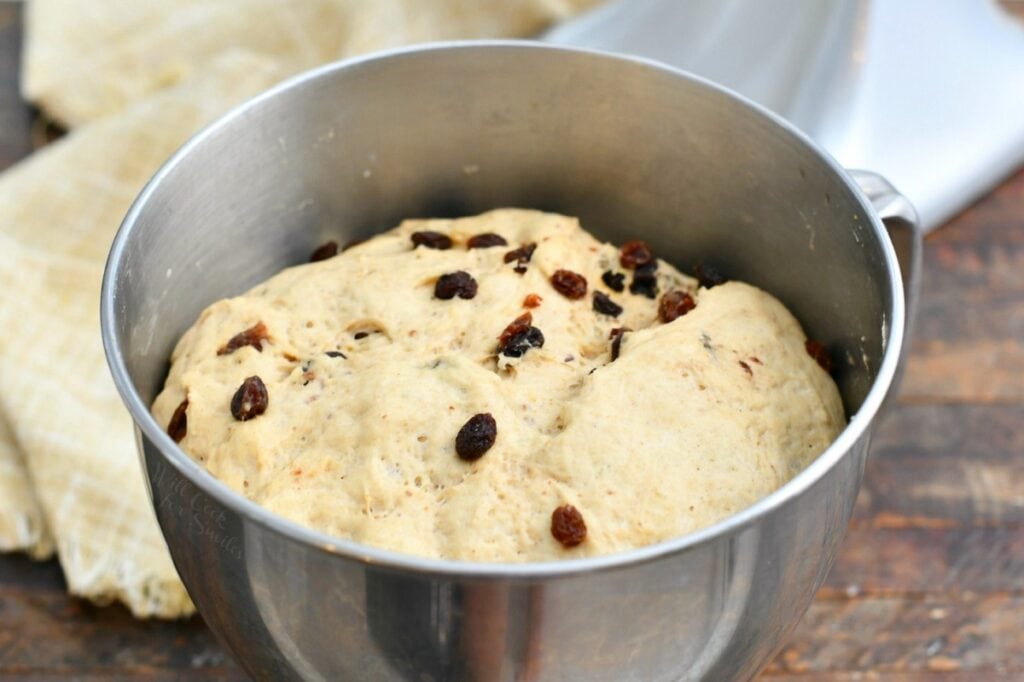
- Place the dough into a lightly greased bowl and cover it with plastic wrap or a lint-free towel, then let the dough rise until it doubles in size.
For best results, let the dough raise in a warm, dry place. I often turn on my oven to the setting needed and let the dough rise on the counter near the oven, but not too close!
- After it rises, split the dough in half to create two loaves. Roll each piece into a flat, rough rectangle. Then, brush the dough with egg and sprinkle with cinnamon sugar, much like if you were making cinnamon rolls.
- Roll up each piece of dough and place it into a loaf pan, seam side down.
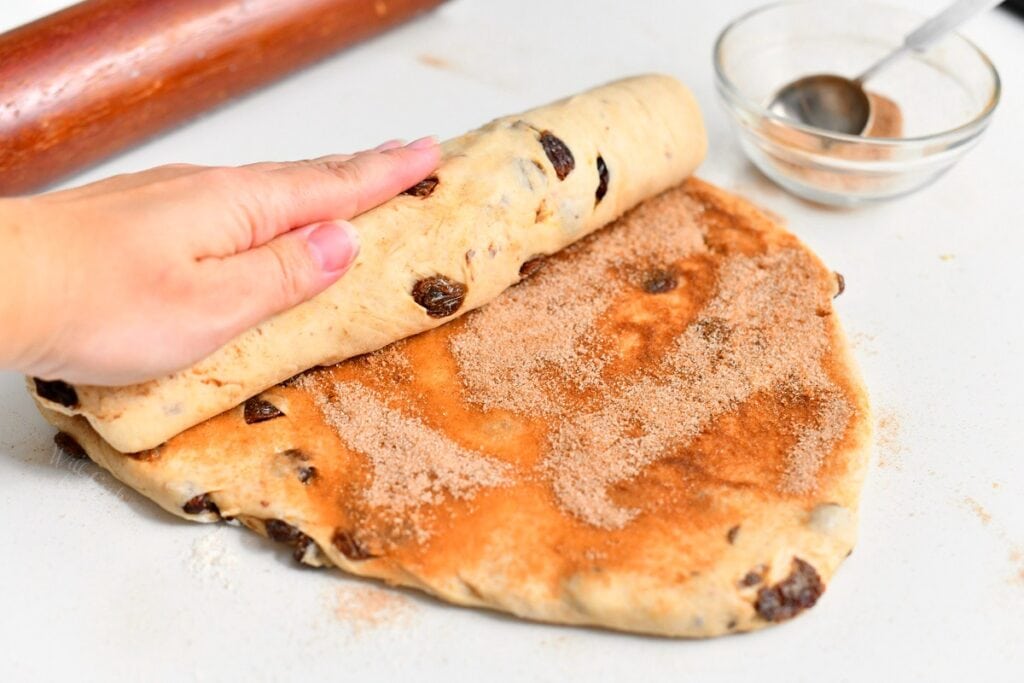
- Cover the loaves again and let them rise until they are just over the top of their pan.
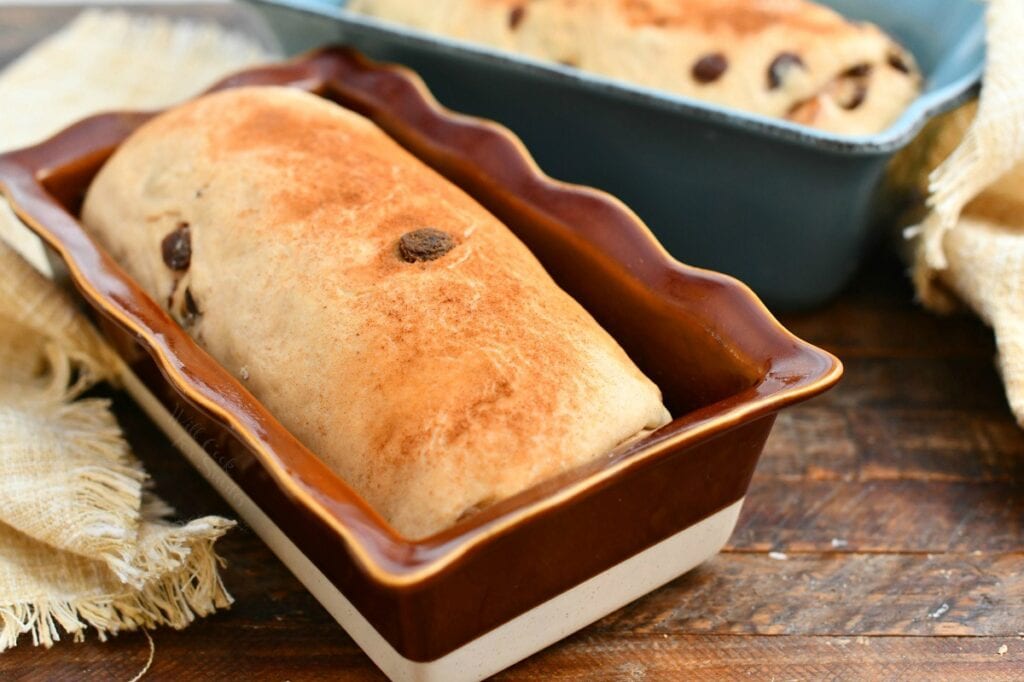
- Bake until golden brown, and be sure to let the bread cool in the pan before slicing.
Recipe Notes and Tips
Recommended Equipment:
Loaf Pans
For baking bread, use a loaf pan that is either ceramic or metal. Keep in mind that you’ll need two of the same type of pan to make recipes like this one. Ceramic and loaf pans will give you slightly different cooking time so you will need to use pans that are the same size and same material.
Use two loaf pans that are the same size and the same material, whether they are ceramic, metal, or glass.
You can also use these pans to make some delicious quick breads for a larger breakfast spread. Breads like classic Zucchini Bread are great for late summer, when your garden is bursting with fresh zucchini. Breads like my tropical-inspired Coconut Banana Bread are a treat any time of the year.
Instant Read Thermometer
An instant-read thermometer is a kitchen staple for cooking when it comes to meat, but it’s also a great tool for baking.
For most recipes, the bread is ready when a light tap on the loaf creates a hollow sound. However, taking the internal temperature is a foolproof way to know for sure. If you remove the bread from the oven too early, the inside may collapse.
Most breads are done when they reach 190° to 200° internal temperature.
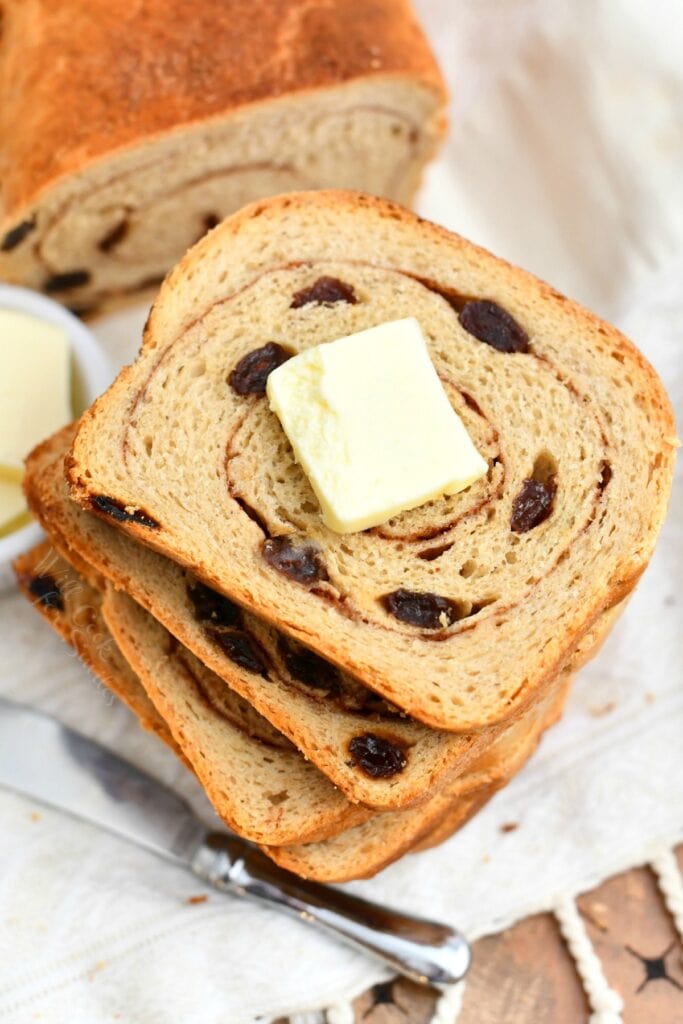
Can I Freeze Cinnamon Raisin Bread?
Yes, absolutely! I recommend freezing it in slices so it’s easy to pull out a slice or two when you want some.
Let the bread loaves cool completely and then slice them as thin or thick as you desire. Lay out slices side by side and then across in another layer inside a large zip-top bag. Get as much air out as you can, seal, and label the bag.
Note: it will most likely take more than one bag and you should not overfill the bag or squish the bread slices.
Freeze the bags for up to 2 months. Pull out slices as needed and pop them in the toaster. No need to defrost unless you don’t want it toasters. In that case, simply leave it on the counter for 15-20 minutes.
You can also freeze the whole loaf if you wish. Make sure to cool the loaf completely and wrap it in plastic wrap air-tight. You can place wrapped loaf into a freezer zip-top bag or wrap it in foil for additional protection. Label and freeze it for up to 3 months. Defrost on the counter.
How To Serve The Bread
Cinnamon raisin bread is absolutely the best topped with butter while it’s warm. However, if homemade bread lasts a few days in your house (it doesn’t in mine!), you could also use it to make French Toast taste even better.
To round out a brunch spread, serve toasted cinnamon raisin bread with fresh scrambled eggs, a pitcher of Peach Lemonade, or mugs of Homemade Hot Chocolate.
You can also try our seasonal version Pumpkin Spice Raisin Bread.

If you made any of my recipes and shared them on Instagram, make sure to tag me @willcookforsmiles and #willcookforsmiles so I can see all the things you tried!
Don’t forget to sign up for email, so you won’t miss any new recipes.
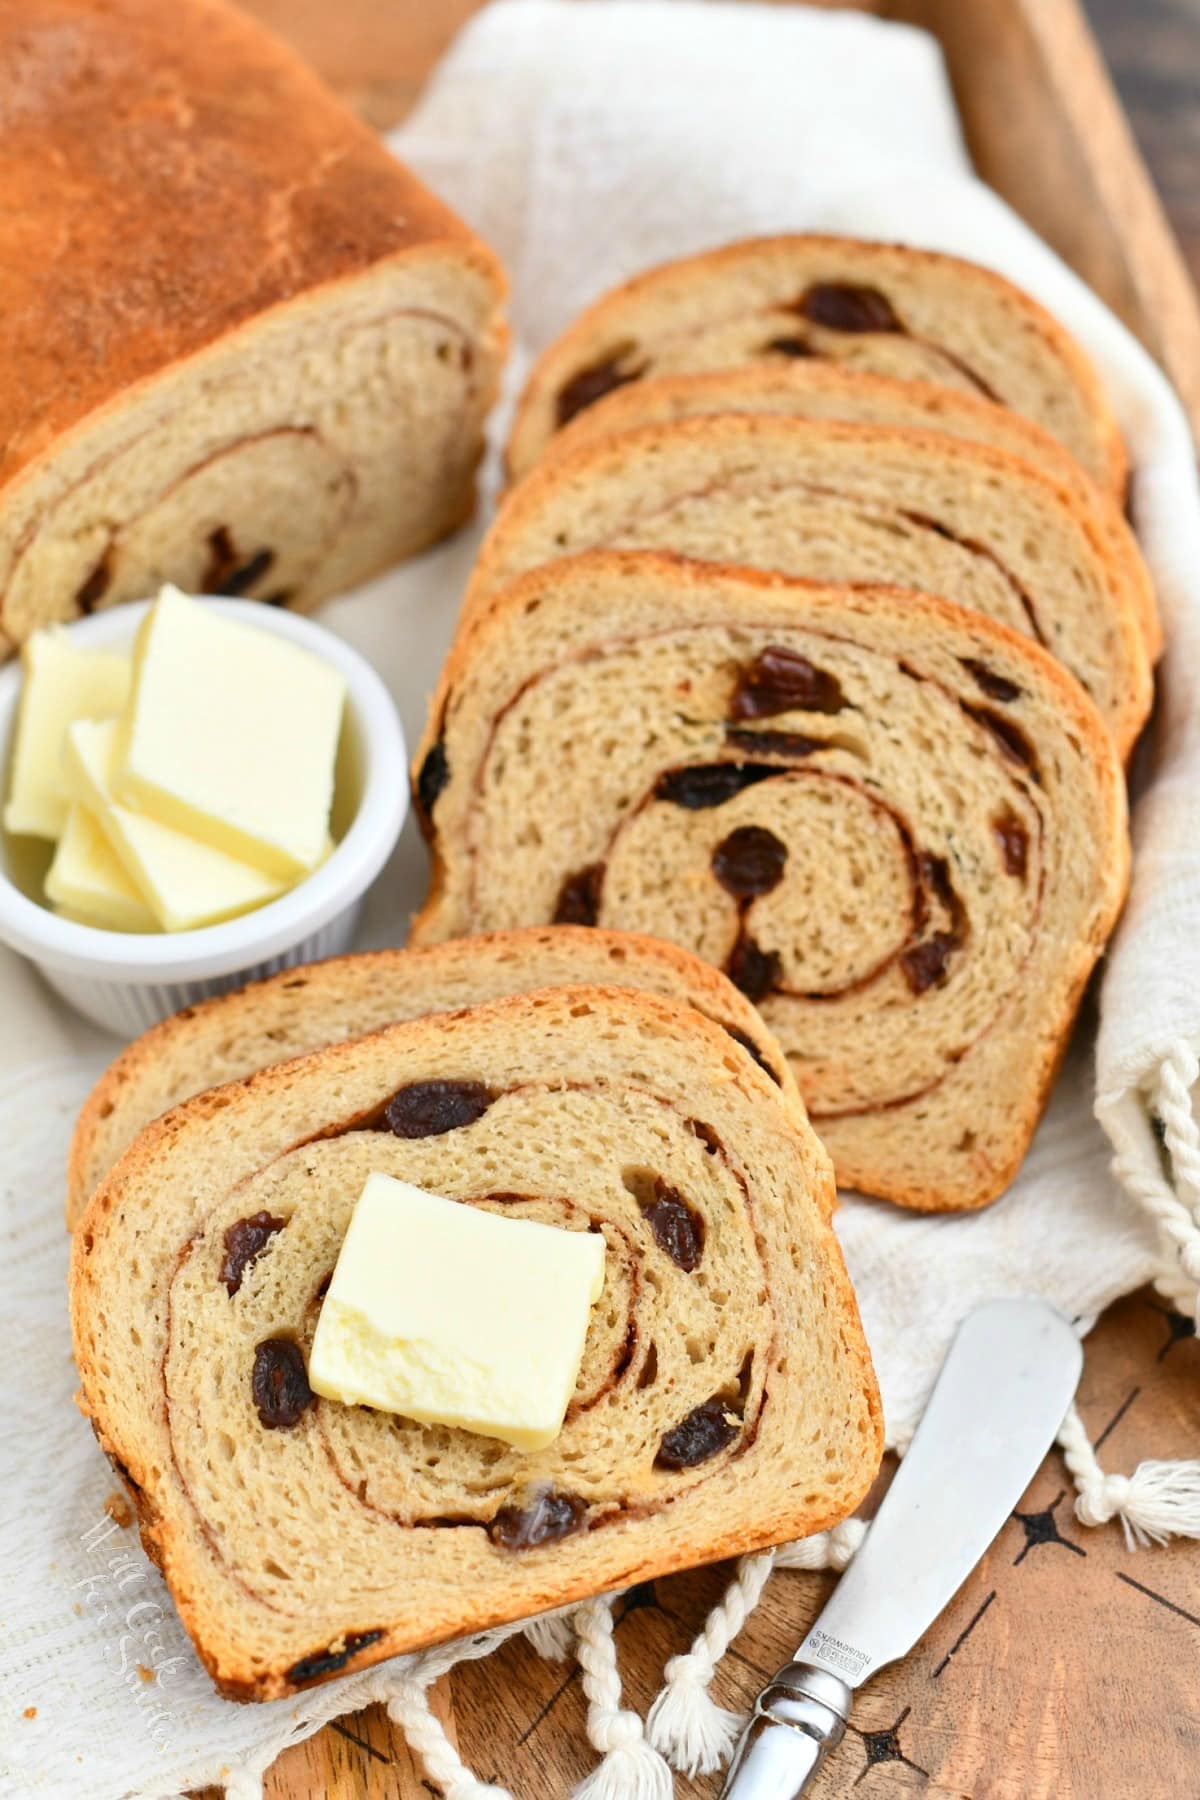
Cinnamon Raisin Bread
Ingredients
Bread:
- 1 cup raisins
- 1 cup warm water
- 1 tbs active dry yeast
- 1 cup whole milk warmed
- 1/4 cup unsalted butter melted
- 2 teaspoons salt
- 1 1/2 tsp ground cinnamon
- 5 1/2 cups all-purpose flour
- little more flour for the surface
Filling:
- 1/2 cup white granulated sugar
- 1 1/2 tbsp cinnamon
- 1 egg whisked
Instructions
- Put the raisins in a small bowl filled with hot water. Let the raisins plump up, about 10 minutes. Strain them through a fine mesh strainer but save the raisin water.
- Pour a cup of warm raising water into the bowl of a standing mixer or large mixing bowl. (Note: if the water cooled down, warm it up a little more. Water should be a little warmer than room temperature but not hot. Make sure there is 1 cup of water.)
- Add yeast to water and stir gently. Give it a about 10 minutes for the yeast to bloom and then stir.
- Stir warmed milk, melted butter, and salt into the water.
- Add 5 1/2 cups of the flour and cinnamon and mix on low to form a shaggy dough.
- Switch to a dough hook and knead in your mixer on low speed with the dough hook (or knead by hand for 8-10 minutes to form a smooth, slightly tacky dough). If the dough is too sticky, add a little more flour.
- With the mixer on low, gradually add raisins to the dough and continue kneading until they are evenly distributed.
- Cover bowl with a plastic wrap or a towel and place in the warm dry place. Let rise for about an hour.
- Divide the dough into two even pieces. Roll the dough out on the counter. Make sure that the dough is a little less wide that your loaf pan. Try to make the dough about 1/6th to 1/8th of an inch think.
- Brush the entire surface of the dough with egg.
- Combine cinnamon and sugar in a small bowl and mix completely. Sprinkle the dough generously with cinnamon and sugar mixture.
- Roll up the dough and place it in the greased loaf pan, seam side down.
- Repeat with the other half of the dough.
- Cover the pans with a towel and let the loaves rise until mounded over the top, about 30 minutes. Sprinkle with some cinnamon and sugar over the top.
- Preheat the oven to 375° while the dough is rising.
- Bake for 40-45 minutes until golden brown. You can check internal temperature of the dough in the center. Bread is ready when it reaches 190° internal temperature. (Note, bread baked in smaller pans will take a few minutes longer than wider pans.)
- Take the loaves out of the oven and let it cool to room temperature before taking out and slicing.
Nutrition
Originally published on Will Cook For Smiles on May 1, 2012. Updated October 8, 2020.
All images and text ©Lyubov Brooke for ©Will Cook For Smiles. Please do not use my images without prior permission. If using my posts in collections and features, please link back to this post for the recipe.
Disclaimer: Nutrition information shown is not guaranteed to be 100% accurate as most ingredients and brands have variations.




Awwww, looks great! Definitely dying to try our your recipe. Just had a question though, I noticed in ur list of ingredients there’s no eggs listed for the actual bread…? If there’s no eggs in the actual bread would that change the taste or texture?
Thanks.
Hi there!
Egg is not always added to yeast dough. Many artisan breads, pizza dough and other baked goods don’t include an egg. Egg is usually used for leavening and to hold structure, which is usually needed in things like in cookies and no-yeast sweet breads. You will be good without egg here 🙂
I’m so happy you liked it!!
Was craving cinnamon raisin bread (and I needed to use up some raisins). This recipe hit the spot!! The second loaf will be used to make french toast tomorrow morning.
You’ve been featured at Wednesday Whatsits!
http://whitelightsonwednesday.blogspot.com/2012/05/wednesday-whatsits-8.html
This looks delicious! Thanks for linking up to What I Learned Wednesday! I’m featuring you tomorrow!
You had me at cinnamon!! I would LOVE this for breakfast!!
Thanks for linking up! I featured your post in my wrap up http://tidymom.net/2012/16-mothers-day-crafts/
Have a great weekend!
Yum Yum!!! I just found your blog on Mrs Foxs Sweets. I’ll host a party every month with a different theme and would love you to join! Please visit my blog for more information on “My Sweet Party” post uploaded 2nd of May.
http://www.meandmysweets.blogspot.co.uk/2012/05/my-sweet-party-chocolate-cake-love.html
Johanna
Wow! Absolutely gorgeous & delicious looking bread! Thanks for visiting me and for your sweet words 🙂
Oh wow, seeing this bread makes you instantly want a piece. I’m afraid I would sit down and eat the whole loaf in a sitting. Thanks so much for sharing at our party this week.
Wow this is amazing and I will definitely be trying this. Thank you for posting this recipe as well as the photos to help :)Blessings,Nicole at Working Kansas Homemaker
I wonder if I could make it in a bread maker! I think I’ll give it a try today!
This bread looks delicious. Hope you don’t mind that I pin the recipe. 🙂 Megan