Chocolate Cheesecake
Luscious, rich, and smooth Chocolate Cheesecake is made with an Oreo cookie crust, smooth chocolate cheesecake filling, and deliciously topped with homemade chocolate whipped cream. Every bite of this decadent chocolate cheesecake is well worth the indulgence!
If you want to make more rich chocolate desserts, take my Flourless Chocolate Cake and Chocolate Cupcakes.
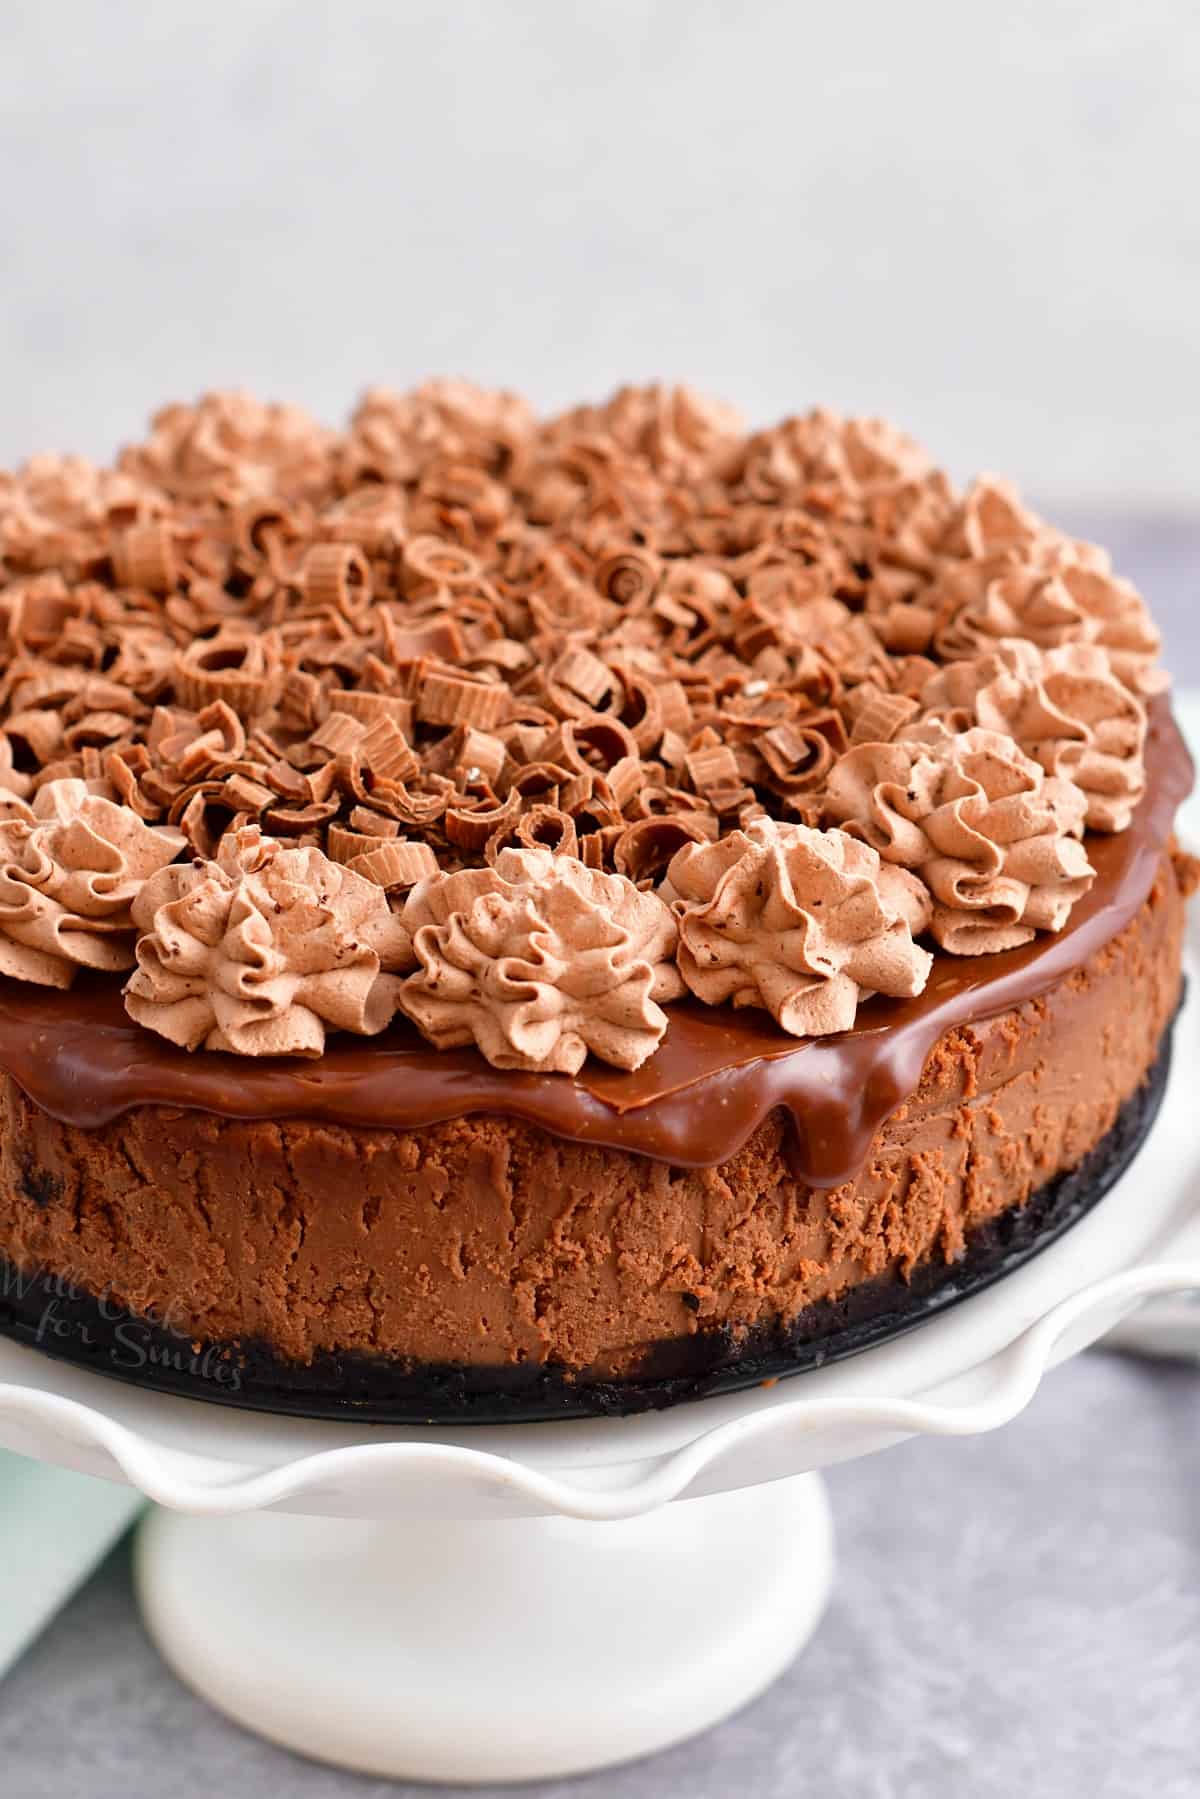
Table of Contents
Enjoying a big piece of homemade chocolate cheesecake is a simple pleasure in life I will never be ashamed of! There’s something so comforting about truly losing yourself in the rich, chocolatey flavors of this luscious cheesecake.
From the Oreo cookie crust all the way up to the homemade chocolate whipped cream, there’s no part of this chocolate cheesecake that doesn’t deserve praise. The texture and flavor of the cheesecake itself is truly heavenly, and when it’s topped with the thick chocolate ganache, it becomes truly unforgettable.
Next time you need something rich, chocolatey, and undeniably delicious to comfort you, this is the dessert to make. Likewise, if you’re trying to impress a dinner party, this cheesecake is always a crowd pleaser! Truly, I don’t think I’ve ever met a single person who didn’t fall head over heels for this picturesque dessert.
Ingredient Notes
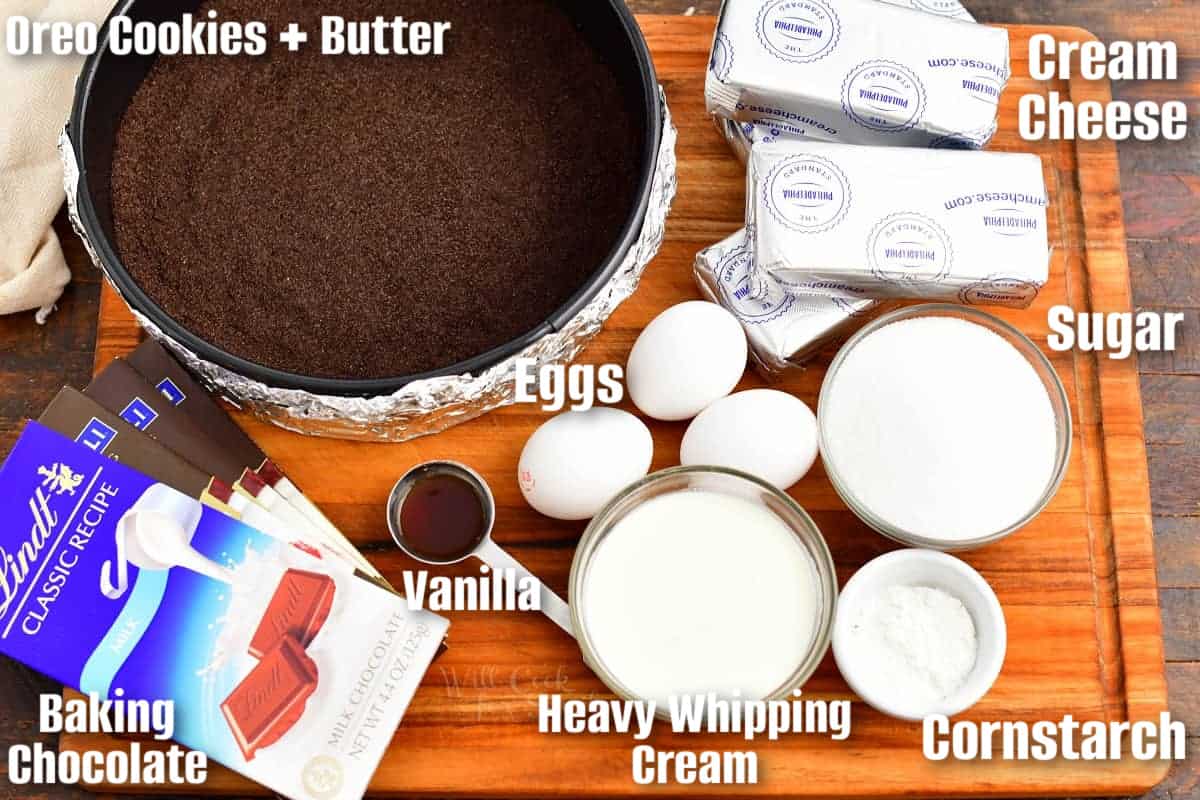
Oreo Cookies – I recommend you get the chocolate Oreo cookies for the rich chocolate flavor but if that’s not available, get the classic. If you need to keep this cheesecake gluten free, use gluten free Oreo cookies.
Cream Cheese – Use full fat, original cream cheese and make sure to take it out of the refrigerator 30-45 minutes before starting to bake.
Eggs – use large eggs and take them out of the refrigerator 30-45 minutes before cooking to let them warm up to room temperature.
Heavy Whipping Cream – while it’s best to use heavy whipping cream, you can use half and half but do not go any less fat than that. Note that half and half is thinner than heavy whipping cream so use about a tablespoon less.
Baking Chocolate – Use semi-sweet or dark baking chocolate to incorporate into the cheesecake and to make ganache.
Chocolate Bar – for decorating, use your favorite chocolate bar but not baking chocolate.
Cocoa Powder – Use unsweetened 100% cocoa powder.
See recipe card for complete information on ingredients and quantities.
How to Make Chocolate Cheesecake
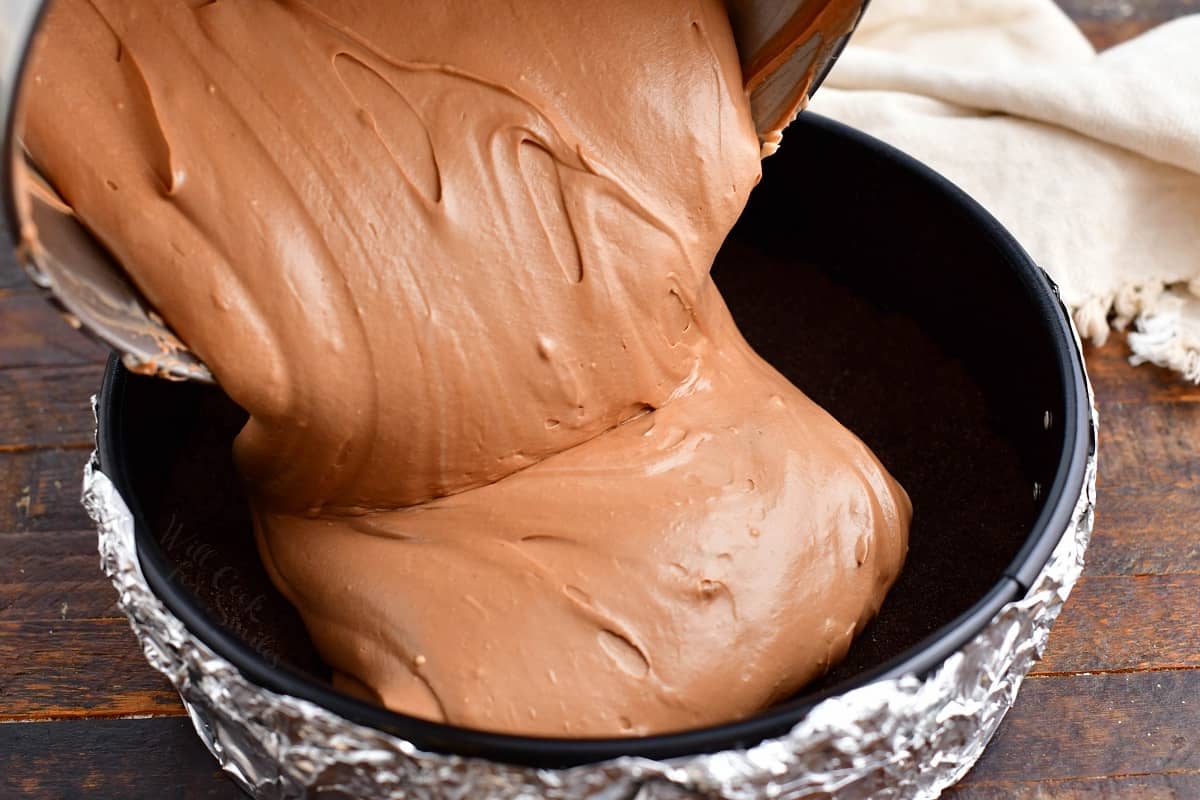
First, prepare the springform pan with aluminum foil. Then, create the Oreo crust and line the bottom of the pan with it.
To make the cheesecake filling, start by melting the baking chocolate.
While that cools slightly, beat the cream cheese until it’s fluffy. While beating, pour in the sugar and add the eggs.
Add the whipping cream and vanilla extract. On a low speed, mix in the cornstarch and melted chocolate.
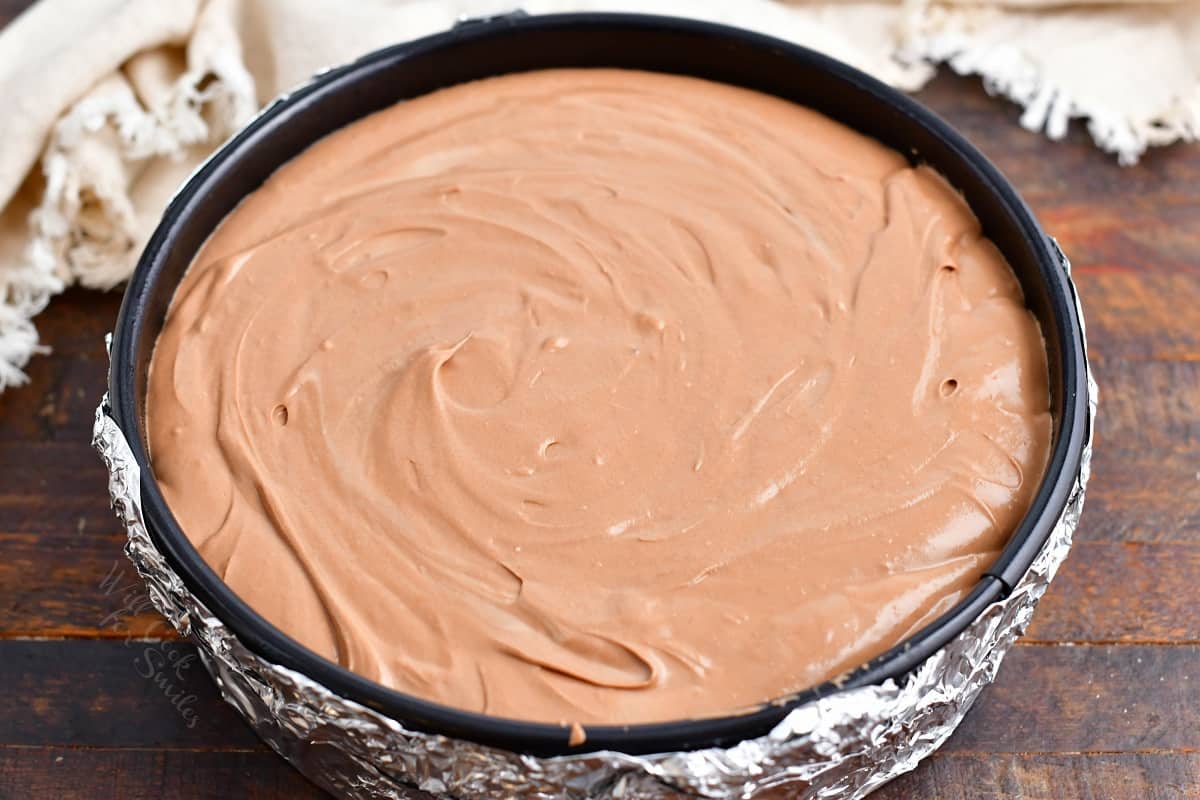
Transfer the chocolate cheesecake filling to a prepared springform pan.
Place a large roasting pan in the preheated oven before placing the springform inside of the roasting pan. Then, carefully pour hot water into the roasting pan.
Bake the cheesecake for 80-85 minutes. After baking, turn off the oven and open the oven door halfway. Allow it to rest in the cooling oven for approximately 15 minutes.
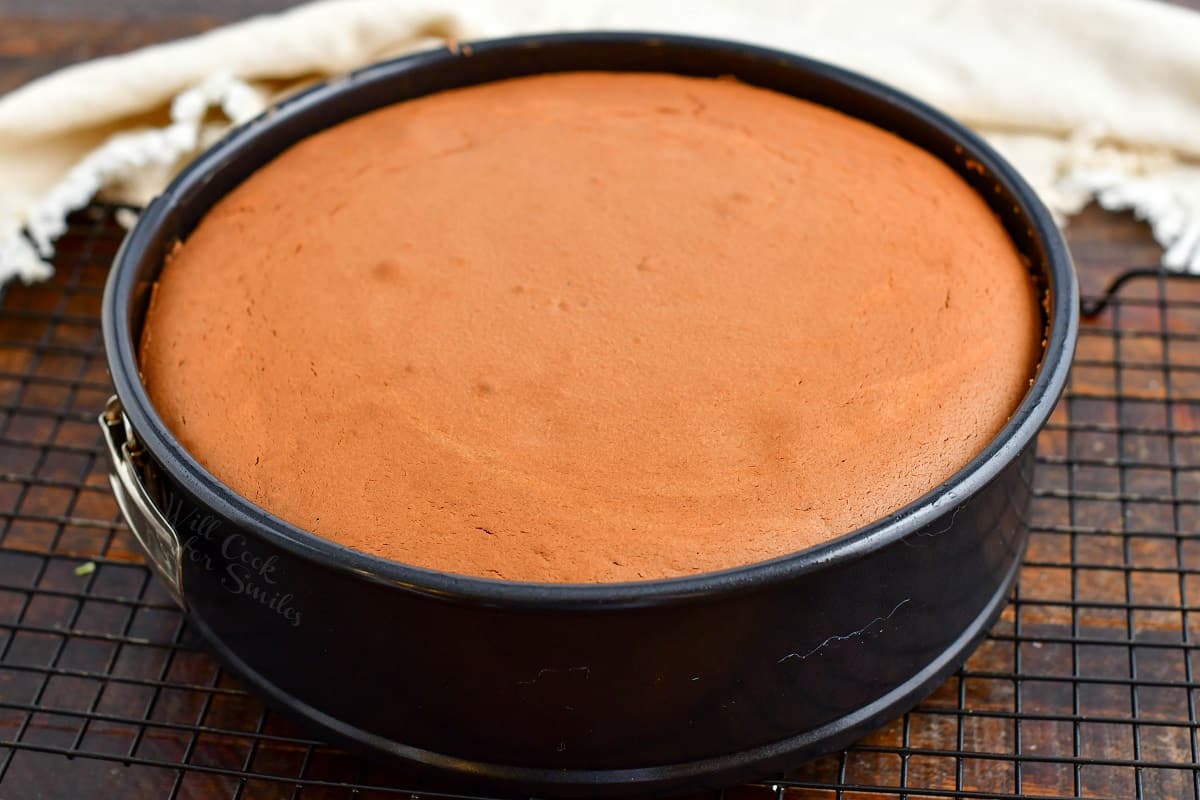
After removing the foil wrap, let the cheesecake rest for 10 minutes on the counter. Then, run a greased knife between the cheesecake and the springform pan.
Cool the cheesecake at room temperature for an hour before covering with plastic wrap and moving to the refrigerator, where it will cool for 6 hours.
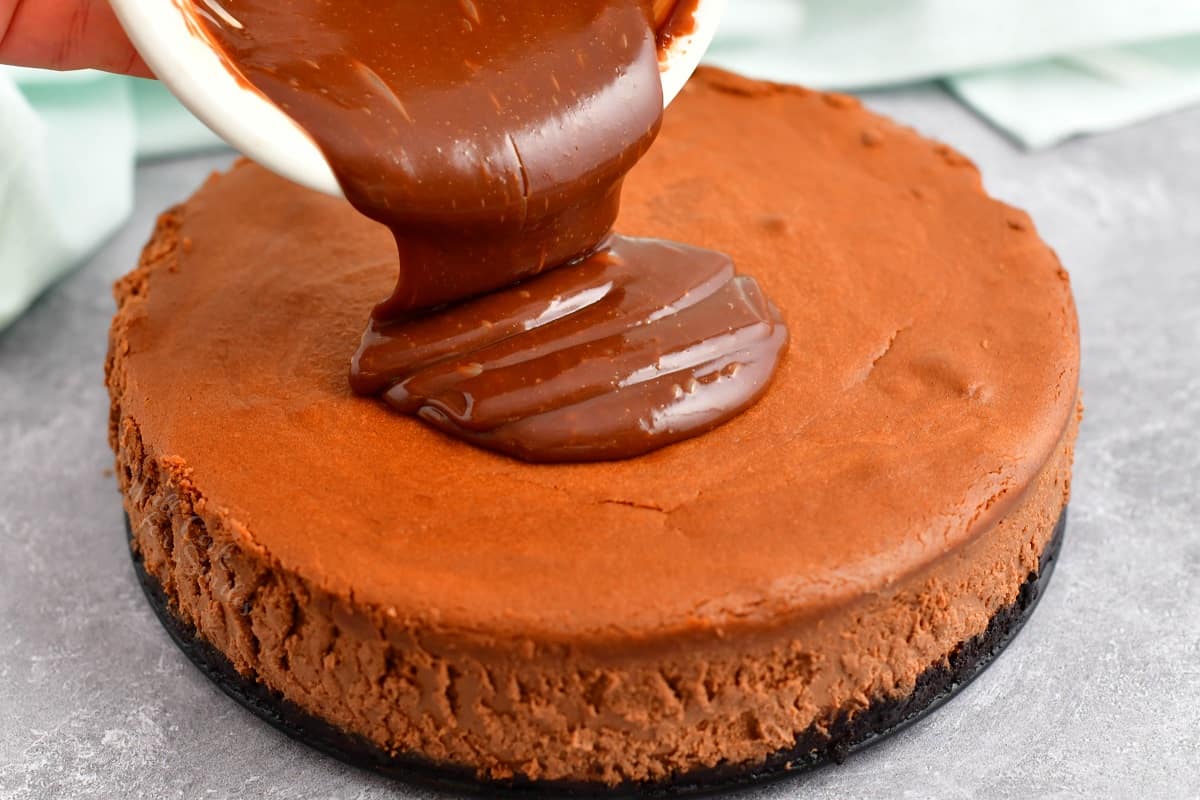
For Chocolate Ganache: Bring the heavy cream to a simmer. (Do NOT boil!) Then, pour 1/4 cup of the hot cream over the chopped milk chocolate.
Whisk the mixture together until it’s smooth. Pour the ganache evenly over the cheesecake.
How To Make Chocolate Whipped Cream
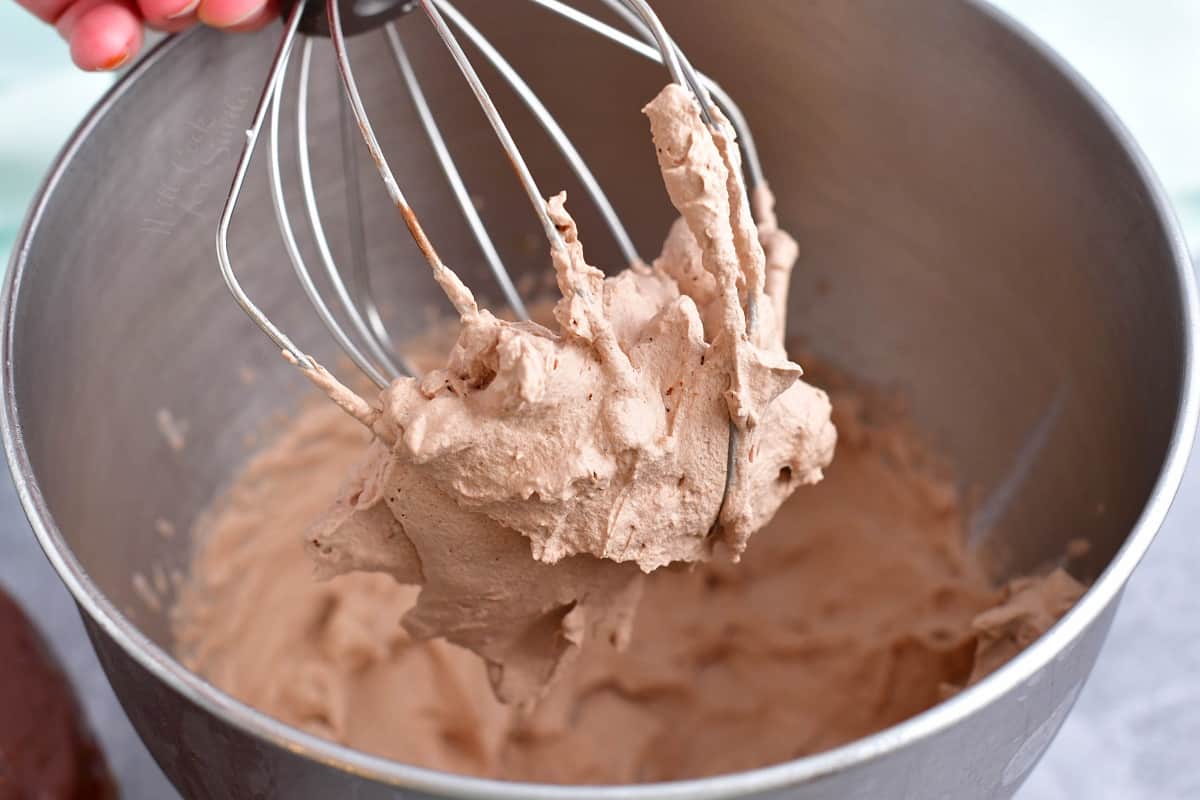
Remember – allow the chocolate ganache to fully cool before topping with whipped cream.
Prepare the metal bowl and whisk by chilling them in the freezer for 10-15 minutes.
Add all of the ingredients to the cold bowl. Whisk until stiff peaks appear.
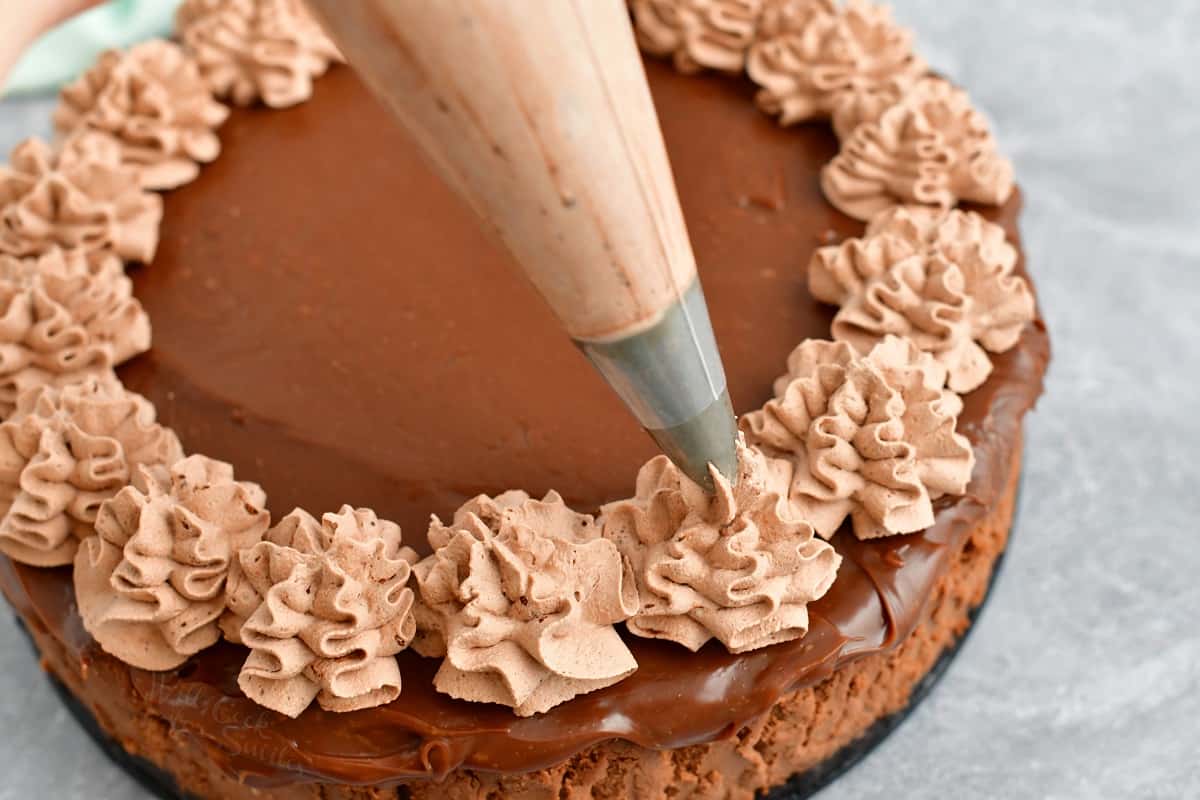
Transfer the whipped cream to a piping bag with a tip of your choice. (Personally, I prefer 1M piping tip)
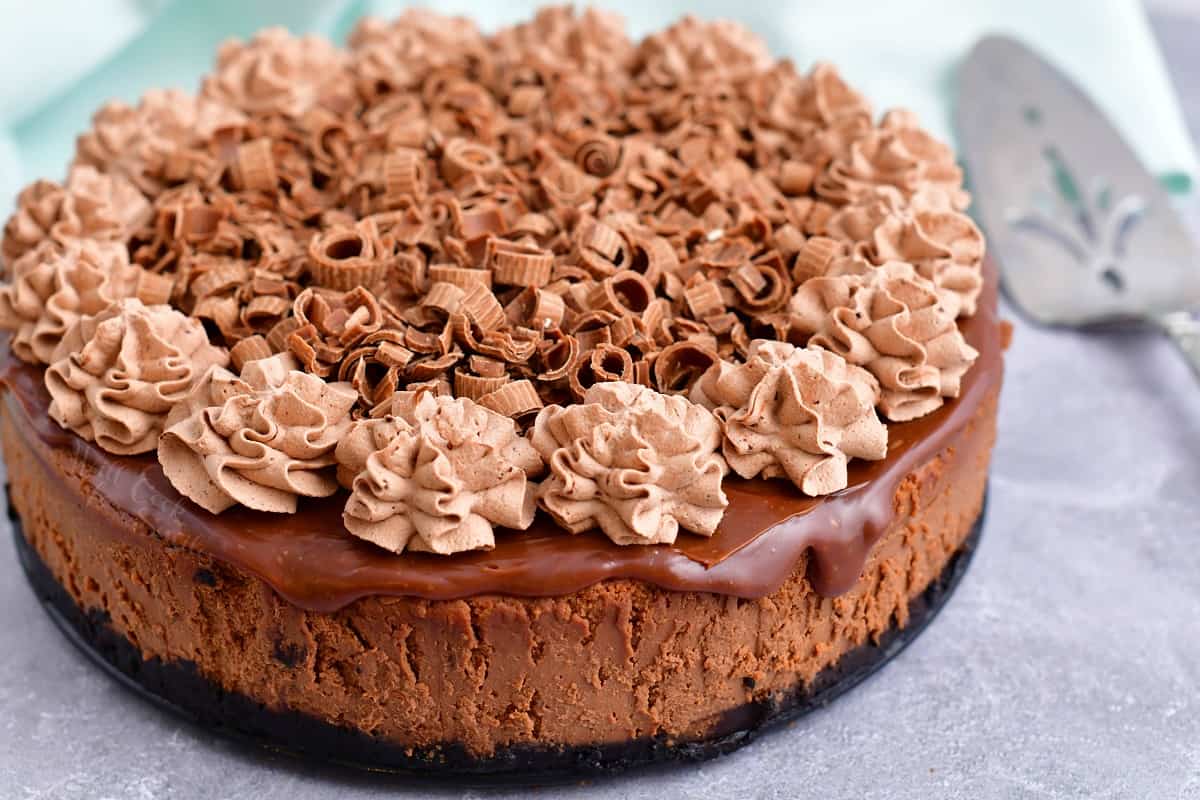
Decorate the chocolate cheesecake with the whipped cream.
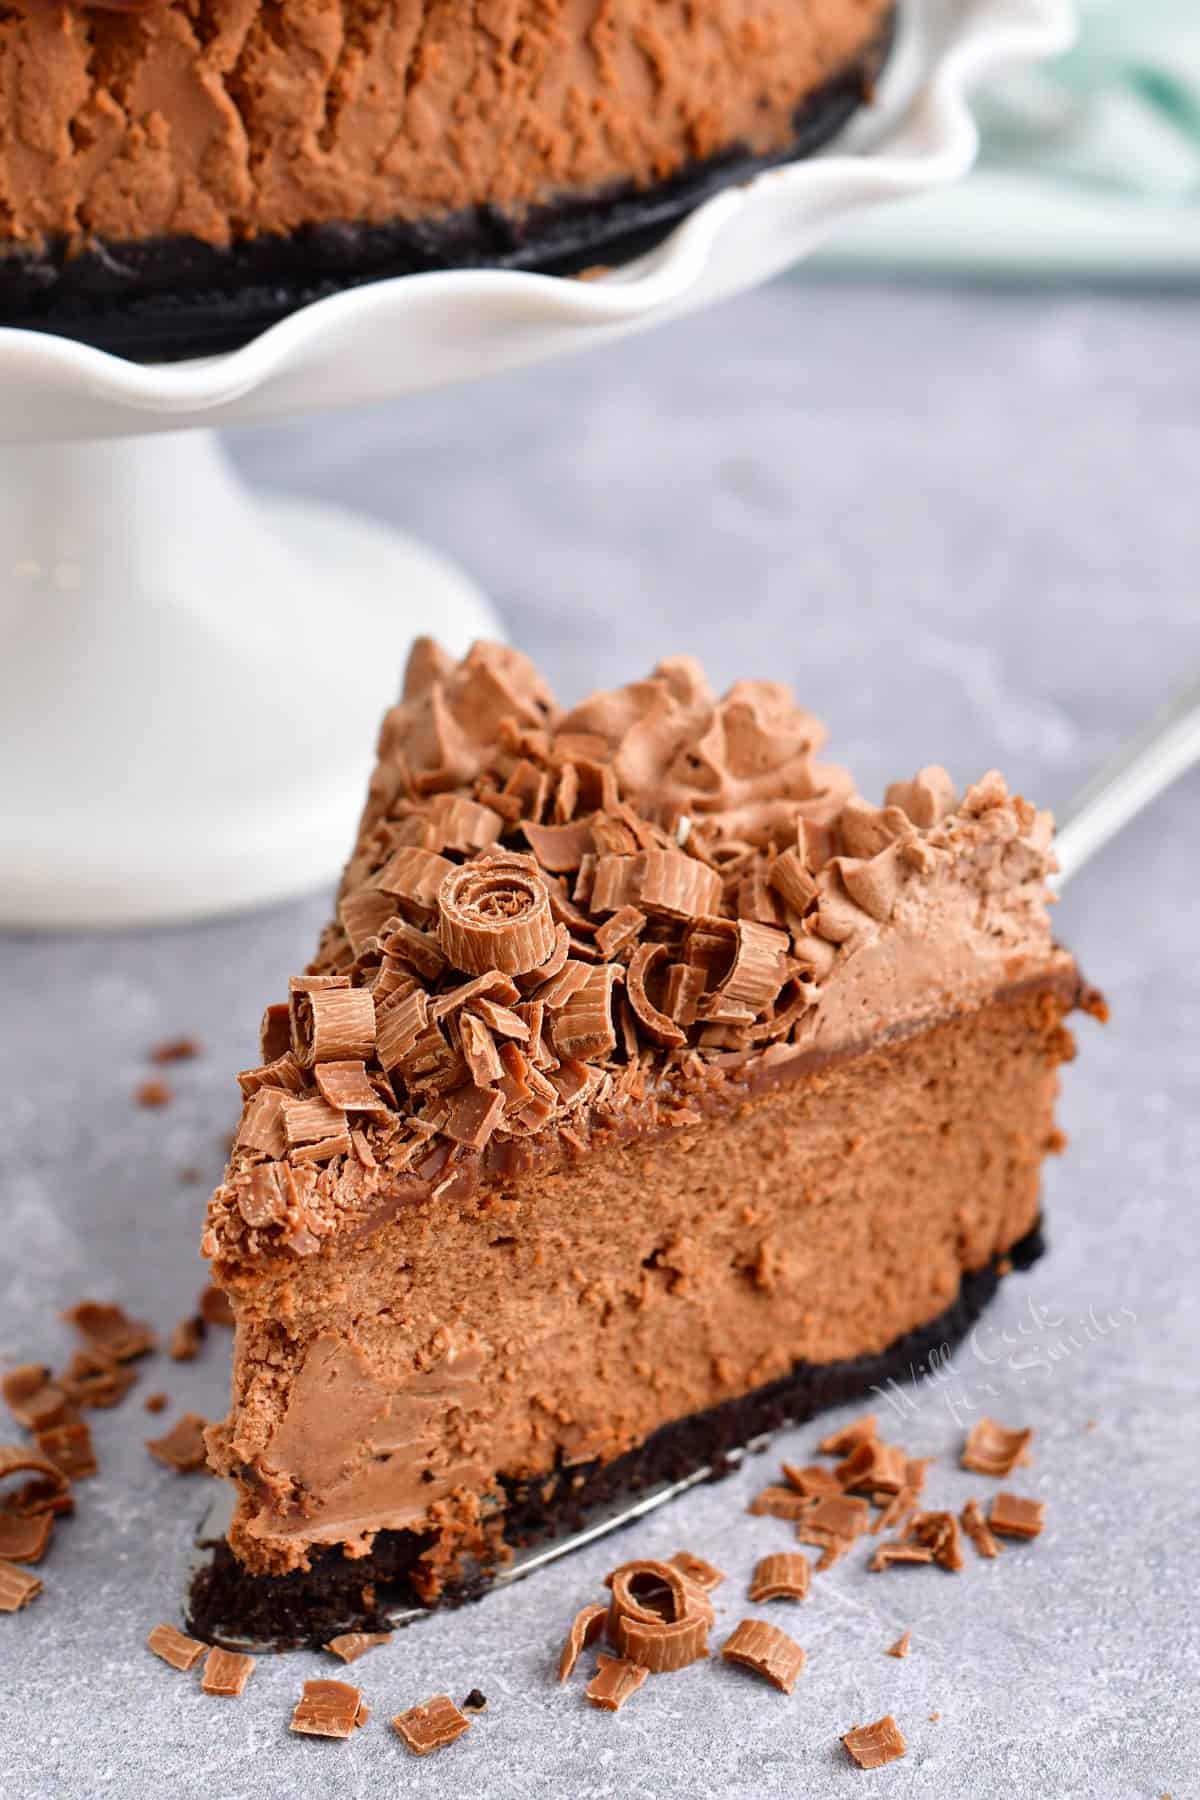
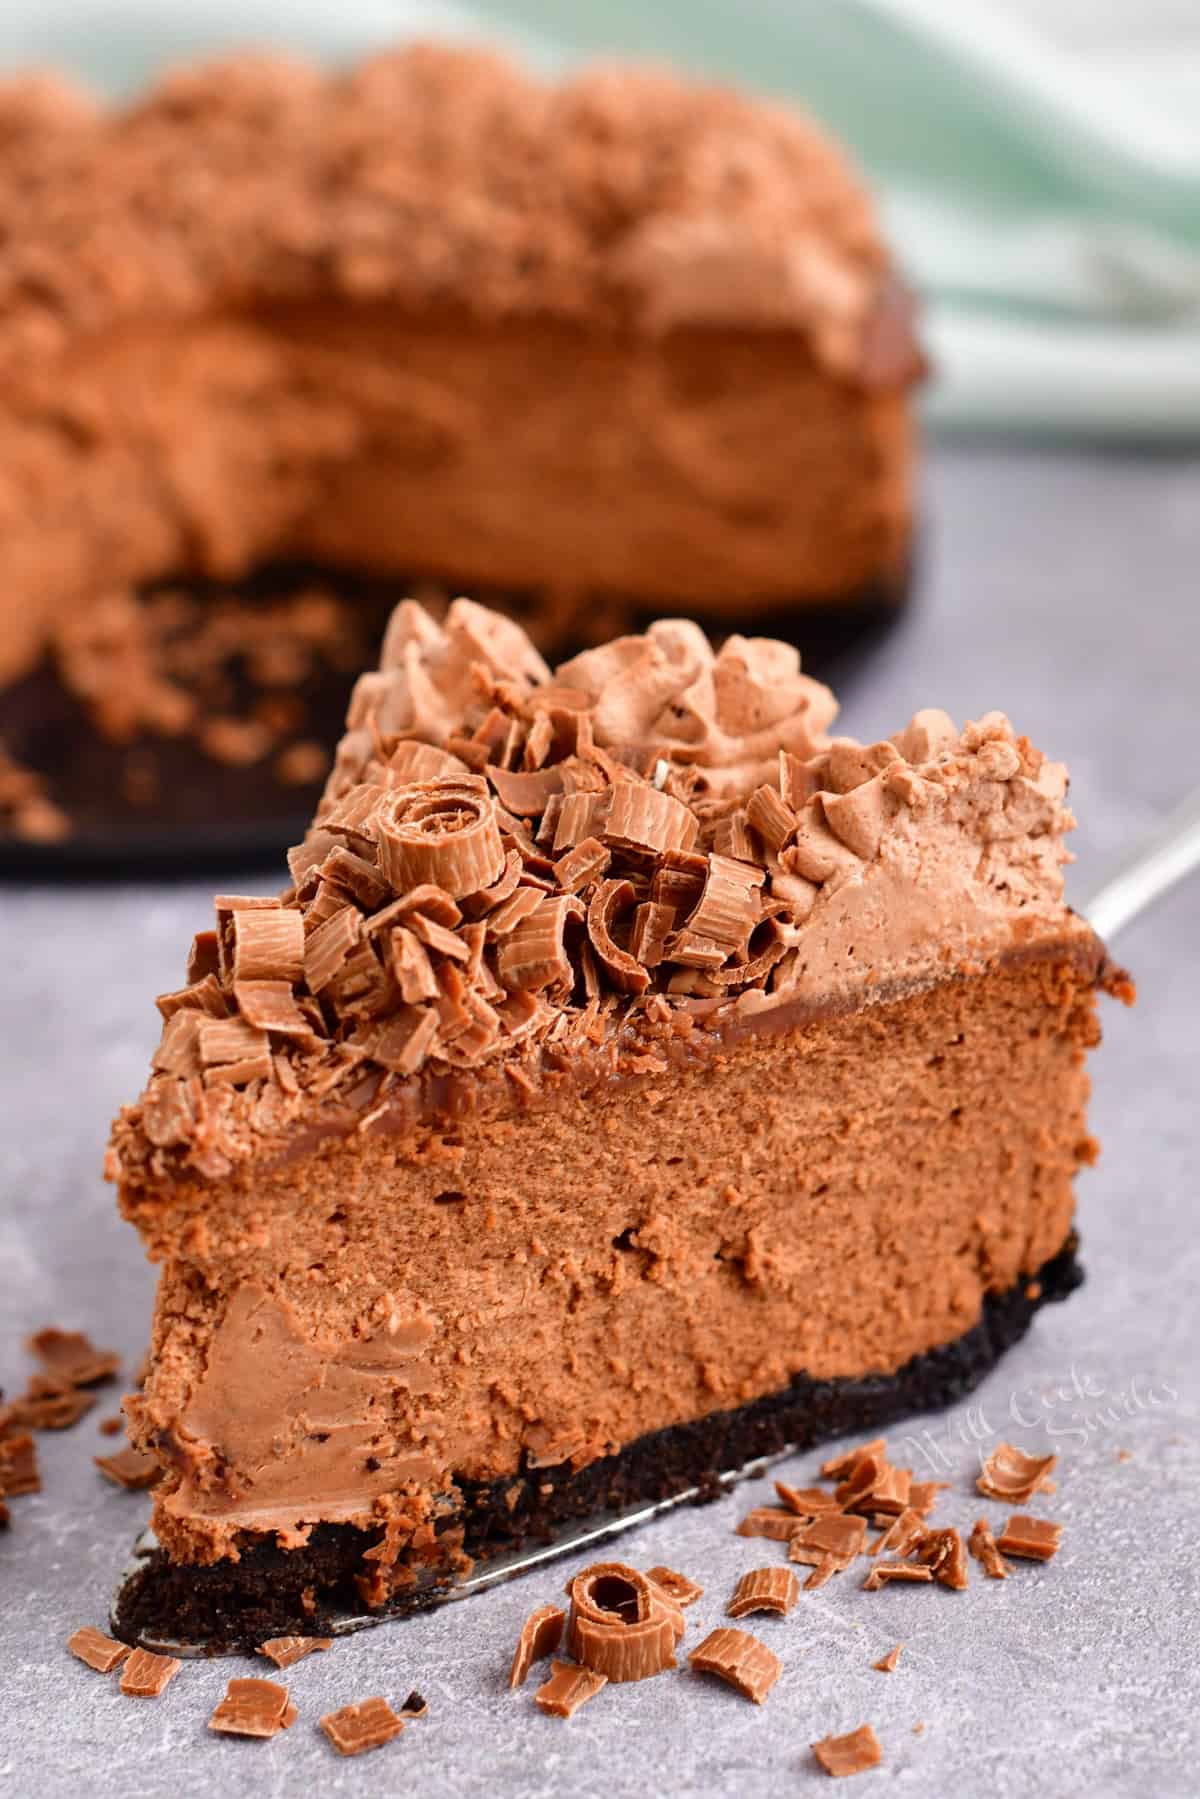
Top the cheesecake with shaved chocolate, if desired! I love how elegant the shaved chocolate and whipped cream make the cheesecake look.
Tips for the Best Whipped Cream
- Make sure the equipment like the mixing bowl and whisk attachment to the mixer are cold.
- Additionally, make sure the heavy whipping cream is also cold!
- Start by whisking the ingredients on low speed, then gradually increasing the speed every couple seconds.
- Don’t over beat it, either! Just beat the ingredients until stiff peaks form.
- Whipped cream is ready pretty fast so don’t walk away.
How to Store Chocolate Cheesecake
In the refrigerator, homemade cheesecake will stay good for up to 5 days. To maximize the freshness of the cheesecake, be sure to keep it air-tight! Otherwise, the cheesecake will dry out.
To freeze the cheesecake, do so without the whipped cream and ganache toppings. The whipped cream will not hold up well in the freezer. However, cheesecakes are well known for freezing wonderfully! It’ll stay fresh in the freezer for up to 2 months.
How To Freeze Cheesecake
Freeze cheesecake whole or cut it into slices first.
Once cheesecake has fully cooled to room temperature, gently run a butter knife along the inside of the springform pan to separate the cheesecake from the pan. Carefully place the pan with the cheesecake into the freezer and freeze for about an hour. (Set the timer!)
Next, take off the side portion of the springform. At this point, you can choose to either keep the bottom of the springform with the cheesecake on it, or transfer it onto a piece of thick cardboard cake holder covered with aluminum foil.
Wrap the cheesecake and the bottom of the pan with plastic wrap. Use about 2-3 layers. Then, wrap the entire thing with foil. As another added protection from air, you can place the whole things in a large, zip-top freezer bag, but that’s optional.
Make sure to date and label the plastic wrap (or bag) before placing cheesecake back in the freezer. Cheesecake will stay good in the freezer for approximately 2-3 months.
To thaw a frozen cheesecake, make sure to do so slowly in the fridge! Take the cheesecake out of the freezer, take off the zip-top bag, place it into the refrigerator and allow it to slowly thaw overnight or for up to 24 hours.
Recipe FAQs
Using the water bath technique while baking is called “bain-marie.” This technique is used to make desserts like crème brûlée, custards, and cheesecakes. The primary reason for using a water bath for these recipes is to keep direct heat away from baking dish.
Because these desserts are heavy on the eggs and cream, if not baked slowly and evenly and exposed to direct heat, it would not be baked properly. The outside will be overcooked and the inside will still be gooey. A water bath guarantees even baking throughout the whole dessert by keeping layer of protection between the baking dish and heat from the oven.
Without a water bath, cheesecake will be uncooked in the center, is more likely to crack, and most importantly, it’ll be overcooked on the outside and undercooked on the inside.
It’s very easy to make this chocolate cheesecake gluten free! The only part of this recipe that has gluten is the Oreo cookies. Luckily, Oreos have a gluten free option at the stores.
All of the other ingredients should already be gluten-free, but always double check your labels and nutritional information to be sure.
You can always tell the cheesecake is fully baked when the edges are set and the center is slightly soft and jiggly. As it cools in the oven and on the countertop, the center will continue to set more and firm up. DO NOT insert a knife or toothpick into the center, as that may cause the cheesecake to crack!
More Cheesecake Recipes To Try
DID YOU MAKE THIS RECIPE? PLEASE leave a 🌟 star rating! Let me know how you liked it by leaving the 📝 comment below or share and tag me on social media @willcookforsmiles. DON’T FORGET to subscribe to my newsletter!

Chocolate Cheesecake Recipe
Ingredients
Oreo Cookie Crust:
- 26-28 Oreo cookies
- 4 tbsp unsalted butter melted
Chocolate Cheesecake Filling:
- 32 oz cream cheese softened
- 1 cup white granulated sugar
- 3 eggs room temperature
- 1/2 cup heavy whipping cream
- 2 tsp vanilla extract
- 2 tbsp cornstarch
- 8 oz semi-sweet baking chocolate
Chocolate Ganache:
- 4 oz milk chocolate bar or dark or semi-sweet if preferred
- 3-4 tbsp heavy whipping cream hot
Chocolate Whipped Cream:
- 1 cup heavy whipping cream cold
- 3 tbsp powdered sugar
- 3 tbsp cocoa powder
- 1 tsp vanilla extract
Instructions
- Before making the cheesecake, prepare the pan by wrapping outside of the pan in aluminum foil. Many springform pans, especially ones that have been used quite a bit, have a chance of leaking some water inside. Wrapping outside of the springform in foil will help keep water out.
- Although, there is a chance that a small amount of water will leak in, this will NOT ruin the cheesecake.
Oreo Cookie Crust:
- Pulse Oreo cookies for crust in a blender until it's just crumbs. Mix Oreo cookie crumbs and melted butter in a mixing bowl until thoroughly incorporated.
- Spray inside of the springform pan with some cooking spray, making sure you get the sides too.
- Spread crumb mixture in the bottom of the springform pan, evenly, pressing it over the bottom and a little up the sides. Set it aside while preparing the cheesecake filling.
Cheesecake Filling:
- Chop the baking chocolate bar into small pieces and melt it either in a double boiler or in a bottom heavy sauce pot over medium-low heat. Make sure to stir slowly and constantly as the chocolate melts so it doesn't get singed. As soon as the chocolate is mostly melted, take it off heat and keep stirring until it's fully melted. Set aside to cool a little.
- In a bowl of an electric mixer, beat cream cheese for a couple of minutes on medium-high speed, until smooth and fluffy.
- Pour in sugar while beating and add eggs, one at a time. Beat it until smooth. Stop to scrape bottom and sides of the bowl.
- Add heavy whipping cream and vanilla extract. Beat, still on medium-high speed, until all mixed very well and stop and scrape the sides and bottom of the bowl.
- Turn the mixer back on low speed and mix in cornstarch, then bring the speed to medium and slowly drizzle in the melted chocolate.
- Once chocolate is mostly mixed in, stop and scrape the sides and bottom of the bowl and then mix in the chocolate until fully incorporated.
- Transfer batter into the springform and spread in evenly over the crust.
Baking Chocolate Cheesecake:
- Preheat oven to 325°.
- Place a large roasting pan into the oven and place cheesecake springform inside the roasting pan. Carefully pour hot water to the roasting pan, about half way up the side of the springform.
- Bake for 80-85 minutes. (The cheesecake will be mostly set but have a slight jiggle in a center.) Turn off the oven and open the oven door half way. Let cheesecake rest for 10-15 minutes and then take it out of the oven. Take the foil wrap off the pan.
- Let it rest for 10 minutes on the counter and then gently run a butter knife between sides of the cheesecakes and the springform to carefully separate it. (You don’t actually have to take the cheesecake out of the pan until ready to serve.)
Chocolate Ganache:
- When ready to decorate the cheesecake, start making ganache and whipped cream.
- Chop milk chocolate and place it in a small mixing bowl.
- Bring heavy cream to simmer, be careful not to let it actually boil or it will raise. (You can do that in a microwave over a few seconds or on the store in a small sauce pot.)
- Pour 1/4 cup of boiling cream over the chopped milk chocolate and stir with a whisk until melted and smooth.
- Pour ganache on top of the cheesecake, in the center, and let it spread and drip off a little off the sides. If you need to, use a flat spatula to help spread the ganache.
Chocolate Whipped Cream
- Do NOT add whipped cream to warm cheesecake of still warm ganache, make sure to cool the cheesecake and ganache completely before topping with whipped cream.
- Place the metal mixer bowl and the whisk attachment into the freezer for 10-15 minutes. (If using glass mixer bowl, place it in the refrigerator for about 20 minutes.)Don't take the heavy whipping cream out of the refrigerator until actually ready to pour it into the bowl.
- Add the cold heavy whipping cream into the cold mixing bowl and add powdered sugar, cocoa powder, and vanilla extract. Starting at low speed, start whipping everything and gradually raise to speed to high every couple of seconds. Beat until stiff peaks appear (don't walk away far).
- Transfer the whipped cream into a piping bag and keep in the refrigerator until ready to decorate the cheesecake.
- Decorate with whipped cream when the ganache is cooled.
- Optional: You can also shave a regular chocolate bar and sprinkle the shavings on top.
Video
Notes
- Gluten free: The only part of this recipe that has gluten is the Oreo cookies. Luckily, Oreos have a gluten free option at the stores.
All of the other ingredients should already be gluten-free, but always double check your labels and nutritional information to be sure. - Storing: Make sure to store the cheesecake in the refrigerator and covered air-tight. Properly stored, cheesecake should last up to 5 days.
Nutrition
Categories:
Cheesecake Recipes, Chocolate Recipes, Christmas Baking Recipes, Dessert Recipes, Mother's Day Recipe Ideas, Thanksgiving Dinner Recipes, Valentine's Day,All images and text ©Lyubov Brooke for ©Will Cook For Smiles. Please do not use my images without prior permission. If using my posts in collections and features, please link back to this post for the recipe.
Disclaimer: Nutrition information shown is not guaranteed to be 100% accurate as most ingredients and brands have variations.


HI, Lyuba! I absolutely loved your strawberry cheesecake recipe!
I am looking to make the strawberry cheese cake again, and a chocolate cheesecake to prepare as quarters put together as whole cheesecake (if that makes sense/or would even look good). I was going to attempt cooking them together but feel it won’t work as well.
I’m not very fond of chocolate cheesecake, which of your chocolate cheesecake recipes do you think would offset your strawberry cheesecake recipe best? This is for my friends wedding.
Thank you!
Do you use the cream center of the Oreos?
Hi Julie, Yes you use the whole cookie. I hope you like the recipe.
Omg! Best cheesecake EVER! My family thanks you for this recipe!
Thank you so much for the positive feedback! I’m delighted to hear that you and your family loved the cheesecake. Enjoy every bite, and happy baking!