Chicken Milanese
Chicken Milanese is a very simple chicken recipe that consists of a flavorful breaded, pan-fried chicken breasts. If you want an easy chicken dinner that is juicy on the inside, crispy on the outside, and beautifully flavored, this is the perfect recipe for you!
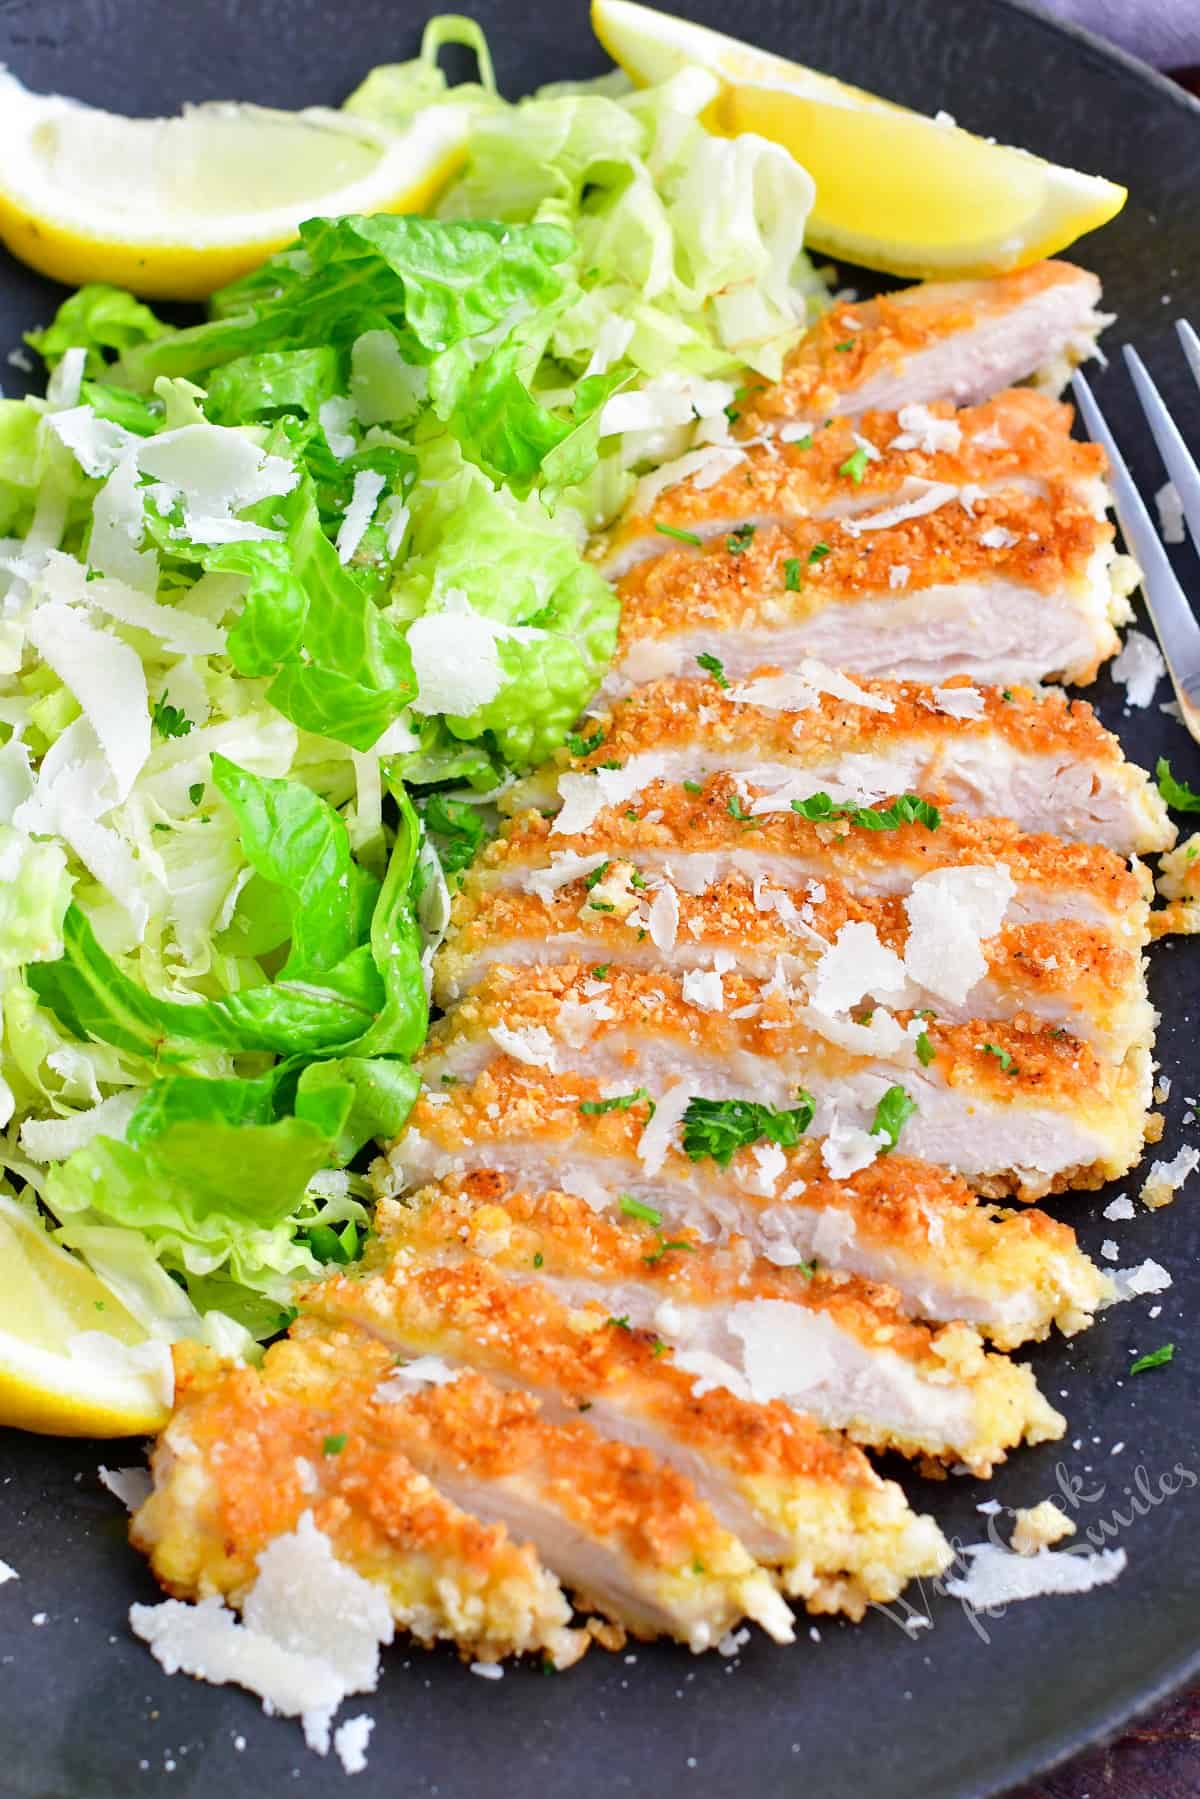
You can serve it simply with a side dish, on top of a salad, with a creamy sauce, or make it into Chicken Parmesan.
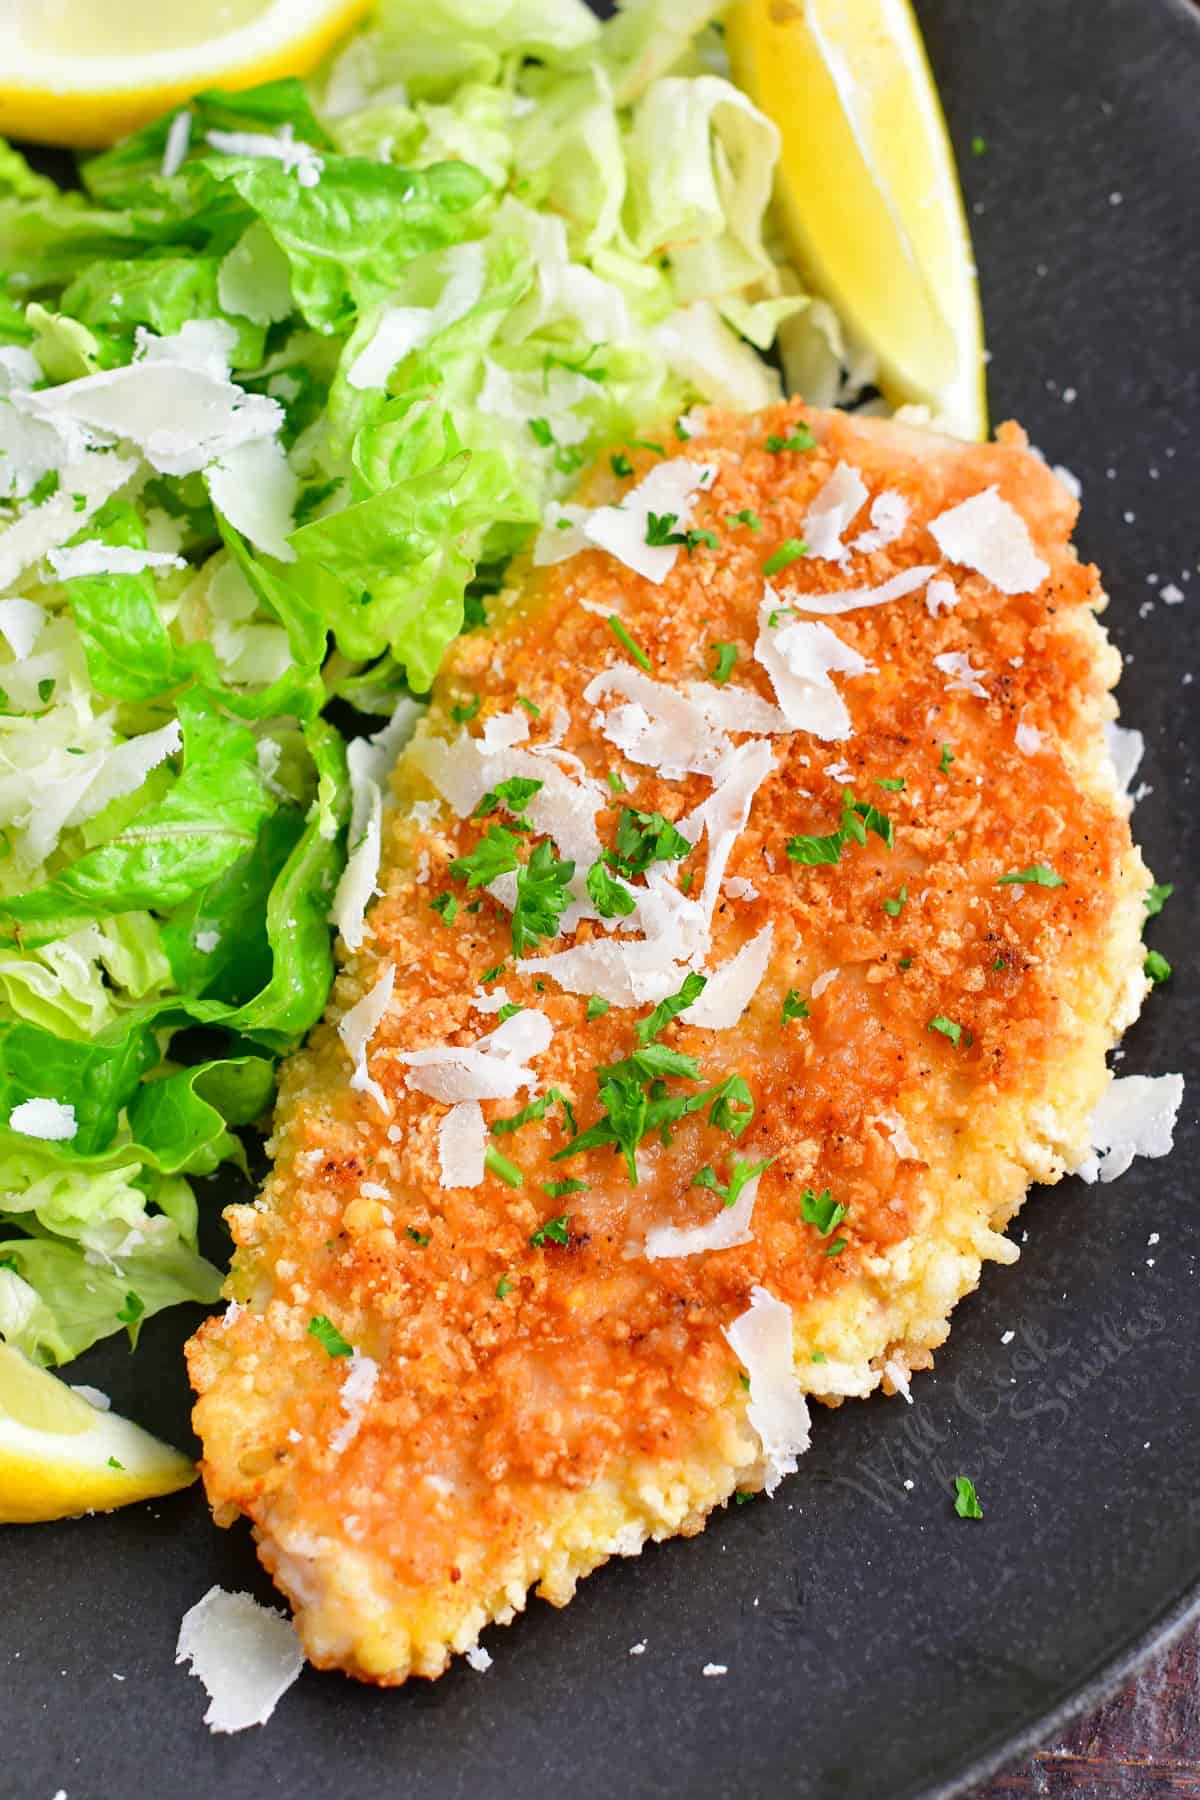
Table of Contents
What Is Chicken Milanese?
So, what exactly is Chicken Milanese? This chicken dish is a very simple recipe for thin slices of chicken breast that are breaded and pan-fried until crispy on the outside and juicy on the inside.
A great dish to serve with a side of Mashed Potatoes, roasted vegetables, or a side salad. This chicken is also a perfect base for Chicken Parmesan, or serve it with other creamy and wine based sauces.
It’s quite simple to make this chicken dinner, it requires minimal ingredients, and just about 30 minutes of your time. The ingredients that really bring in the flavor are garlic, black pepper, and freshly grated parmesan cheese.
When preparing this Chicken Milanese, I recommend setting everything up just before you begin the cooking process. Read easy steps and tips below so making this dish is a breeze. If prepared correctly, this delicious chicken dinner is truly a simple and satisfying recipe!
Chicken Milanese vs Chicken Scaloppine vs Chicken Piccata
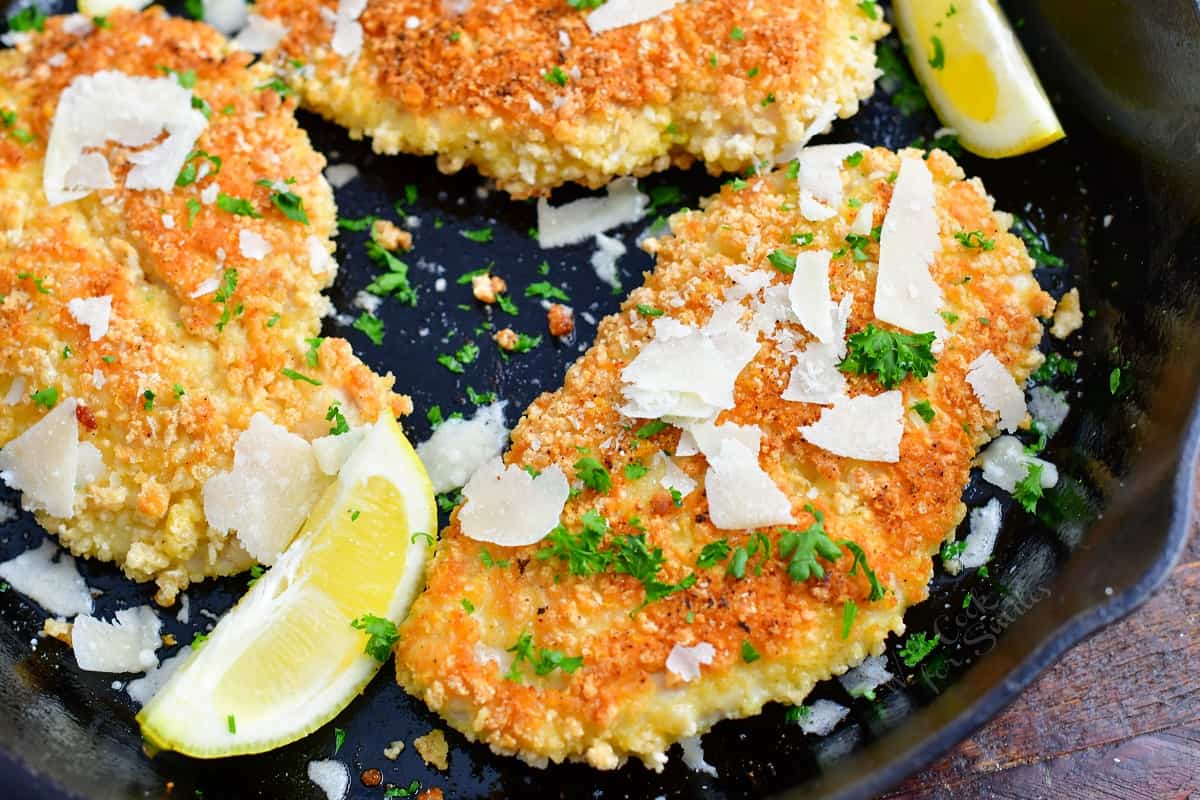
These three names are so often confused, and I’ve even seen them used interchangeably. I want to take a few minutes to explain the difference between Chicken Scaloppine, Chicken Piccata, and Chicken Milanese.
- Scaloppine (sometimes written as scaloppini or scallopini) is actually a cooking technique that refers to thin slices of meat. It’s most often used to prepare veal and chicken. Put simply, chicken scaloppini is thin slices of chicken breast. Essentially, scaloppine is the first step to making chicken Milanese, Chicken Parmesan, Chicken Marsala, Chicken Piccata, and many other dishes.
- Chicken Milanese is thinly sliced chicken breast that is breaded and then pan-fried with butter and oil.
- Chicken Piccata, on the other hand, also starts with a thinly sliced chicken breast but it is lightly dredged with seasoned flour only and then sautéed in the pan. Same preparation style goes for Chicken Marsala. Although, Chicken Piccata has the signature flavors of lemon sauce and capers. Chicken Marsala features marsala wine sauce and mushrooms.
Ingredient Notes and Tips
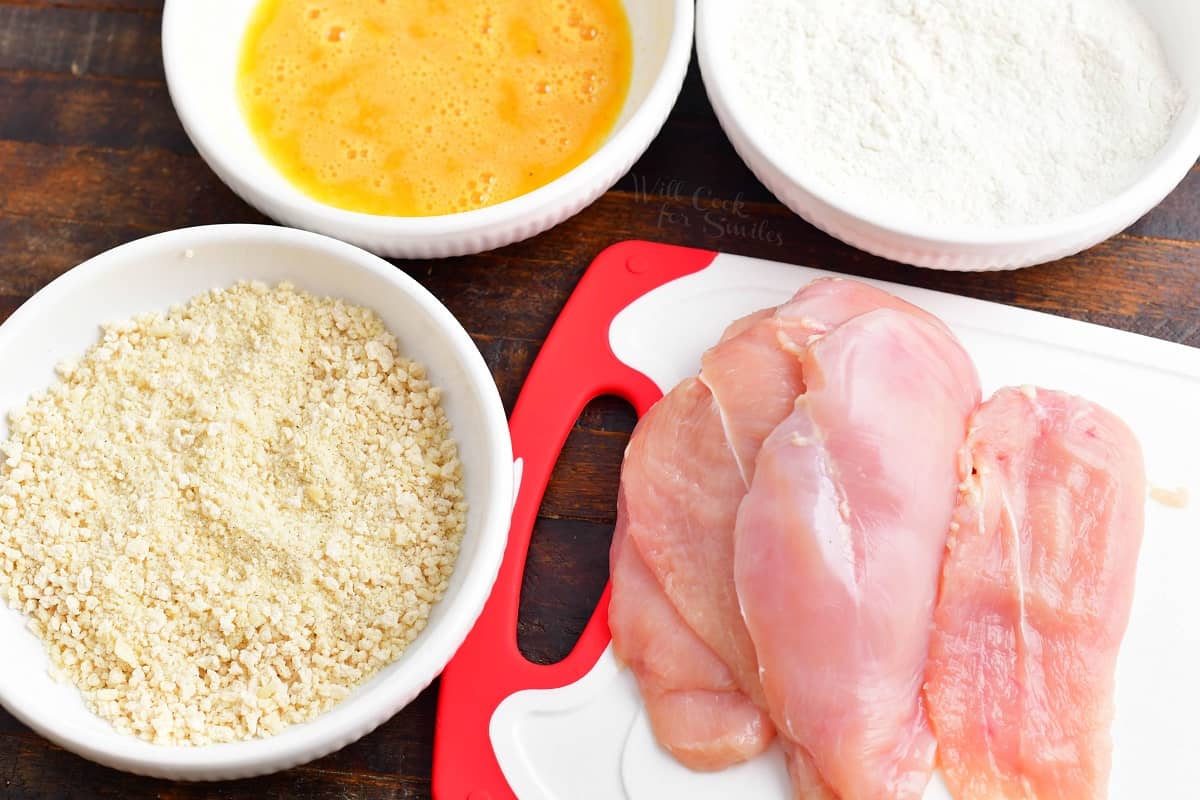
Chicken Breasts – Make sure to use boneless and skinless chicken breast meat.
Olive Oil – In a pinch, you can use avocado oil, but olive oil is preferred. Use olive oil that is meant for cooking because you will be pan-frying the chicken.
Butter – Unsalted butter is an optional but highly recommended ingredient.
Flour – You’ll need all purpose flour for this recipe. Use gluten free all purpose flour if needed.
Eggs – Use two eggs if they’re larger or extra large, three eggs if they’re smaller.
Panko Bread Crumbs – use unflavored, as you’re going to be flavoring the breadcrumbs yourself with seasonings. Use gluten free panko bread crumbs if needed. (My personal favorite brand of gluten free bread crumbs is 4C bread crumbs.)
Parmesan Cheese – By grating the parmesan cheese straight from the block, you get so much more flavor and it also melts very well into the breading. If you don’t have the time to grate it yourself, some deli sections of the grocery store will have freshly grated parmesan cheese available.
See recipe card for complete information on ingredients and quantities.
How to Make Chicken Milanese
Let’s start by making chicken cutlets!
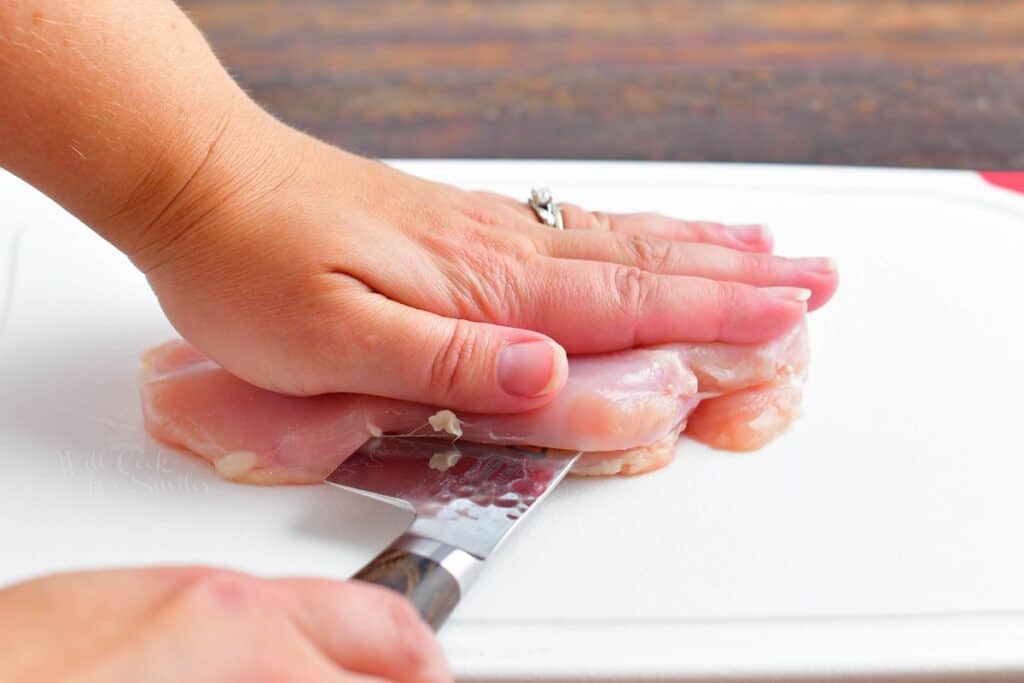
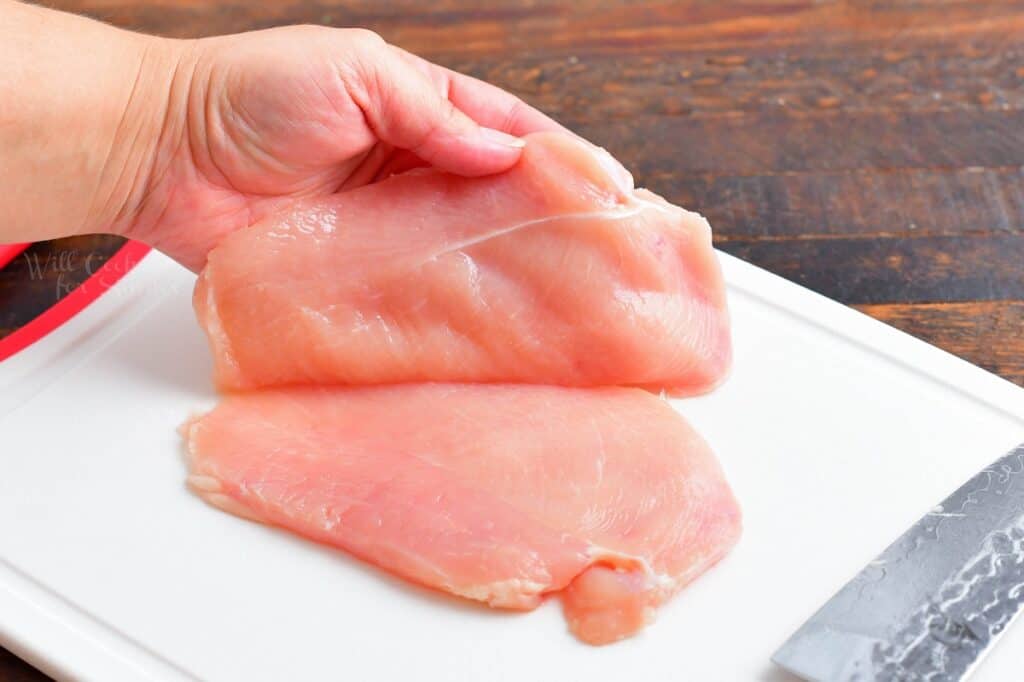
Place the chicken breast on a cutting board, then place your hand on top of it. Carefully, use a sharp knife to slice the breast in half, and try to make the halves as even as possible. (Watch your hand!)
Once the breasts have all been evenly sliced, lightly pound the chicken with a meat tenderizer, if needed. It doesn’t need to be too thin, so be gentle with the pressure you use.
Breading The Chicken Cutlets
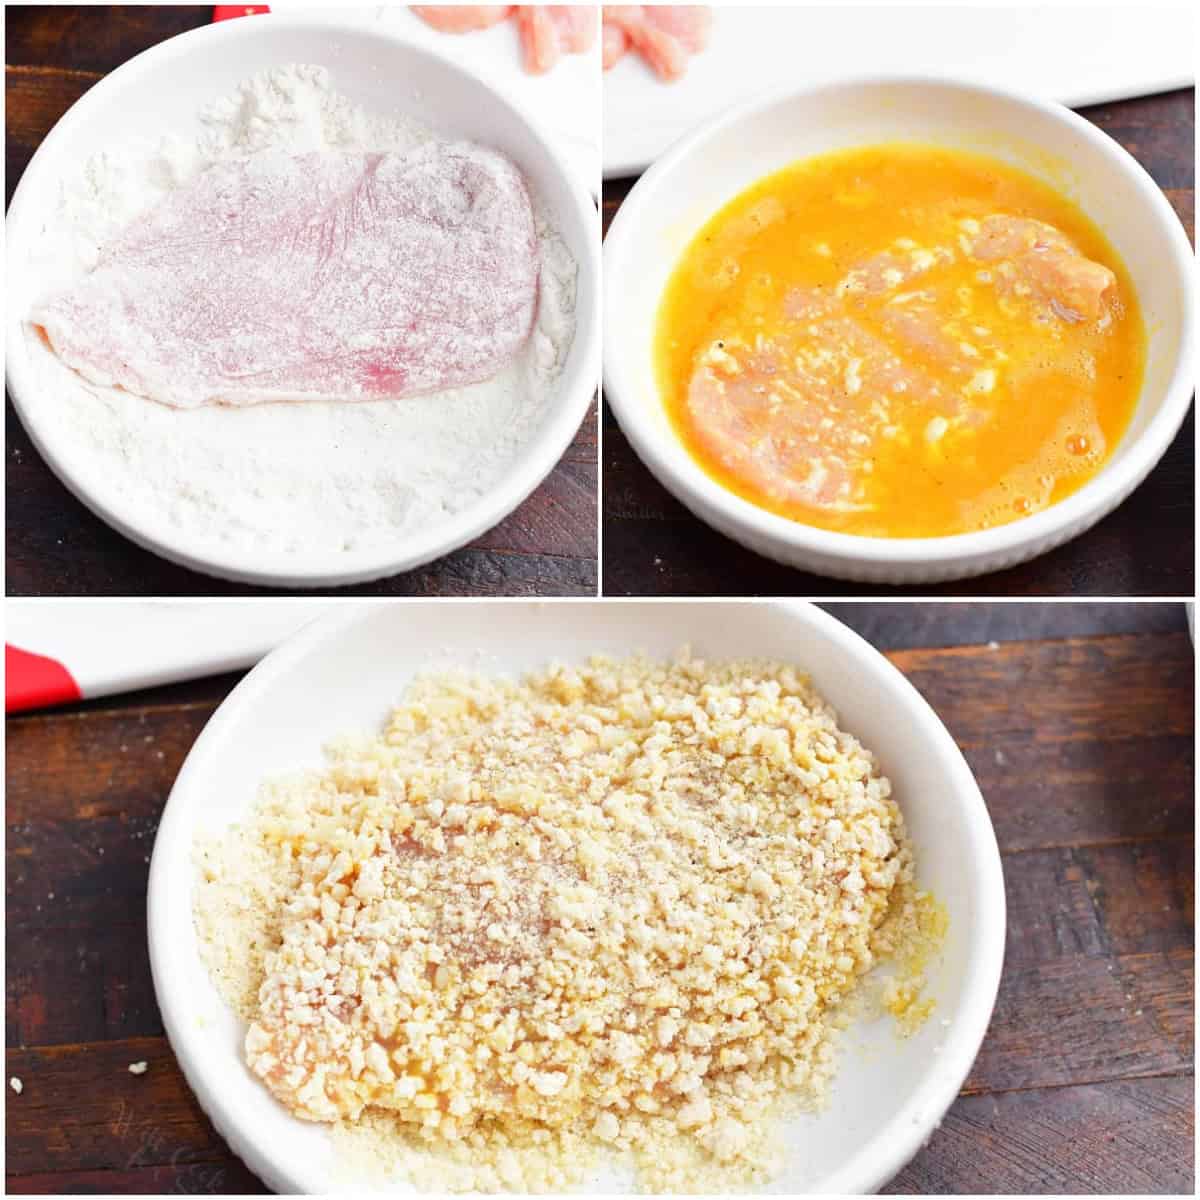
One of the biggest questions people have is how to keep the coating from falling off? The way to fix it is to bread the chicken in the right order. There are three parts to the coating on the chicken cutlets and as long as you do them in the right order, the coating will stay on nicely.
First the flour – Dip each chicken breast in seasoned flour mixture to lightly coat it all over.
Second is the egg – Dip flour coated chicken breast in whisked seasoned egg mixture on both sides.
Third is bread crumbs – Place chicken breast into the bowl with bread crumb mixture and flip it over a few times. Gently pat as you’re flipping the chicken to make sure the bread crumbs get onto the chicken nicely.
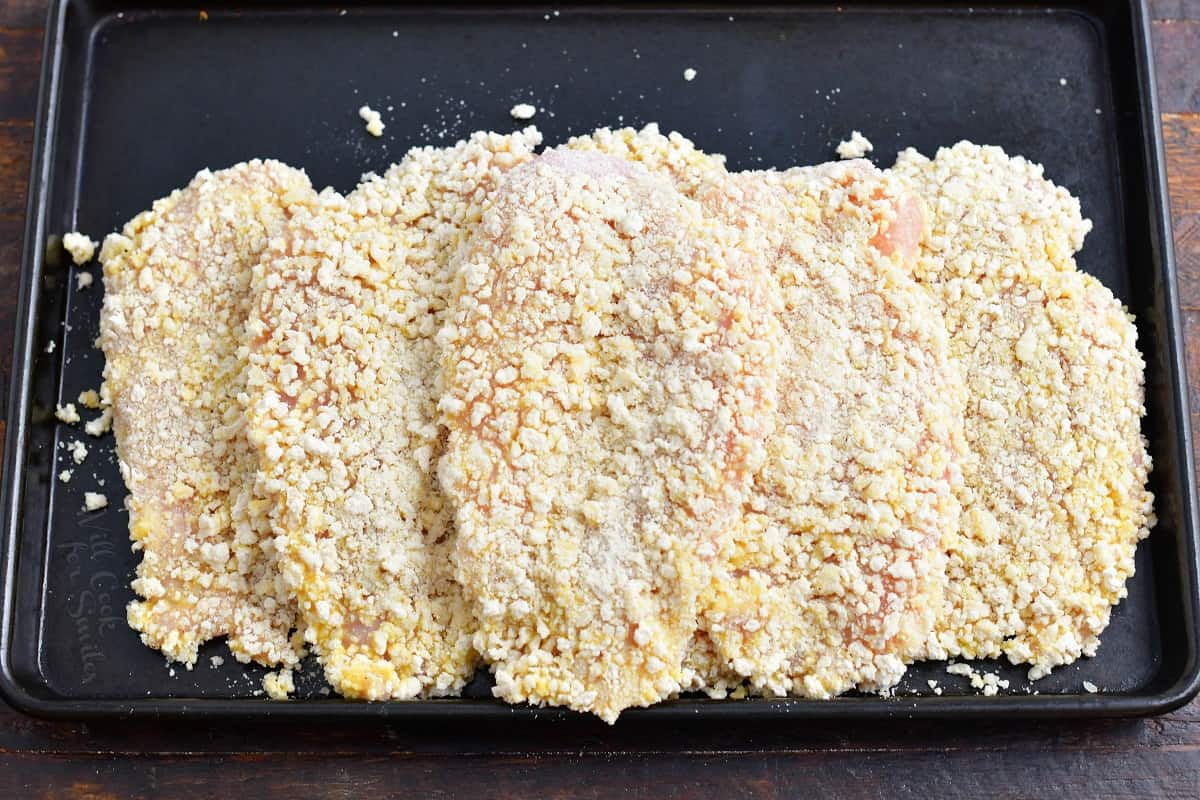
Repeat this with all the chicken cutlets.
Pan-Frying The Chicken
Let’s cook our Chicken Milanese! Start by preheating a large pan over medium to medium-high heat. Add olive oil to the pan when it’s warmed. If you’d like to add some butter to enhance the flavor even more, this is the step to do so.
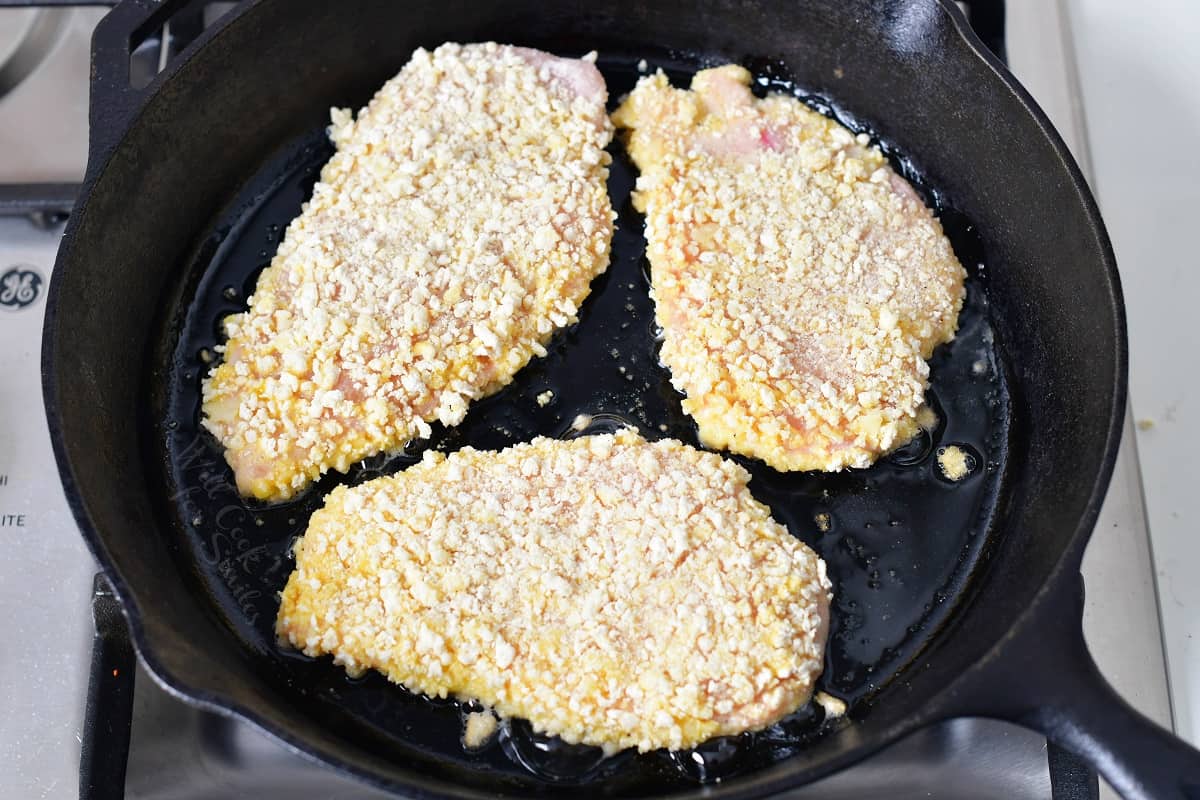
Place the prepared chicken breasts into a pan and cook for about 5 minutes per side. If the chicken is on the thinner side, you may just need 3 minutes per side.
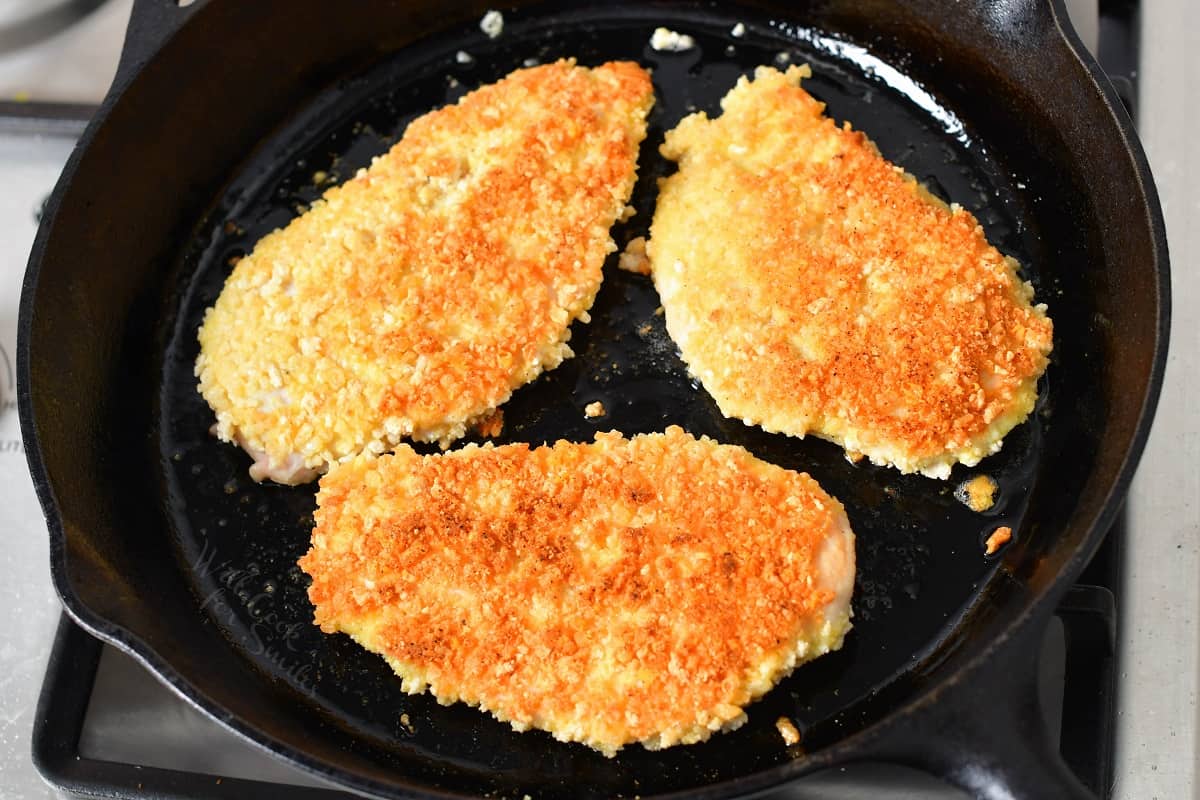
The chicken is complete when it is cooked all the way through and a gorgeous golden brown color.
PRO TIP: depending on the size of your pan, it’s best to cook the chicken in batches of 3 or 4.
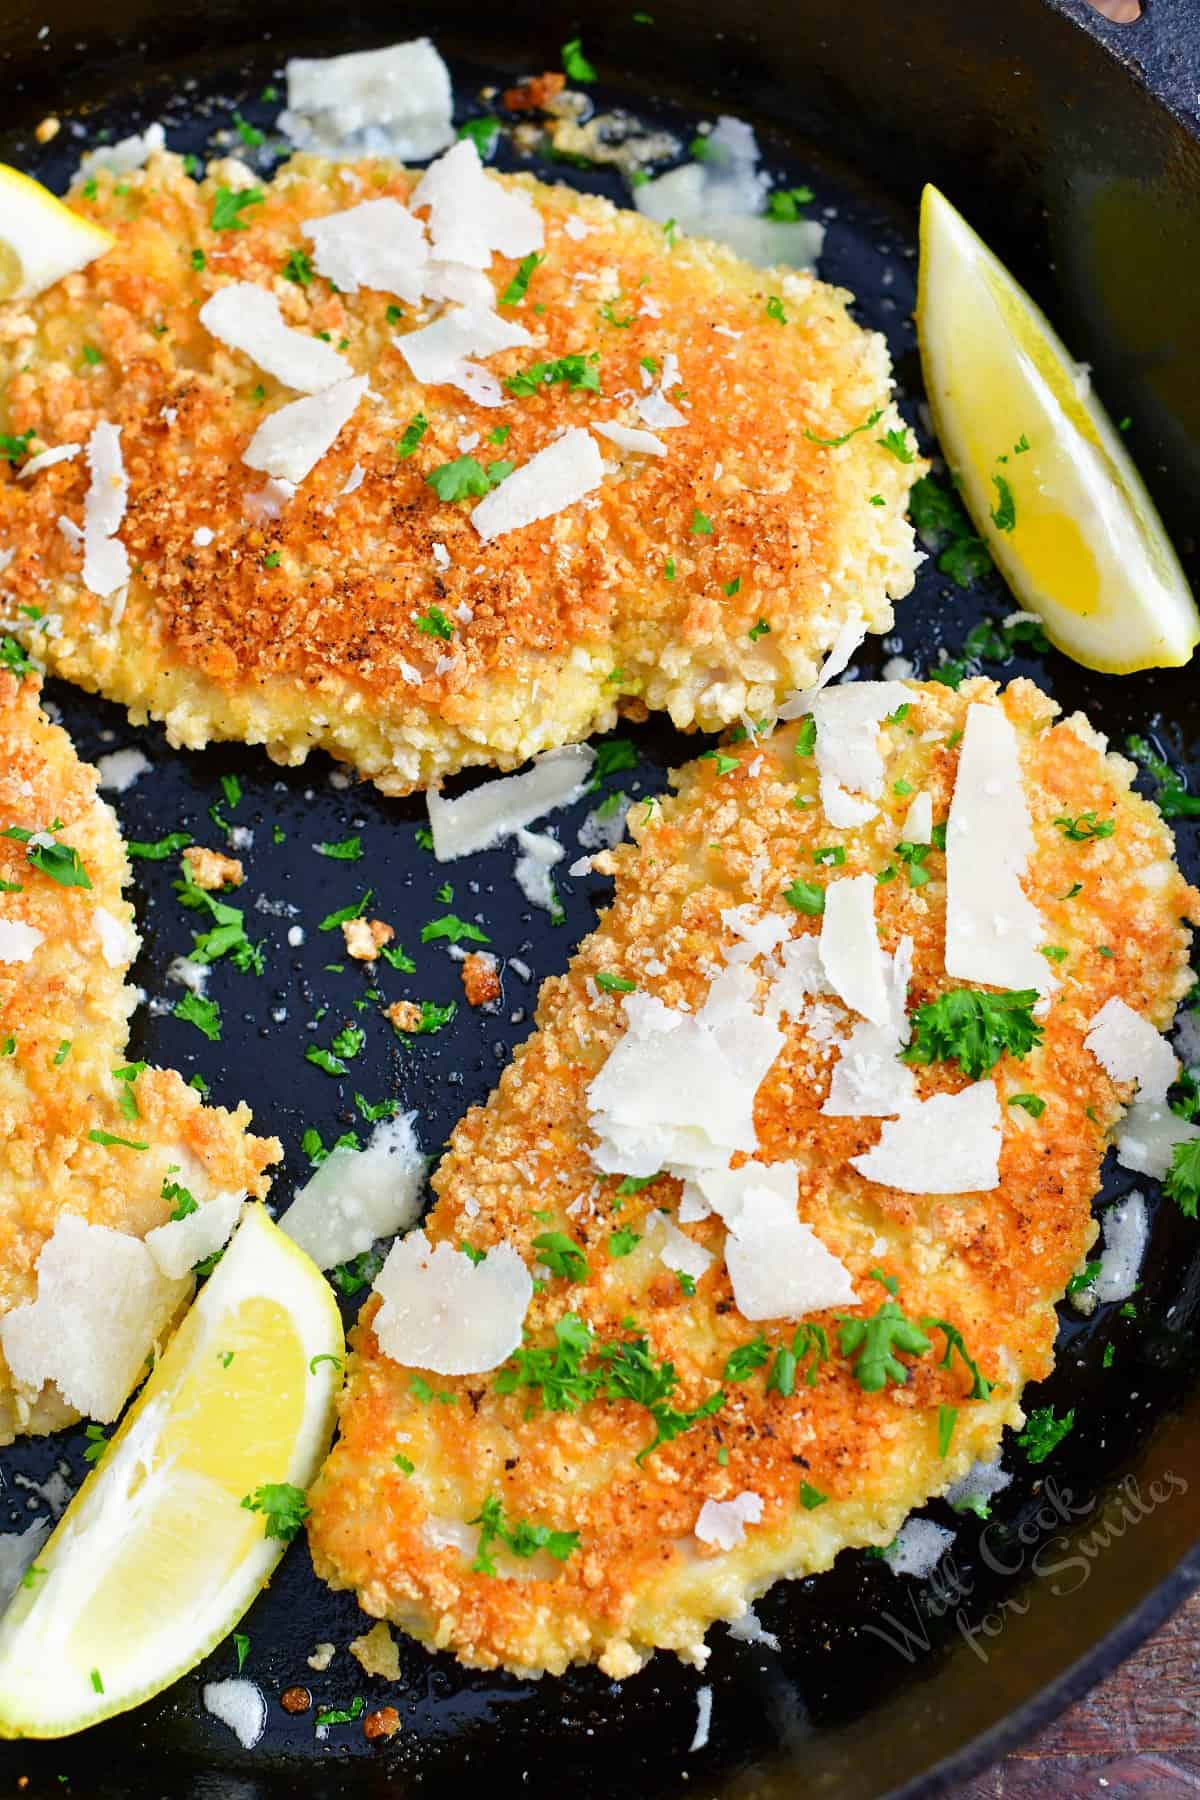
When serving your Chicken Milanese, consider adding delicious toppings like fresh parsley, lemon wedges, and grated parmesan cheese. Enjoy!
Frequently Asked Questions
You can easily make Chicken Milanese gluten free with two simple substitutions. Make sure to use gluten free all purpose flour and use gluten free Panko bread crumbs. Some gluten free bread crumbs don’t look like Panko and for best results, choose ones that do. I found that the gluten free bread crumbs of the brand 4C Bread Crumbs, are very similar to classic Panko.
You should store leftover crispy chicken cutlets in an air-tight food storage container, in the refrigerator. To keep the cutlets from sticking together and taking off the breading, place a piece of parchment paper in between each cutlet. Properly stored, it should last 3-4 days in the refrigerator.
To reheat Chicken Milanese, I highly recommend doing it in a cooking pan or in an air-fryer. In the pan, simple preheat the pan over medium to medium-low heat and reheat the chicken just until heated through. In an air-fryer, reheat at 360°F for 3-4 minutes.
Yes, you can bake this chicken but the texture will not be quite the same. To bake crispy chicken cutlets, preheat the oven to 400°F and place the breaded chicken cutlets on the rack inside a rimmed backing sheet. Bake for 18-20 minutes, depending on the size of the chicken. (To check if it’s done, use a digital meat thermometer to make sure the chicken is cooked to 165°F internal temperature.)
More Delicious Chicken Dinners
DID YOU MAKE THIS RECIPE? PLEASE leave a 🌟 star rating! Let me know how you liked it by leaving the 📝 comment below or share and tag me on social media @willcookforsmiles. DON’T FORGET to subscribe to my newsletter!

Chicken Milanese Recipe
Ingredients
- 1.5 lb boneless, skinless chicken breast meat
- 4 tbsp olive oil
- 2 tbsp unsalted butter optional
Flour Mixture:
- 1 cup all purpose flour*
- 1 tsp garlic powder
- salt
- black pepper
Egg Mixture:
- 2-3 eggs depending on size
- salt
- black pepper
Panko Mixture:
- 2 cups Panko bread crumbs*
- 1/2 cup fresh grated Parmesan cheese
- 1/2 tsp garlic powder
- salt
- black pepper
Instructions
Cutting the chicken:
- Place chicken on the cutting board and place your hand on top of the chicken breast. Make sure to lift your fingers up and not curve them down when cutting the chicken.
- Using a sharp knife, slice each chicken breast in half, width-wise. Try to split it right in the middle to get the halves that are as even as possible. This will ensure similar cook time. Repeat with all the chicken breasts.
- You can use a zip-lock bag to lightly pound the chicken or place a sheet of plastic wrap over the sliced chicken halves. Use the flat part of the meat tenderizer to lightly pound the chicken. You don't need to make it much thinner and make sure not to hit too hard.
Breading the chicken:
- Use three wide and shallow bowls to bread the chicken.
- Combine flour, salt, pepper, and garlic powder in the first one. Whisk egg with some salt and pepper in the second bowl. Mix Panko bread crumbs, grated Parmesan cheese, garlic powder, salt, and pepper in the last bowl.
- First – Dip each chicken breast in flour mixture to lightly coat it all over.
- Second – Dip flour coated chicken breast in egg mixture on both sides.
- Third – Place chicken breast into the bowl with bread crumb mixture and flip it over a few times. Gently pat as you’re flipping the chicken to make sure the bread crumbs get onto the chicken nicely.
- Repeat with remaining chicken cutlets.
Cooking Chicken:
- Preheat a large cooking pan over medium to medium-high heat (depending on the stove) and add olive oil. (You can also add in some butter if you want some butter flavor.)
- Place breaded chicken into the pan and cook for 3-5 minutes per side, depending on the thickens of chicken, until cooked through and golden brown.
- Note: you will most likely have to cook chicken in batches of 3 or 4. Add more oil to the pan between batches as needed!
Video
Notes
- *Gluten Free Notes: You can easily it gluten free with two simple substitutions. Make sure to use gluten free all purpose flour and use gluten free Panko bread crumbs. Some gluten free bread crumbs don’t look like Panko and for best results, choose ones that do. I found that the gluten free bread crumbs of the brand 4C Bread Crumbs, are very similar to classic Panko.
- Storing: You should store leftover chicken in an air-tight food storage container, in the refrigerator. To keep the cutlets from sticking together and taking off the breading, place a piece of parchment paper in between each cutlet. Properly stored, it should last 3-4 days in the refrigerator.
Reheating: I highly recommend doing it in a cooking pan or in an air-fryer. In the pan, simple preheat the pan over medium to medium-low heat and reheat the chicken just until heated through. In an air-fryer, reheat at 360°F for 3-4 minutes.
Nutrition
Originally published on Will Cook For Smiles in August 2021.
All images and text ©Lyubov Brooke for ©Will Cook For Smiles. Please do not use my images without prior permission. If using my posts in collections and features, please link back to this post for the recipe.
Disclaimer: Nutrition information shown is not guaranteed to be 100% accurate as most ingredients and brands have variations.


This is my family’s favorite chicken recipe!