
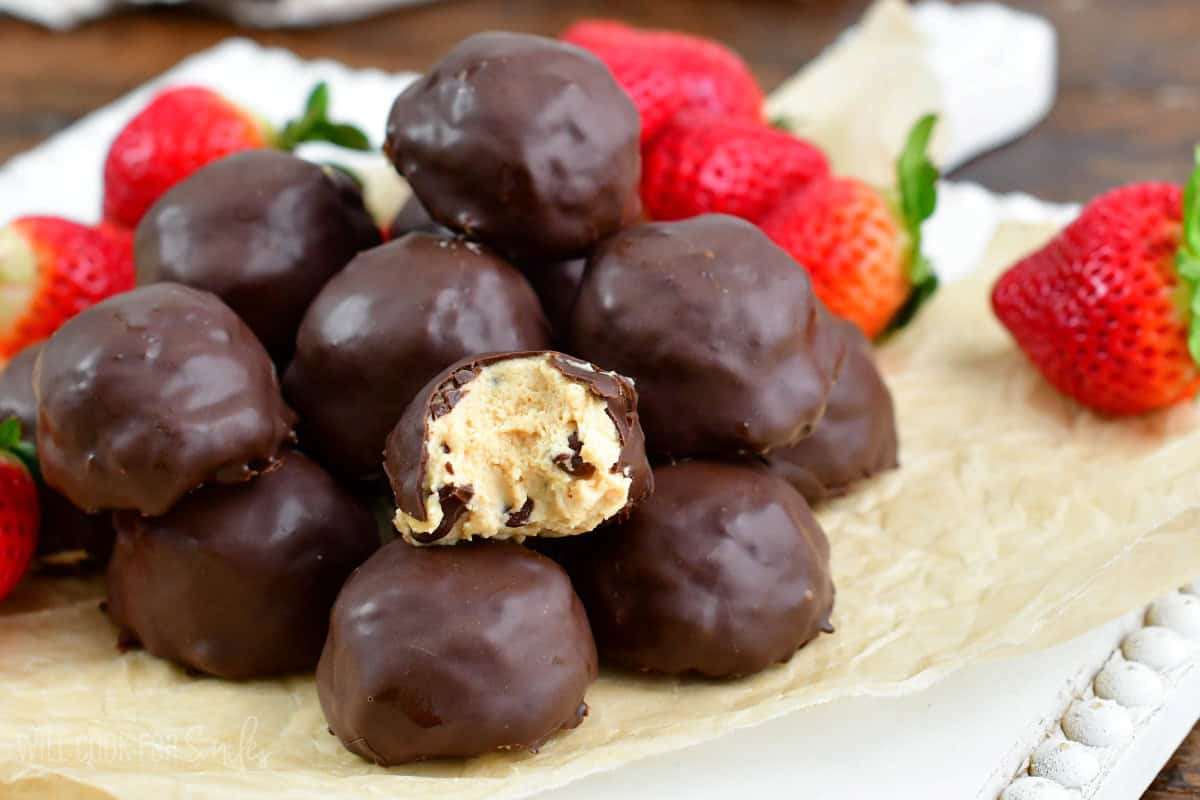
Chocolate Covered Peanut Butter Cheesecake Bites
Chocolate Covered Peanut Butter Cheesecake Bites make a wonderful Valentine’s Day treat. Indulgent bites of peanut butter cheesecake mixed with mini chocolate chips and covered in sweet and smooth melted chocolate.
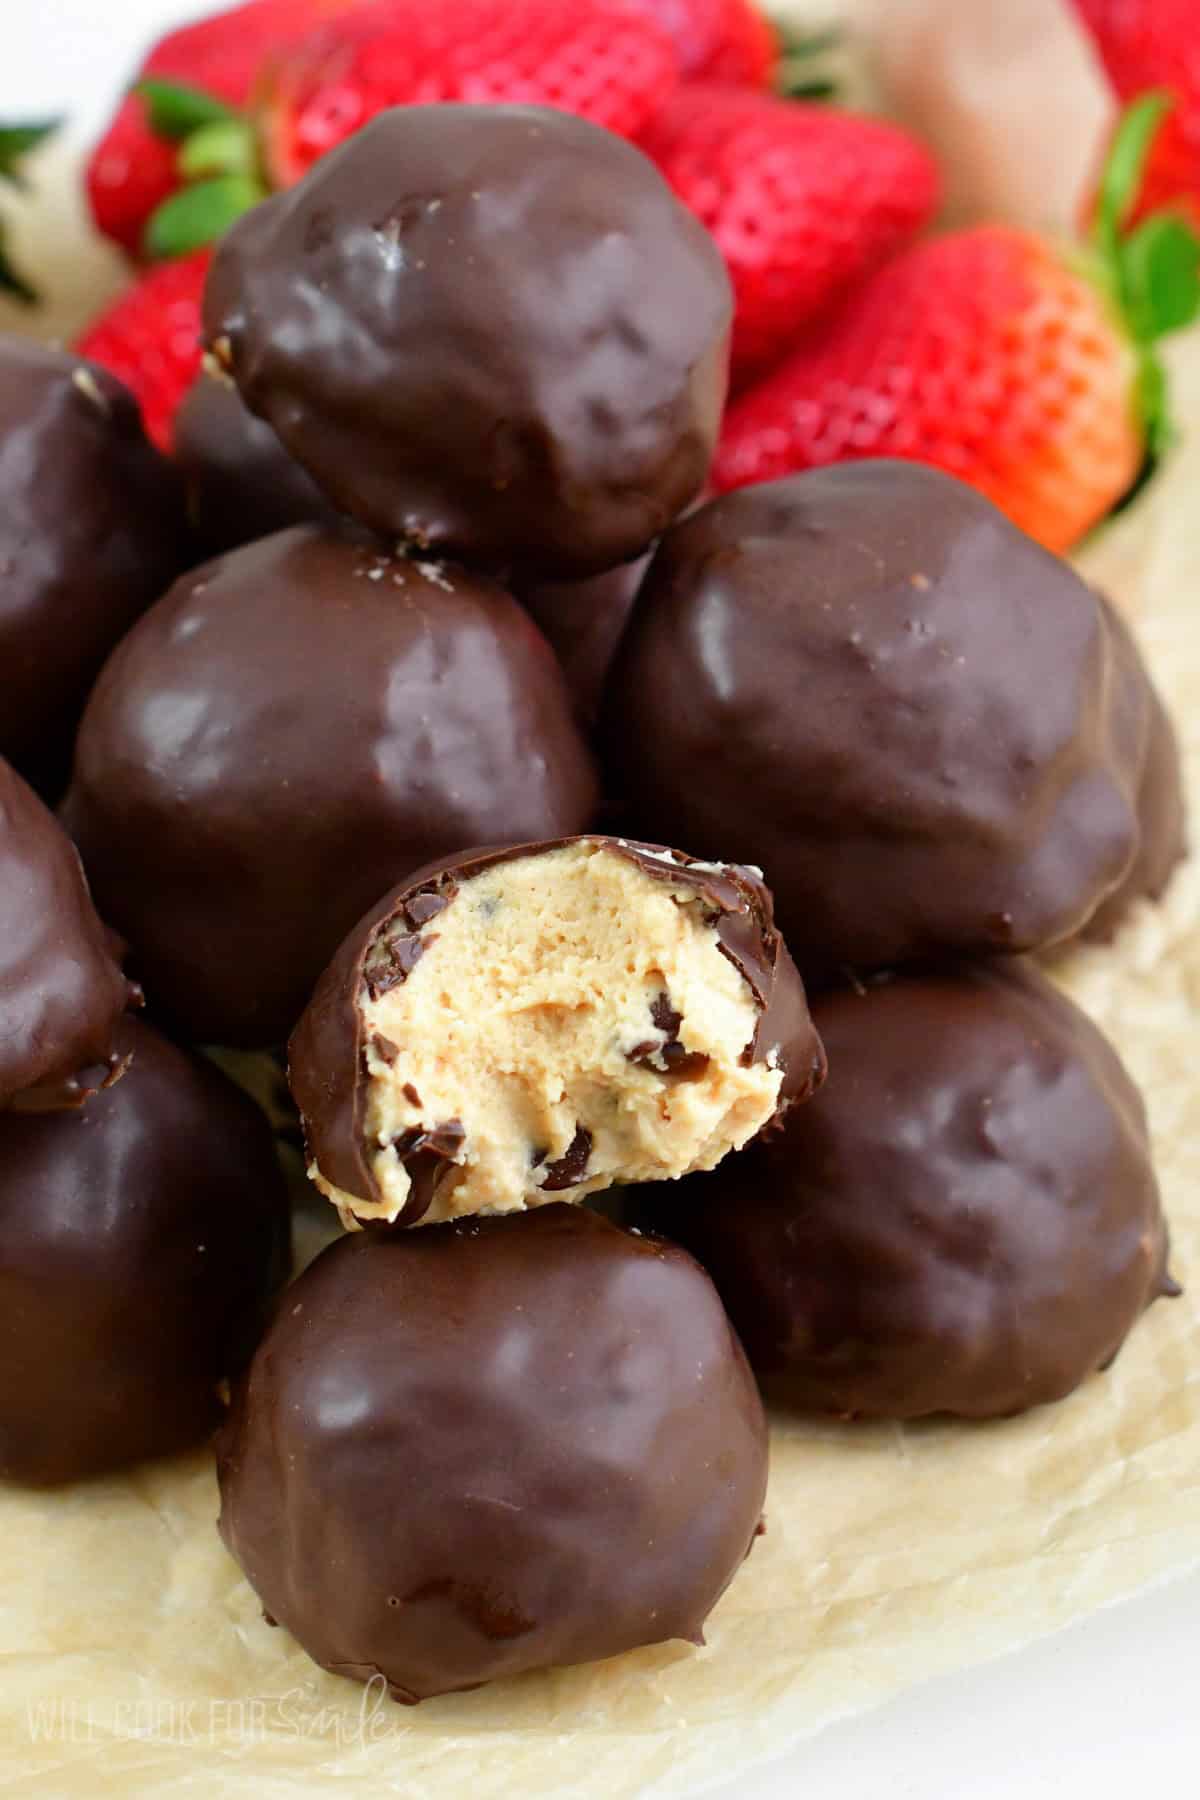
Table of contents
Peanut butter and chocolate is probably the best sweet flavor combination, I actually don’t know anyone who doesn’t love it. That’s why these cheesecake bites will most people very happy! They will make you very happy too because:
- it’s a no bake treat and there are only four ingredients.
- it it only takes about 30 minutes to make at all, most of them time is spend chilling in the refrigerator. So majority of the total recipe time, is meant for cooling and freezing.
- this is a one-bite dessert and it’s absolutely perfect for special occasions, like Valentine’s day.
- tempering chocolate may sound scary and complicated, but it’s really just warming/melting the chocolate and cooling it a bit. That easy!
- crunchy chocolate shell and smooth and velvety cheesecake filling makes of an amazing bite!
How To Make Cheesecake Bites
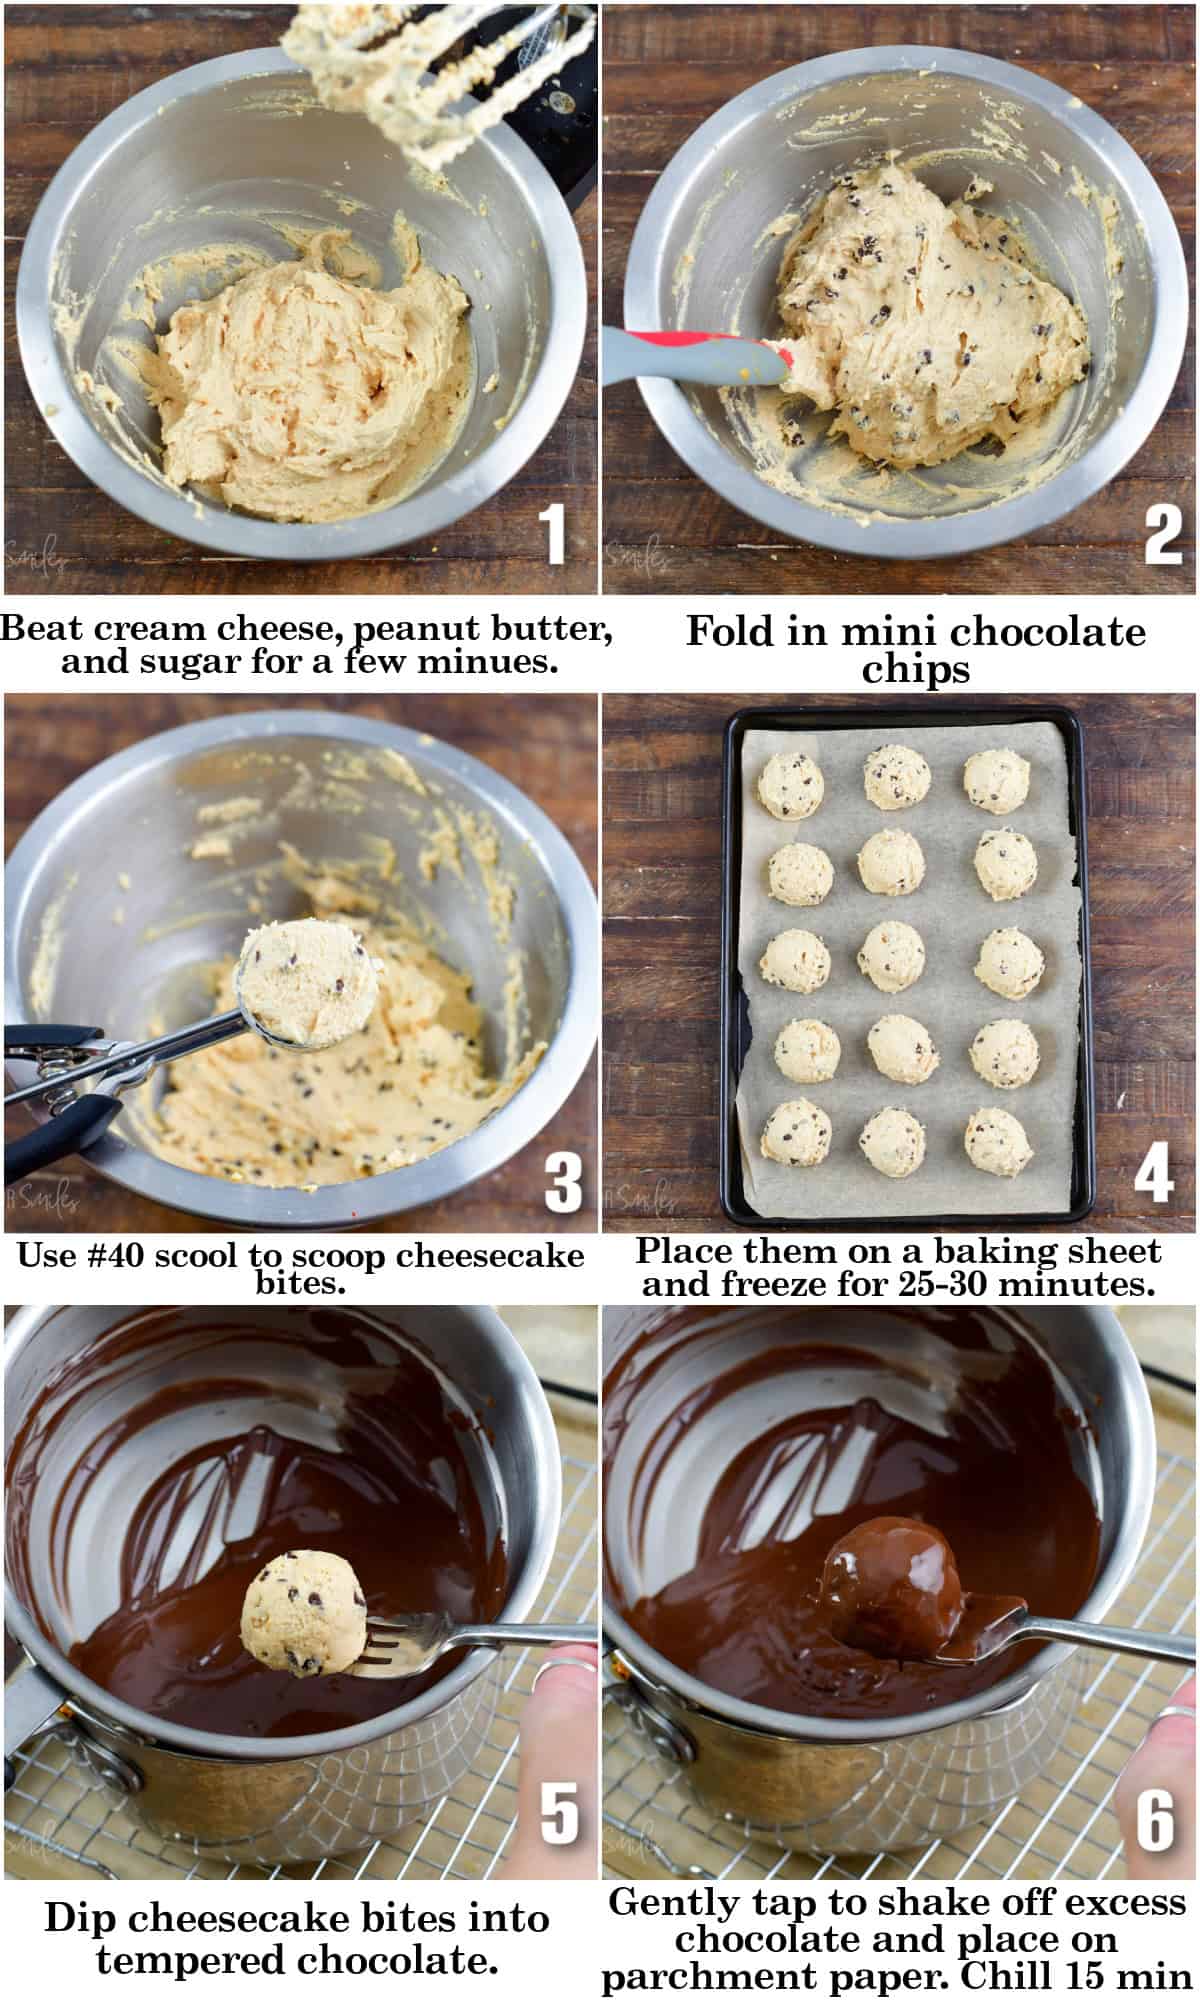
- Beat cream cheese, peanut butter, and powdered sugar in a mixing bowl for about 2 minutes (until the consistently is lighter in color and lighter in texture).
- Fold in mini chocolate chips.
- Cover the mixing bowl and refrigerate for about two hours.
- Scoop the cheesecake mixture with a cookie scoop (#40) onto the parchment paper covered baking sheet.
- Pop them in the freezer for about 20-25 minutes to harden.
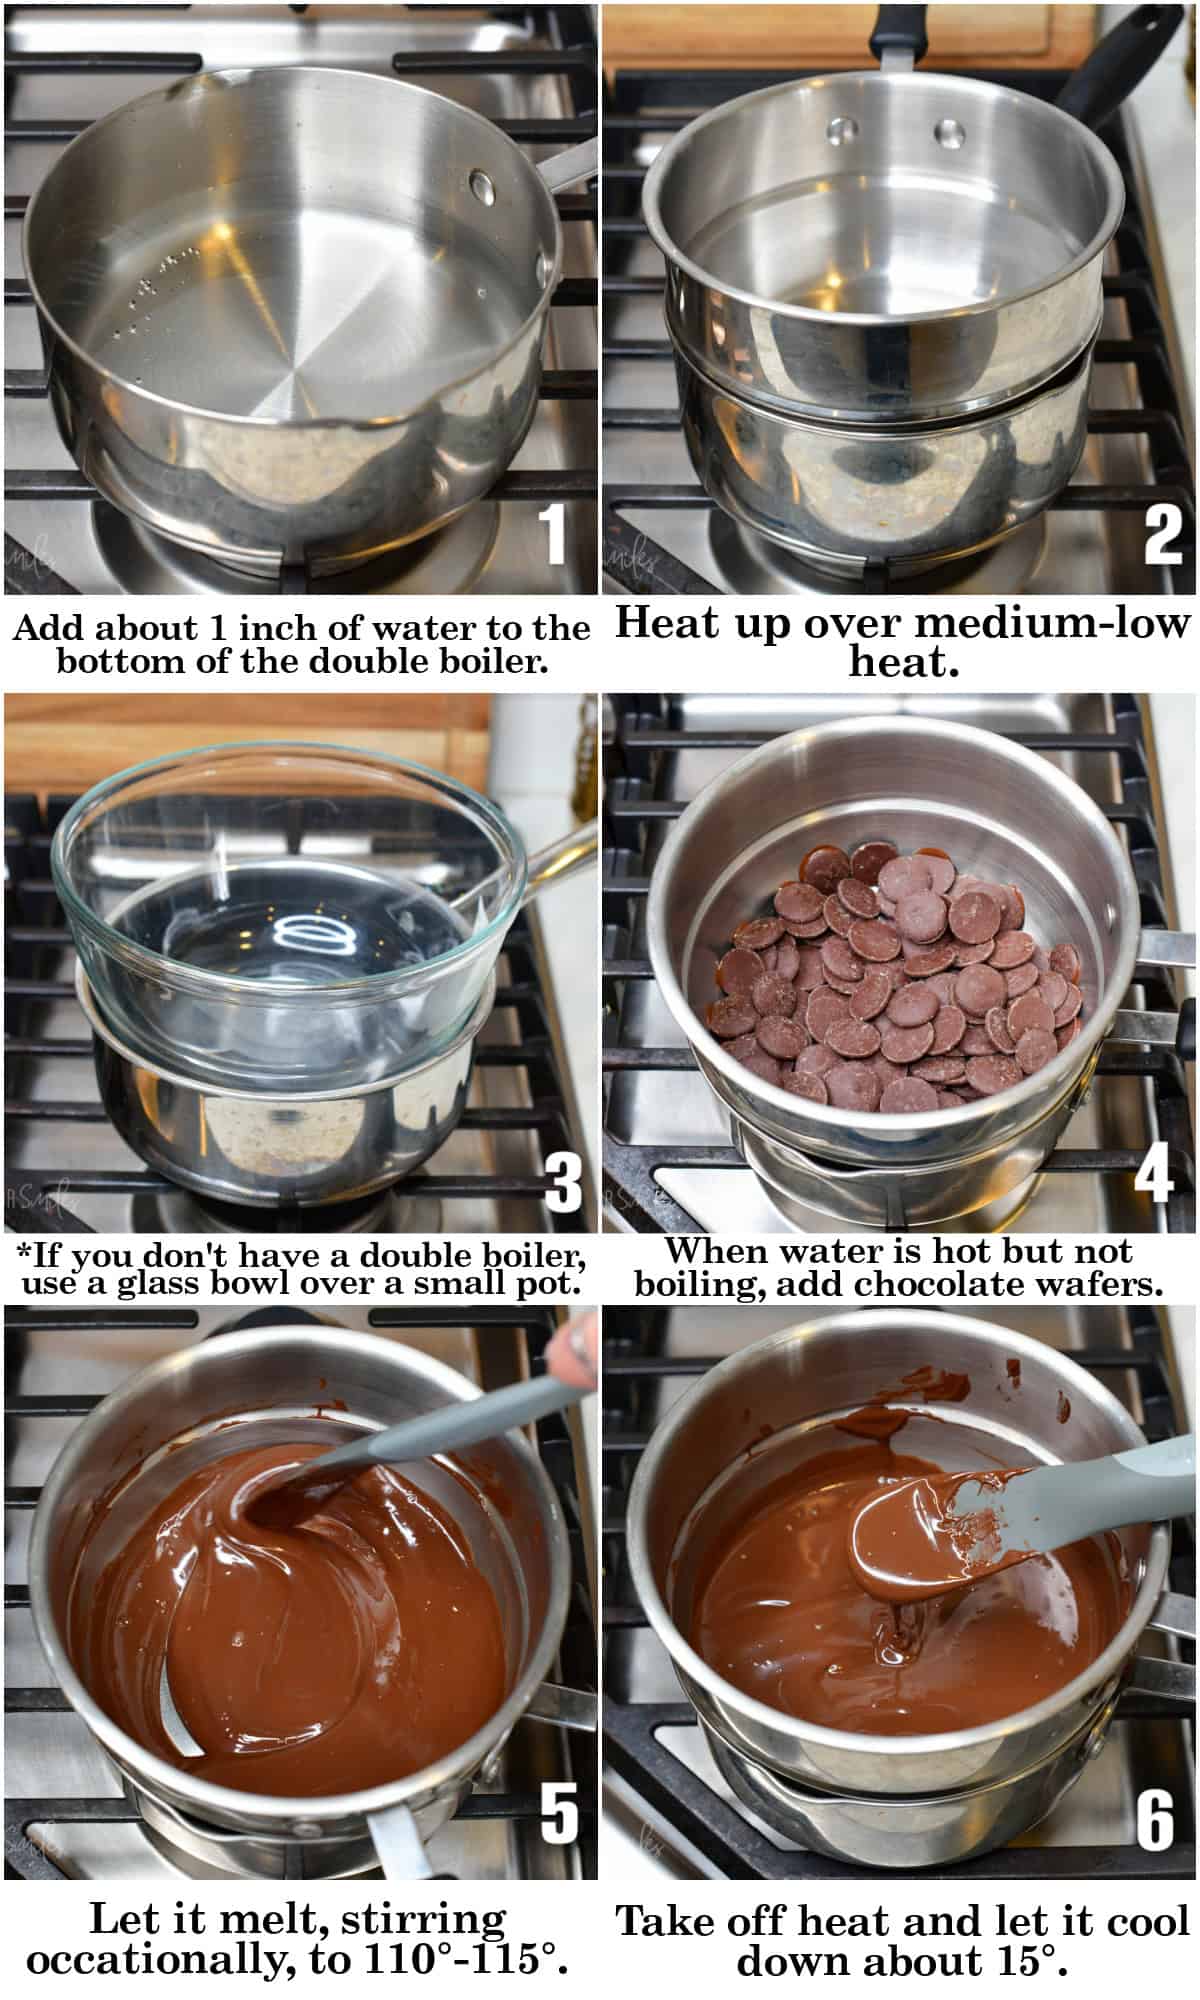
- Fill the bottom pot with about 1 inch of water, make sure the water will not be touching the top pot (or the glass bowl).
- Heat up the water over medium-low heat. Water should be hot but not boiling!
- Add chocolate wafers and let them melt, stirring from time to time. Once chocolate is melted, turn off the heat and take the top pot off. (Note: chocolate should be between 110℉-115℉ when melted. Do NOT exceed 130℉.)
- Let the chocolate cool down for a couple of minutes (about 15℉ lower.)
- Using a fork to pick up the cheesecake bite and dip it into the chocolate. Shake off excess chocolate.
- Place the chocolate covered cheesecake bites back onto the parchment paper to set.
- Set the finished cheesecake bites into the refrigerator for 5-10 minutes to set and harden.
Storing Recommendation
- Make sure to store these cheesecake bites in the refrigerator, in a air-tight food storage container.
- They should be good for about 3 days.
Can I Freeze These No-Bake Cheesecake Bites?
- Note that no-bake cheesecake does NOT freeze well. While you can technically freeze it, the texture will be quite off due to ice crystals forming.
- If you do decide to freeze them, freeze for 2 hours on a cutting board first and then wrap each individual one in food wrap air-tight and then place them into a freezer zip-top bag or a freeze food storage container.
Some More Dessert Treats to Try
DID YOU MAKE THIS RECIPE? PLEASE leave a 🌟 star rating! Let me know how you liked it by leaving the 📝 comment below or share and tag me on social media @willcookforsmiles. DON’T FORGET to subscribe to my newsletter!
Chocolate Covered Peanut Butter Cheesecake Bites
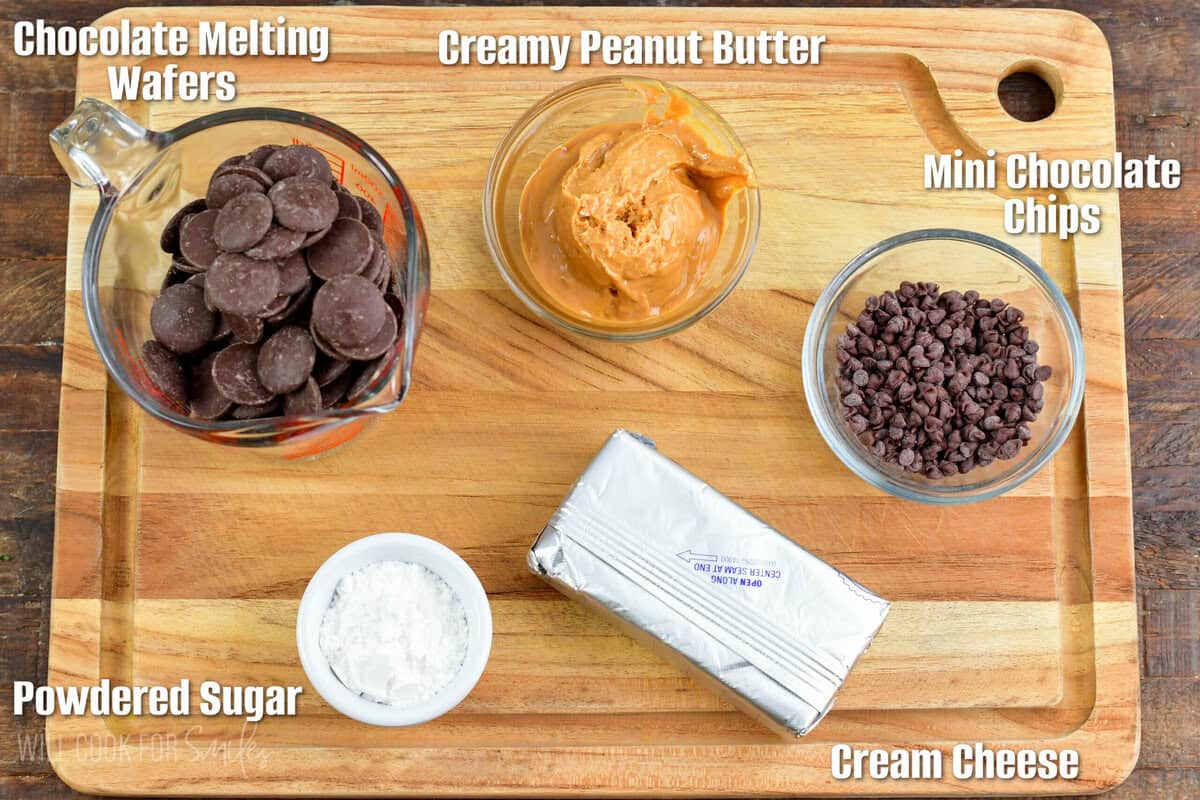
Ingredients
- 8 oz cream cheese
- 1/2 cup creamy peanut butter
- 6 tbsp powdered sugar
- 1/2 cup mini chocolate chips
- 8 oz dark chocolate melting wafers
Instructions
Cheesecake Mixture:
- Combine cream cheese, peanut butter, and powdered sugar in a mixing bowl and beat on medium-high speed for about 2 minutes (until the consistently is lighter in color and lighter in texture).
- Fold in mini chocolate chips into the cheesecake mixture
- Cover the mixing bowl and refrigerate for about two hours.
- Cover a cutting board (or a baking sheet) with parchment paper. Scoop the cheesecake dough with a cookie scoop (#40) onto the parchment paper (make sure to leave a some space in between).
- Pop them in the freezer for about 20-25 minutes to harden.
Tempering Chocolate:
- Note that it's easiest to melt chocolate in the double boiler but if you don't have one, you can set a glass bowl over a small pot. (Just make sure it fits well, not too low and not too high.)
- Fill the bottom pot with about 1 inch of water, make sure the water will not be touching the top pot (or the glass bowl).
- Heat up the water over medium-low heat. Water should be hot but not boiling!
- Add chocolate wafers and let them melt, stirring from time to time. Once chocolate is melted, turn off the heat and take the top pot off. (Note: chocolate should be between 110℉-115℉ when melted. Do NOT exceed 130℉.)
- Let the chocolate cool down for a couple of minutes (about 10℉ lower.) Now it's ready to dip!
Dipping Cheesecake Bites:
- One at a time, dip cold cheesecake bites into melted chocolate: using a fork pick up the cheesecake bite and dip it into the chocolate. Let the excess chocolate drop of and gently tap the fork on the sire of the pot if needed.
- Place the chocolate covered cheesecake bites back onto the parchment paper to set. Repeat with the rest of the cheesecake bites.
- Set the finished cheesecake bites into the refrigerator for 5-10 minutes to set and harden.
Notes
- Storing: Make sure to store these cheesecake bites in the refrigerator, in a air-tight food storage container. They should be good for about 3 days.
Nutrition
Originally published on Will Cook For Smiles in January 2014.
All images and text ©Lyubov Brooke for ©Will Cook For Smiles. Please do not use my images without prior permission. If using my posts in collections and features, please link back to this post for the recipe.
Disclaimer: Nutrition information shown is not guaranteed to be 100% accurate as most ingredients and brands have variations.


These bites are pure perfection Lyuba!
Thank you, Trish 🙂
holy cow Lyuba – they look {and sound} amazing!
Thank you so much, Heather!
I have got to pay attention more. I didn’t mean to break your rule again. It is just sort of automatic for me to include the link to my Kids and a Mom in the Kitchen.
I love the look of these and can’t wait to try them and really hope you could find the time to stop by and share over at Tots and Me.
It’s not that big of a deal 🙂 Thank you!
And thank you!!
Oh my, I love anything chocolate and peanut butter and then to add cheesecake, oh yum! Think I may surprise the hubby with these for Valentines Day.
I would love if you could stop by and share on my weekly recipe linky, Kids and a Mom in the Kitchen
http://totsandme.blogspot.com/2014/01/kids-and-mom-in-kitchen-71-zebra-pudding.html
Have a great day.
The perfect Valentine’s Day treat, Lyuba!!
Sure it, Cathy! Thank you 🙂
These look delicious Lyuba! Love peanut butter and chocolate and they sound even more amazing with the cream cheese – yum 🙂
Thank you so much, Kelly 🙂
These are absolutely gorgeous ! Thank you so much for sharing the recipe at Tasty Tuesday. I am featuring it this week. Hope you’ll drop by this week and share some more fabulous recipes with us.
Hope you have a great week. See you at the party.
Thank you so much!!
Lyuba, these sound fantastic – chocolate, peanut butter AND cheesecake sounds like little heavenly bites to me! Thanks so much for sharing with us at Best of the Weekend – pinned and shared! Hope you have a happy and wonderful week!
Thank you, Cindy! 🙂
These are bite sized and dangerous!! I love these Lyuba!! An easy treat to make when those cravings hit!
So dangerous 🙂
Thank you, Tanya!!
Oh goodness, I’m drooling over here, Lyuba! I love the recipe you did for the Ghiradelli campaign! Pinned and sharing on social media. Thanks for sharing at Marvelous Mondays! 🙂
Thank you so much, Julie! Can’t wait to see yours!
Wow, I may have just died and gone to bloggy heaven. Is there such a place?
There sure it, Christine! Thank you 🙂
these look soooo good! I would eat so many, and so I pinned this to make 🙂
Cathy
Thank you so much, Cathy!