
Soft and Fluffy Amish Potato Rolls
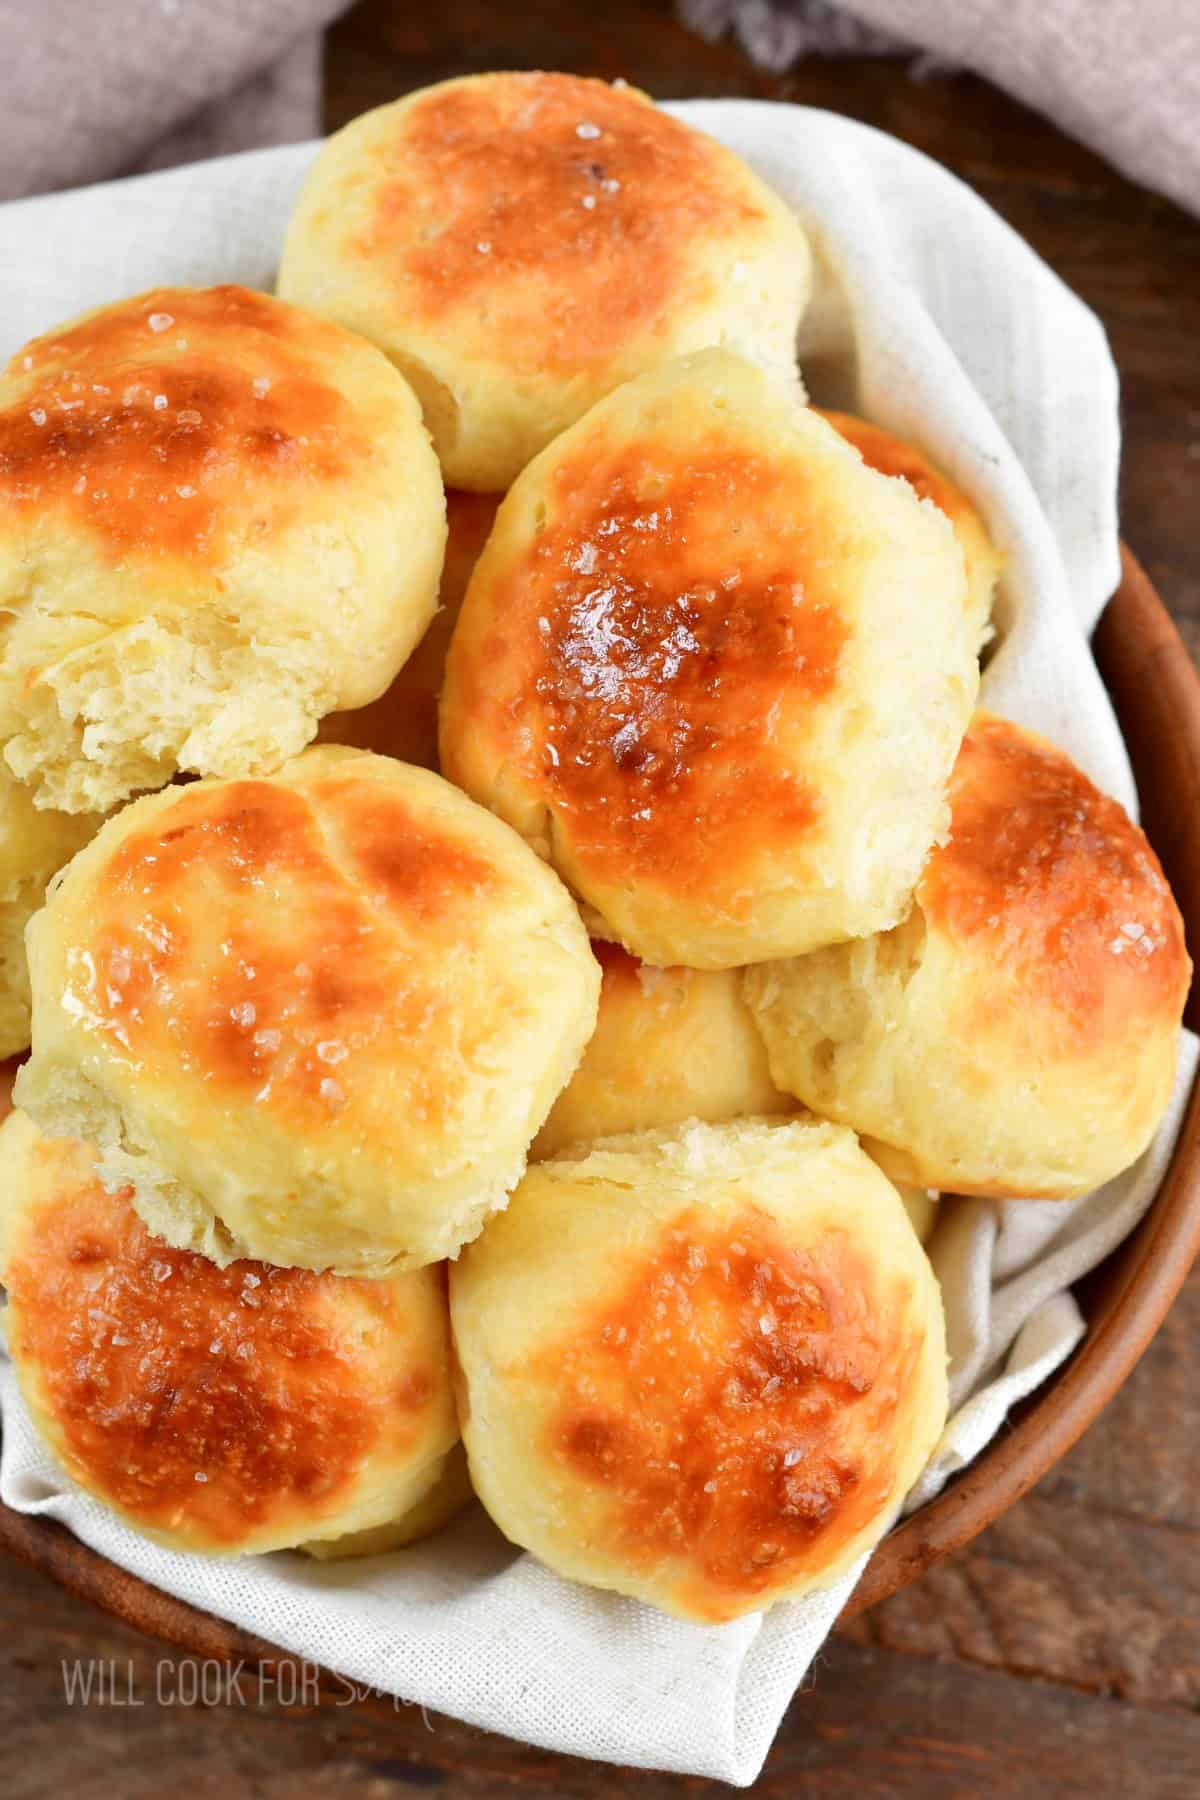
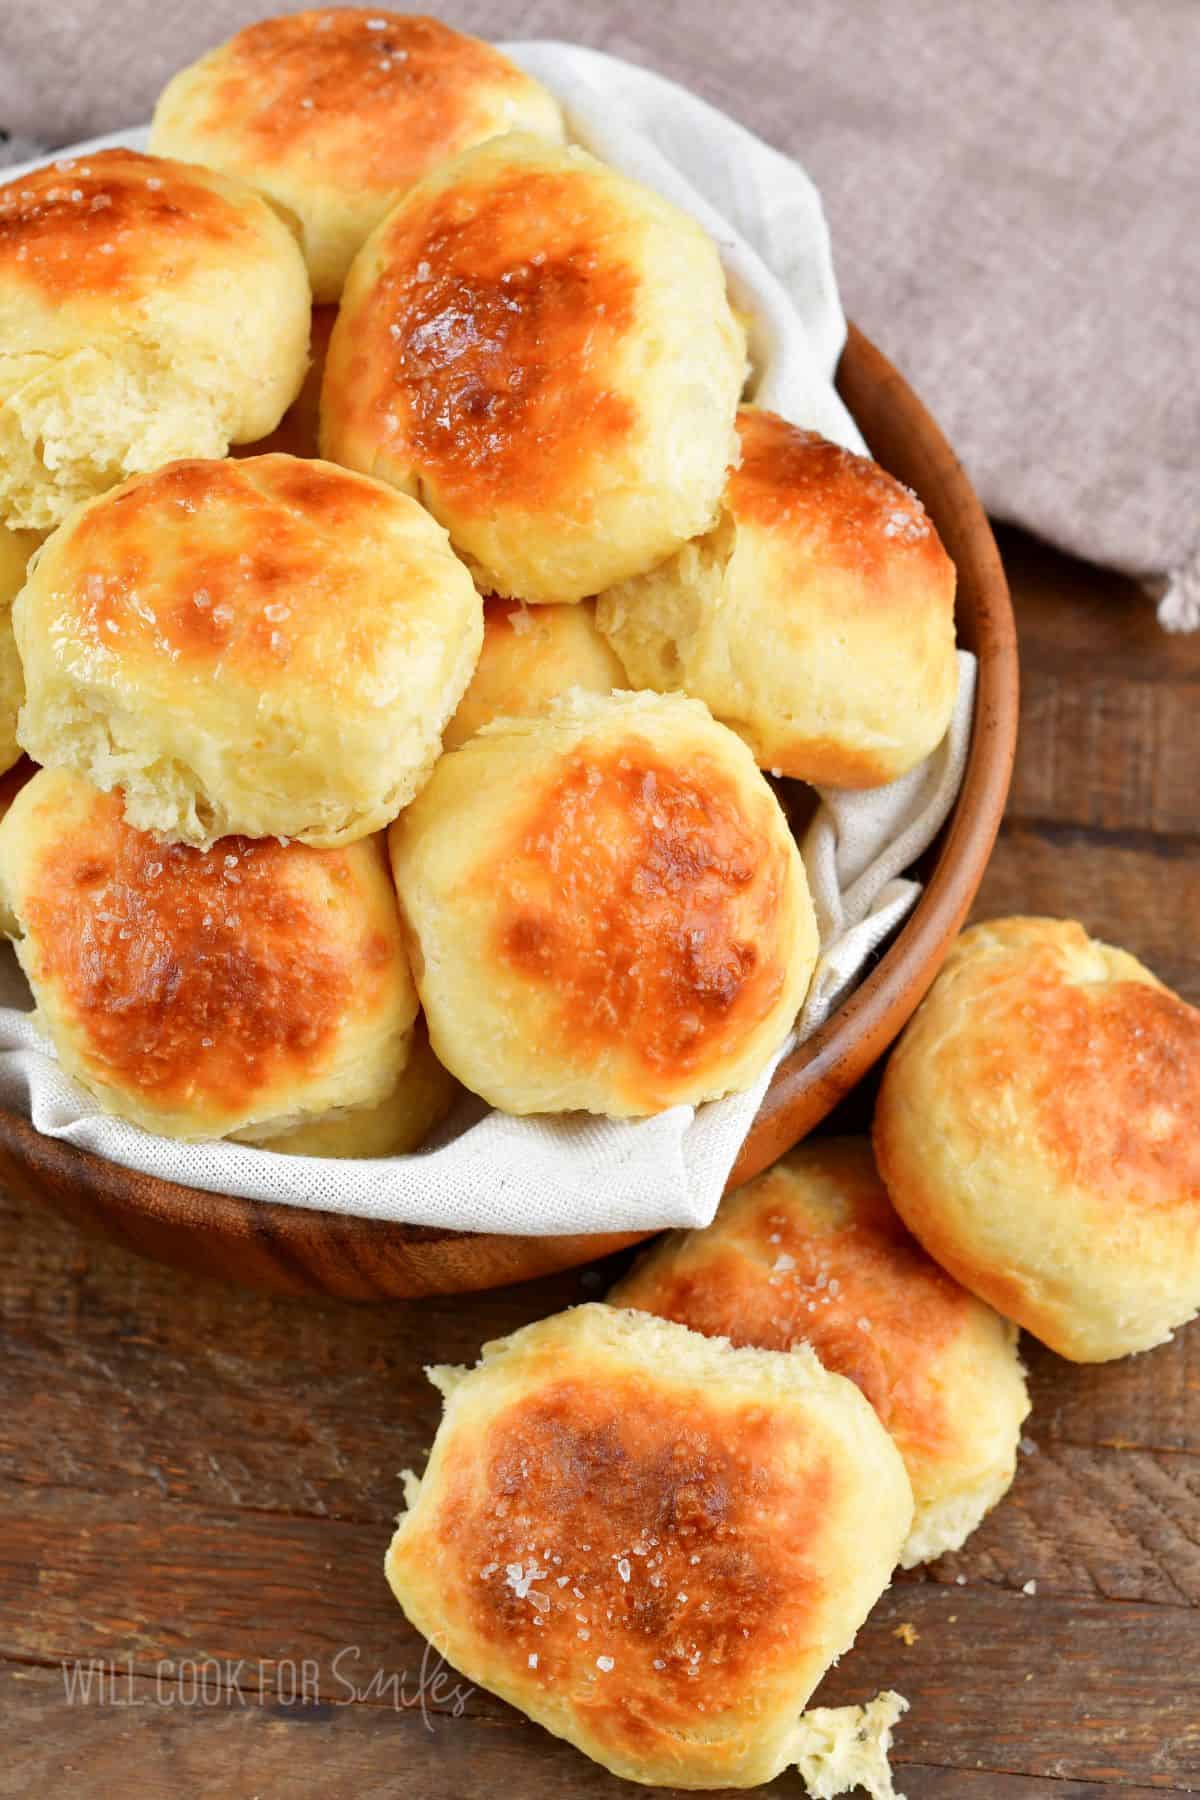
These potato rolls, aka Amish rolls, are always soft, fluffy, and completely irresistible! For that reason, I’ve started doubling my batches so I don’t run out. These are may family’s favorite dinner rolls and I make them for every holiday, all year round.
The “not-so-secret” ingredient for these homemade potato polls is the cup of homemade mashed potatoes that gets mixed into the dough. These rolls are angelically soft and fluffy while also being just dense enough to retain their moisture in the most incredible way. Thank you, mashed potatoes!
Many people feel intimidated by homemade dinner rolls, but trust me, you will be just fine! I’ve simplified the steps here so they’re clear, concise, and directly to the point.
Featured Comment
So fun! It’s basically a simple addition of mashed potatoes but the texture is really so much softer! ~Lori
Key Ingredients, Tips and Substitutions
Mashed potatoes – leftover mashed potatoes work perfectly for dinner rolls! It’s easy to plan for making potato rolls during the holidays as well. If you plan on making mashed potatoes for dinner, simply set aside 1 cup of mashed potatoes to make the dinner rolls with. You can also set some aside from previous dinner and freeze it for later.
Rapid rise yeast (aka instant) – this is your friend when you want to make yeast dough but fast and easy. Rapid rise yeast doesn’t require blooming (dissolving with warm liquid to activate) and can go right into the dough. It also has a faster raise time than active dry yeast. (I’m a fan!)
Whole milk – using whole milk is best because you need to fats in this milk to work with other ingredients to create the best texture and raise of the dinner rolls.
AP Flour – no muss, no fuss, simply use all purpose flour. These rolls are not finicky and don’t require any special flours.
How To Make Potato Rolls
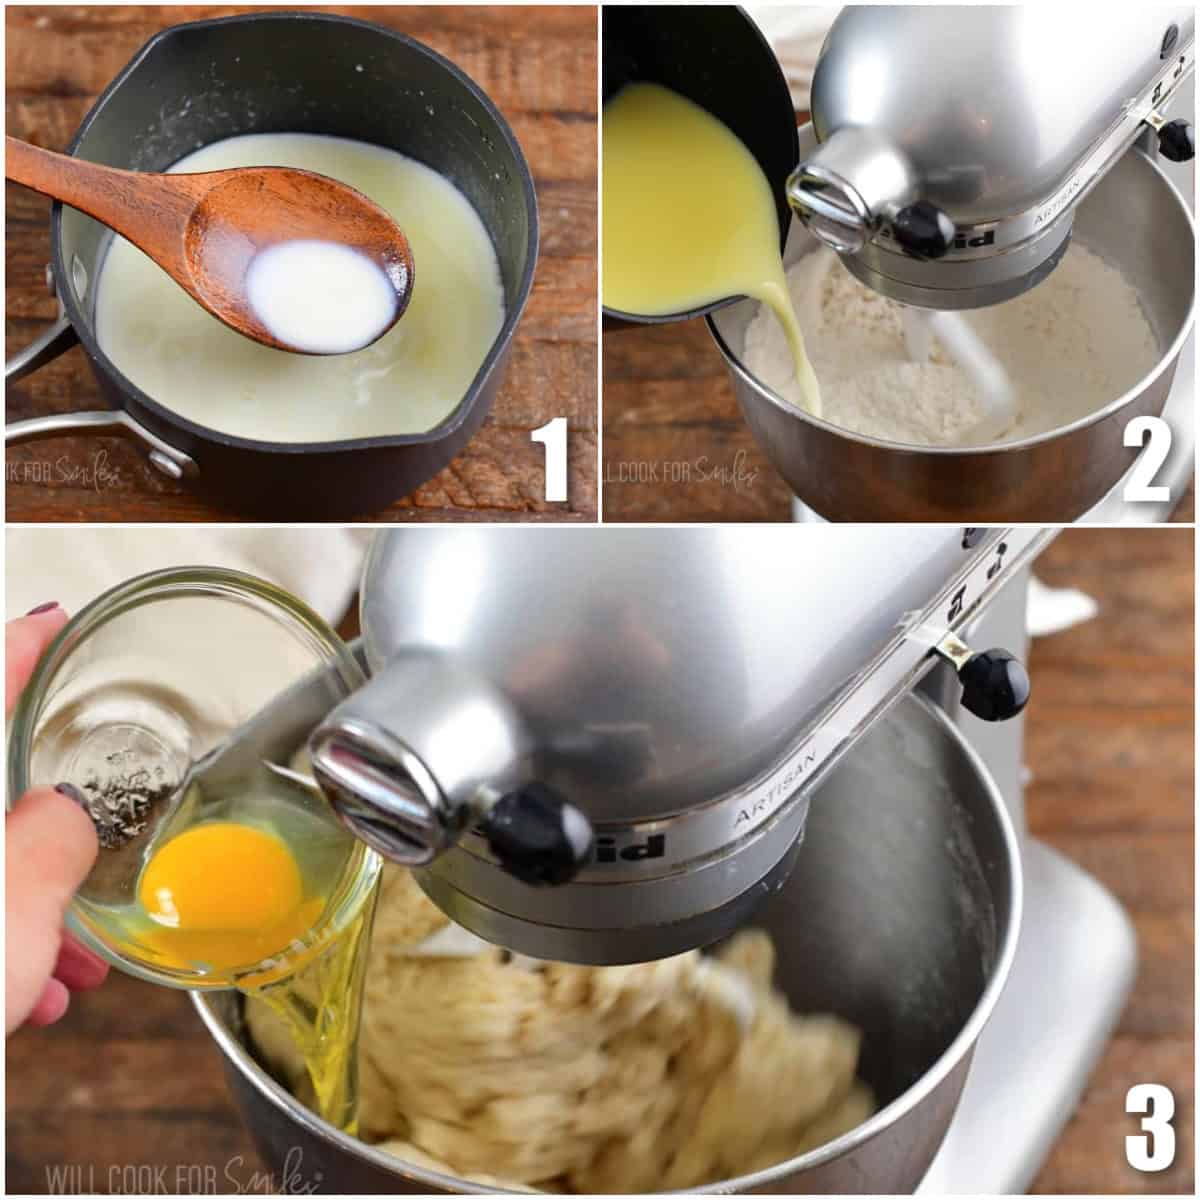
Heat up the liquids. Combine the milk, water, butter, sugar and salt in a pot over medium heat and heat through until the butter starts to melt. You’re looking for the temperature of 120–130°F since we’re using rapid rise (instant) yeast. Make sure to stir slowly as you get it up to the temperature.
Make the dough. Combine 2 cups of flour and yeast in the bowl of an electric mixer. Turn the mixer (with paddle attachment) on low and slowly stir in the warm milk mixture and the egg. Mix in the cup of mashed potatoes. Continue to mix on low until combined or your ingredients will fly all over the place! Raise the speed to medium-high and beat for approximately 2-3 minutes.
Scrape the sides as needed and add the rest of the flour while the mixer is on low speed. Be sure to only add 1/2 cup at a time.
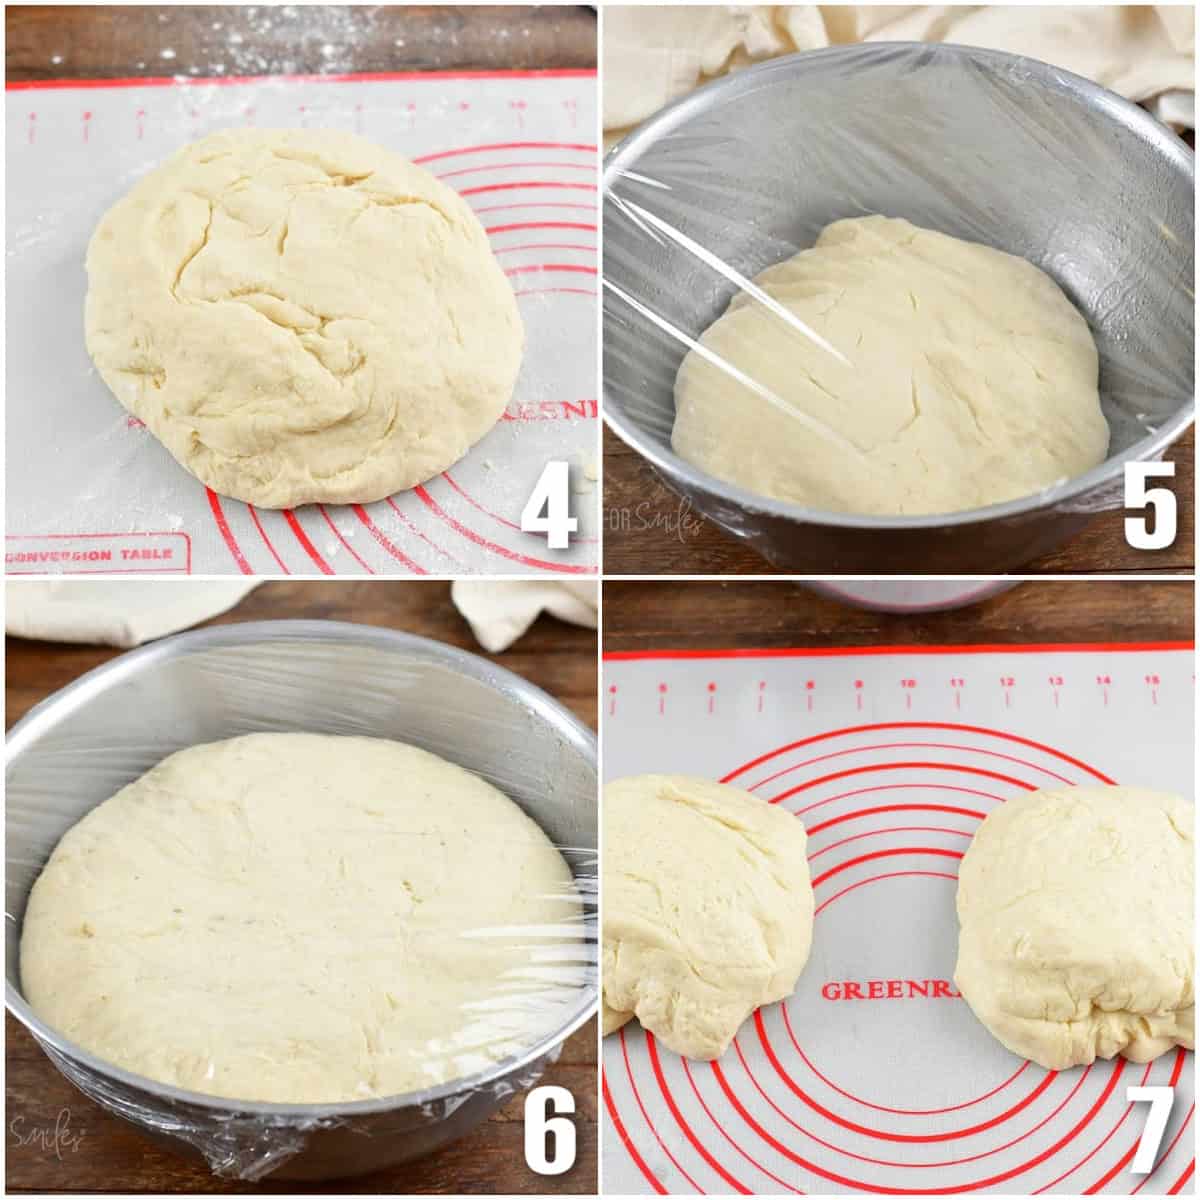
Knead and let rise. Knead the dough for about 5 minutes on a lightly floured surface until it’s elastic. Add more flour if needed.
Rest #1. Place the kneaded dough into a lightly greased bowl. Roll it around a little in the bowl to grease the dough. Cover the bowl with a towel. Keep it in a warm, dry place and let the dough rise for 1 hour until it’s doubled in size.
Expert tip: you are looking for a warm but not hot place to let the dough rise.
Raise #2. Punch the dough down in the center. Then, take it out of the bowl and half it. Cover and let rest for another 10 minutes.
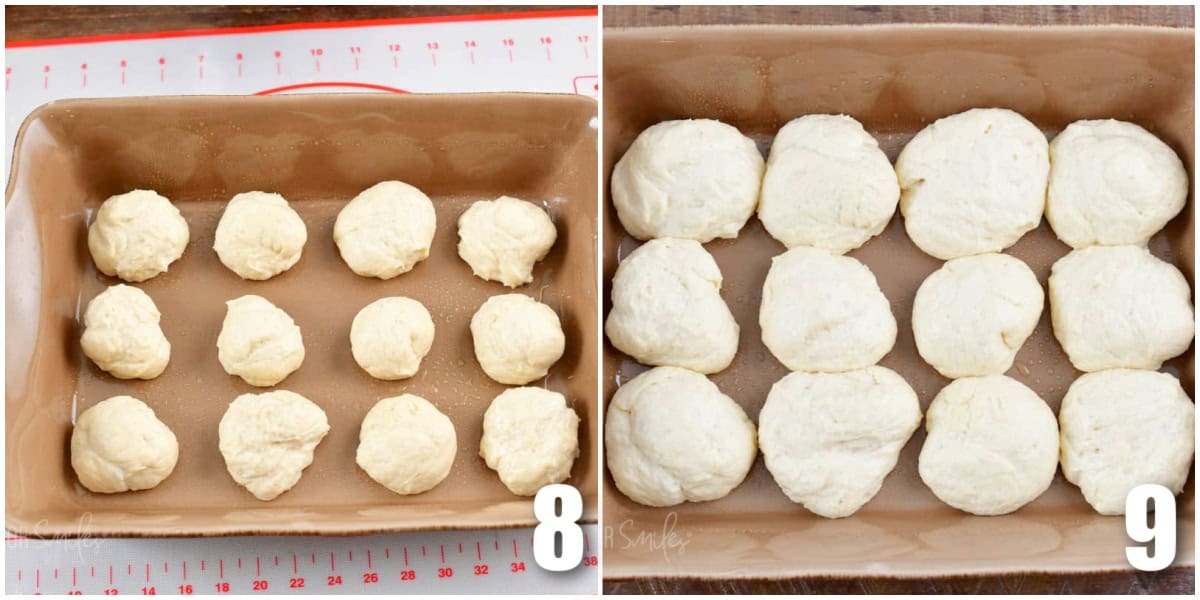
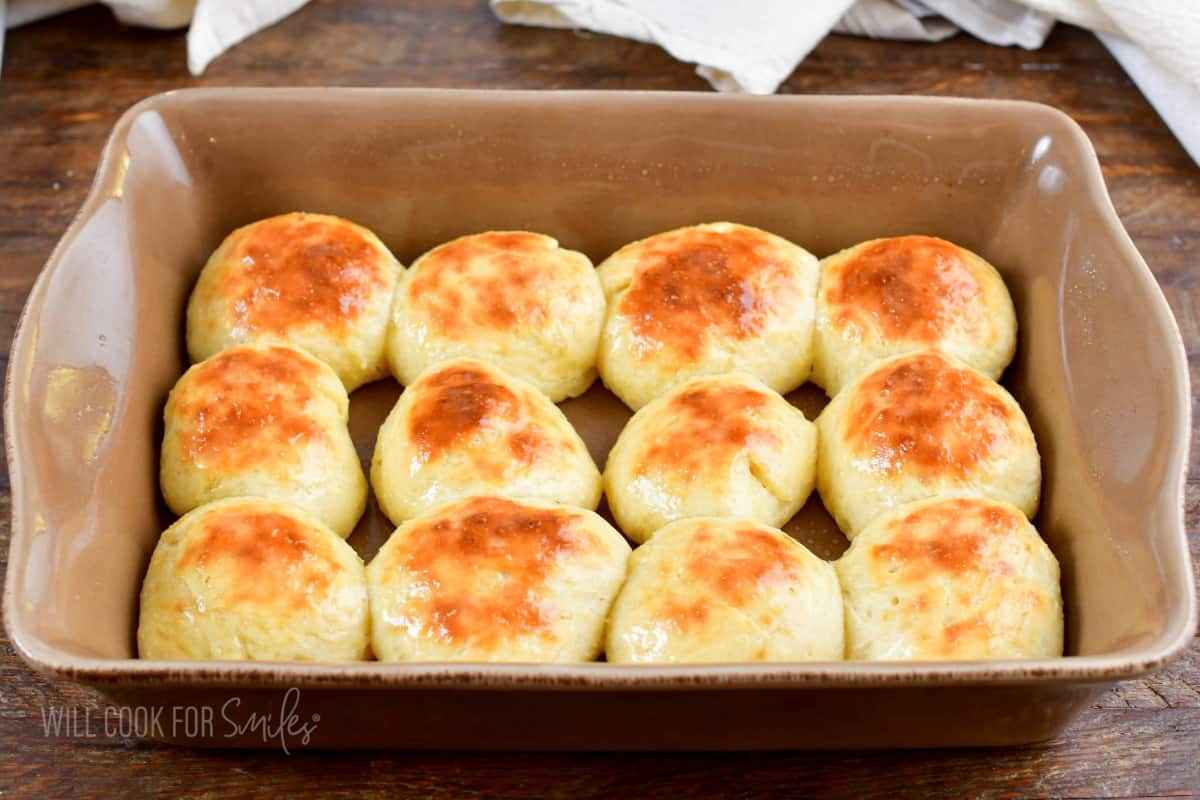
Bake the rolls. Roll each half into a long roll, then divide each roll into 12 even smooth balls. Place the rolls onto a lightly greased baking pan.
Raise #3. Cover and let them rise for about half an hour or until doubled in size.
Bake for 18-20 minutes at 375°F.
Temperature of the rolls when done: Enriched breads and rolls (enriched with eggs and flour) are best to cook to about 190°F internal temperature. This way, they are golden brown on the outside and baked through but still soft and fluffy.
Best Places To Let The Dough Rise
It’s best to let the dough rise in a warm and somewhat humid setting so it rises well, but not hot:
- In your turned-off oven (my favorite): turn on the oven light to gradually raise the temperature. The ideal temperature is between 75°F and 78°F. You can even set a roasting pan with some boiled hot water on the bottom of the oven.
- In a “steamed” microwave Boil a couple of cups of water in the microwave to create a warm and humid space. Then, carefully (and quickly) remove the water and place the dough inside.
- On top of an appliance Place the dough on top of a refrigerator or water heater, as these appliances constantly run and are typically warmer than the room. (Careful so it’s not a hot surface!)
- On a heating pad Set a heating pad to low and cover it with a heavy towel to prevent the dough from getting too hot on the bottom.
Tips for the Making Potato Dinner Rolls
If you want larger rolls, divide the dough into 16 equal pieces. If you want smaller dinner rolls, divide the dough into 24 equal pieces.
You can also decide the look of your rolls. For rolls that sit tight together and are more pull apart, place the 16 dough rolls into 13×9 baking dish and close together. If you want them to look more like individual rolls that are brown on all sides, use a large baking sheet, space them about 2 inches apart, and divide them among 2 baking pans.

What Are The Best Ways To Store Dinner Rolls?
You can store the rolls for a few of days at room temperature. Make sure to keep the rolls an airtight plastic bag or in an airtight food storage container.
How long the rolls last highly depends on the conditions, like temperature and humidity. If you live in a humid environment, they will only last a couple of days.
You can also keep the in the refrigerator for a few days longer and simply reheat then for a few seconds in the microwave when needed. Store them in an air-tight container in the refrigerator as well.
How to Freeze Potato Rolls?
You can freeze these dinner rolls before or after baking.
To freeze before baking: Follow the same recipe, but stop before baking. Cover a cutting board with parchment paper and place the rolled Potato Rolls on it. Place them then into the freezer and let them sit for 2-3 hours. Once frozen, you can transfer the rolls into a large freezer friendly zip-top bag. Get as much air out as you can, label, and freeze for up to 2 months.
Thaw and bake: When you’re ready to bake, thaw the rolls first, then place the dinner rolls into greased pans to thaw and rise. It will take about 4-6 hours for the rolls to thaw and rise. Bake as instructed.
To freeze them baked: Make the rolls per the recipe instructions and allow them to cool completely. Portion the rolls into several freezer-friendly plastic bags, or a couple of larger ones. You can also opt to wrap them in foil a few at a time. Make sure to wrap them airtight, maybe in a couple of layers. You can also place the wrapped rolls in an airtight freezer storage container. The freezer shelf life of dinner rolls is only about 2 months.

More Bread Recipes To Make
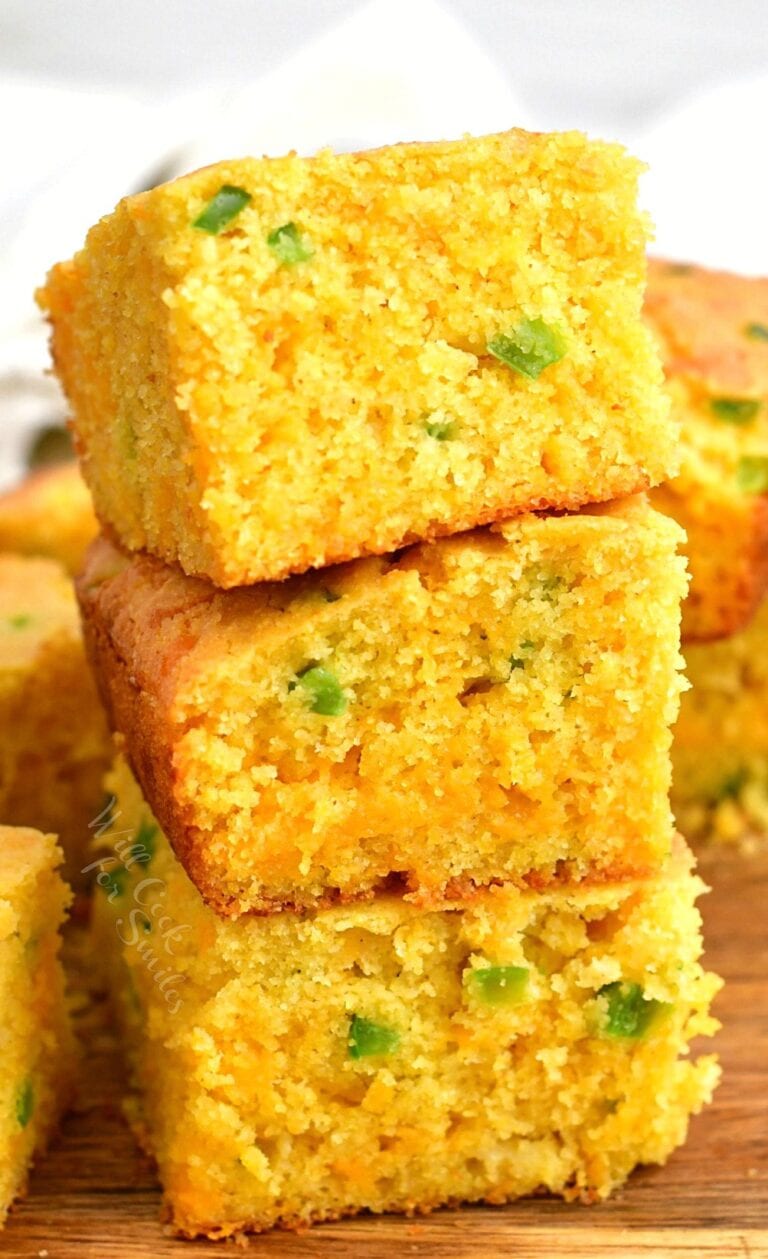
Who doesn’t love bread with dinner?! We love rolls like these as well as my lemon honey dinner rolls and of course cheesy stuffed dinner rolls. You also can’t go wrong with Southern buttermilk biscuits, honey butter biscuits, buttermilk cornbread
DID YOU MAKE THIS RECIPE? PLEASE leave a 🌟 star rating! Let me know how you liked it by leaving the 📝 comment below or share and tag me on social media @willcookforsmiles. DON’T FORGET to subscribe to my newsletter!

Amish Potato Rolls Recipe
Ingredients
- 4 – 4 1/2 cups all purpose flour
- 1 packet of rapid rise (instant) yeast
- 1 cup whole milk
- 1/4 cup water
- 1/4 cup white granulated sugar
- 1/4 cup unsalted butter
- 1 1/2 tsp coarse salt
- 1 egg room temperature
- 1 cup mashed potatoes warm
Instructions
- In a small sauce pot, combine milk, water, and butter. Heat through on medium-low heat, until butter starts to melt (milk temperature reaches about 120°F). Take off heat.
- In a bowl of your electric mixer, combine flour, sugar, salt, and yeast. Turn the mixer or low and mix to combine. Add mashed potatoes and mix until it starts to incorporate. Quickly whisk the egg into the warmed milk mixture and slowly pour the milk mixture into the flour mixture while it's mixing on "stir" setting. Add the mashed potatoes. Keep mixing on low until all combined. Raise the speed a little and beat a few seconds until smooth.
- Take out the dough and place it onto a lightly floured surface. Knead the dough, adding a little bit more flour if necessary (if the dough feels very sticky), until it's elastic and smooth.
- Place the dough into a lightly greased bowl and roll it so the dough gets a little greased as well.
- Cover it with a towel and keep it in a warm and dry place. Let it rise for an hour to an hour and a half, until doubled in size.
- Deflate the dough, take it out, and split in two even halves. Cover and let it rest for about 10 minutes.
- Roll each piece into a long roll and divide each roll into 12 pieces. Roll them into smooth balls and place them onto a lightly greased baking pan. (I used 2 13×9 baking pans with 12 rolls in each pan.)Notes: – you can also divide them into 16-18 pieces if you want larger rolls. – if you want the rolls that sit tight together that you have to pull apart, place more rolls into the baking dish, closer together. If you want rolls that are more individual and bakes on all sides, place them into a larger baking dish and spaced apart about 2 inches.
- Cover and let them raise for about 30-45 minutes, until doubled in size.
- Preheat the oven to 375°F and bake the rolls for about 18-20 minutes, until golden brown and feel set. Note: you can also take internal temperature of the center roll, in the middle. Dinner rolls are done when they reach 190°F internal temperature.
Video
Notes
- Storing: You can store the rolls for a few of days at room temperature. Make sure to keep the rolls an airtight plastic bag or in an airtight food storage container.
How long the rolls last highly depends on the conditions, like temperature and humidity. If you live in a humid environment, they will only last a couple of days.
You can also keep the in the refrigerator for a few days longer and simply reheat then for a few seconds in the microwave when needed. Store them in an air-tight container in the refrigerator as well.
Nutrition
Originally published on Will Cook For Smiles in November, 2013.
Would you like to save this recipe?
Categories:
Bread, Christmas Dinner Recipes, Easter Recipes, Side Dishes, Thanksgiving Dinner Recipes,All images and text ©Lyubov Brooke for ©Will Cook For Smiles. Please do not use my images without prior permission. If using my posts in collections and features, please link back to this post for the recipe.
Disclaimer: Nutrition information shown is not guaranteed to be 100% accurate as most ingredients and brands have variations.


I don’t have rapid rise yeast but I do have active dry yeast..Will that work? I really would love to try this..
Hey Darlene! So the process is pretty different working with rapid rise vs active dry but not impossible to substitute! So active dry years required blooming in warm water first with a sugar before mixing it into other ingredients. (While rapid rise you just mix in). It will also require a longer raise time. So you would combine warmed milk with active dry yeast and a teaspoon of sugar in the bowl with electric mixer. Then let it bloom for 15 minutes. Then you can add remaining ingredients per recipe. So the process is lightly different.
I’m so excited to try this after reading the comments. The recipe seems easy to make. I love buying potato bread. So I appreciate making it at home myself. It feels good to know what exactly is being used instead of store bought stuff with ingredients I can’t even pronounce! I recently found out that L-cysteine is in a lot of bread in stores. That is amino acid to promote long shelf life. It comes from human hair!! Just thought I’d share because I was ignorant of this. The pictures look like the rolls are fluffy and delicious ! Look forward to trying this. Thank you for sharing. Shalom
I hope you enjoy them, Roxanne!
So fun! It’s basically a simple addition of mashed potatoes but the texture is really so much softer!
I am so happy you like it, Lori!
Did you use a dough hook or paddle attachment to mix the dough? From the photo it looks like the paddle.
I use the paddle because it just needed a fast mix so I didn’t use the dough hook.
Can you make these day before and re-heat day of?
Hi Sandra,
Theoretically, you an always make dinner rolls but they are never as good as fresh from the oven. Another thing you can do is prepare the dough ahead of time, like the afternoon before, and pull it out of the fridge the next day. Form rolls and let them rest/raise for about 30 minutes before baking.
I hope you enjoy them!
Potato Rolls are my favorite!
Thank you so much, Karly!
I’m drooling looking at all your delicious bread & roll recipes! These potato rolls look perfect…I so rarely make my own bread except for quick bread. These are on my list!
Thank you so much, Cathy!! I hope you get to make them, so worth the time!
You’re right, Lyuba. These are unbelievable…unbelievably good looking too! I love a fresh homemade bread and you have a winner here. Pinned and sharing on FB and G+! Have a great week, Lyuba!
Thank you for your sweet comment, Julie!!
OOOH, I cannot wait to try these Lyuba! I have heard of potato rolls, but I have never tried them…ever! I really need to get out more. 😉 They looks wonderfully fluffy!
You must 🙂 won’t be sorry!
Thank you, Lisa!
You’ve had a crazy busy week, girl. I seriously do not know how you do it all.
But, I’m all over these rolls right now! I’m loving the texture…the color…ummm, everything! I must put these on my Thanksgiving list (along with Krista’s green beans). It’s all about the homemade rolls for the special dinner…and every dinner, actually. (=
PS…loving the Chrevron canvas/fabric! (You placed it so perfectly!)
You really need to try them! They are so soft, fluffy and delicious!
Thank you, Gloria!
I have never made potato rolls before. I have made a lot of bread but never these! Gonna have to now! They look perfect! Glad you got your work!
You’re got to try them, Tahny! They are delicious!