
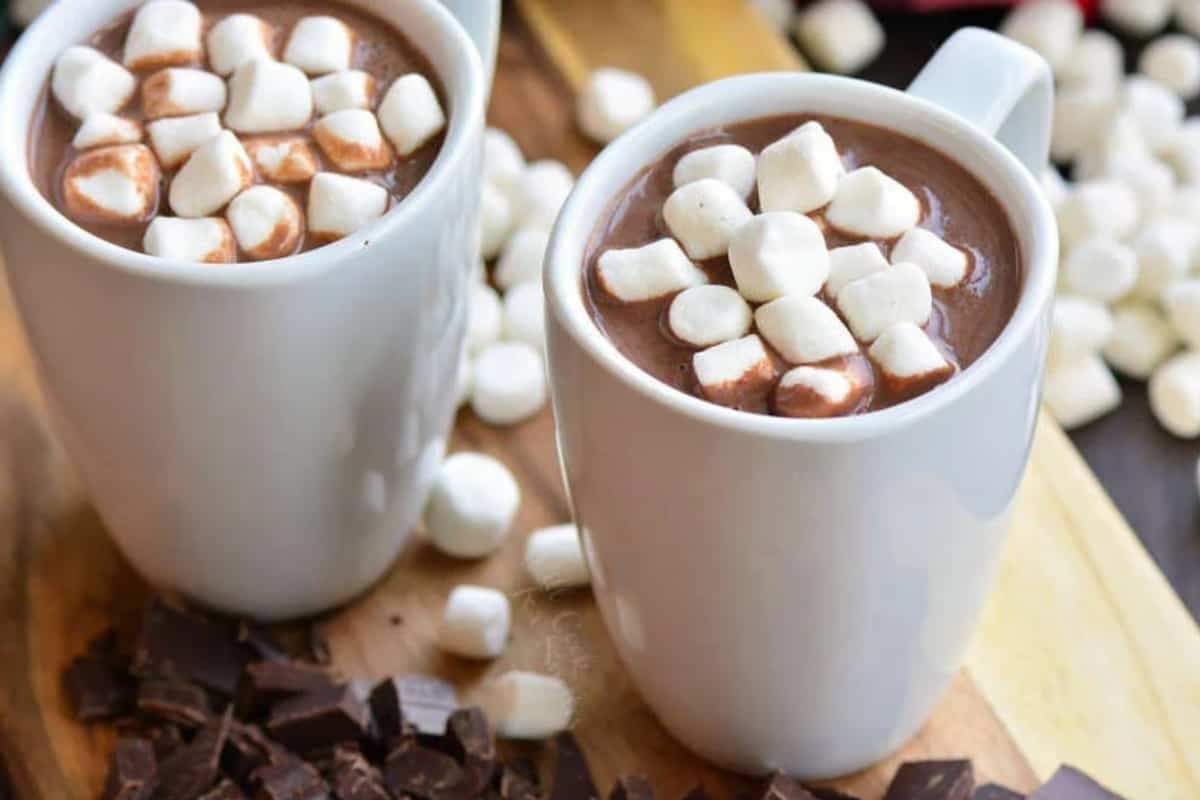
The Best Hot Chocolate Recipe
Featured Comment
This is delicious! You must try it! ~Donna Neal
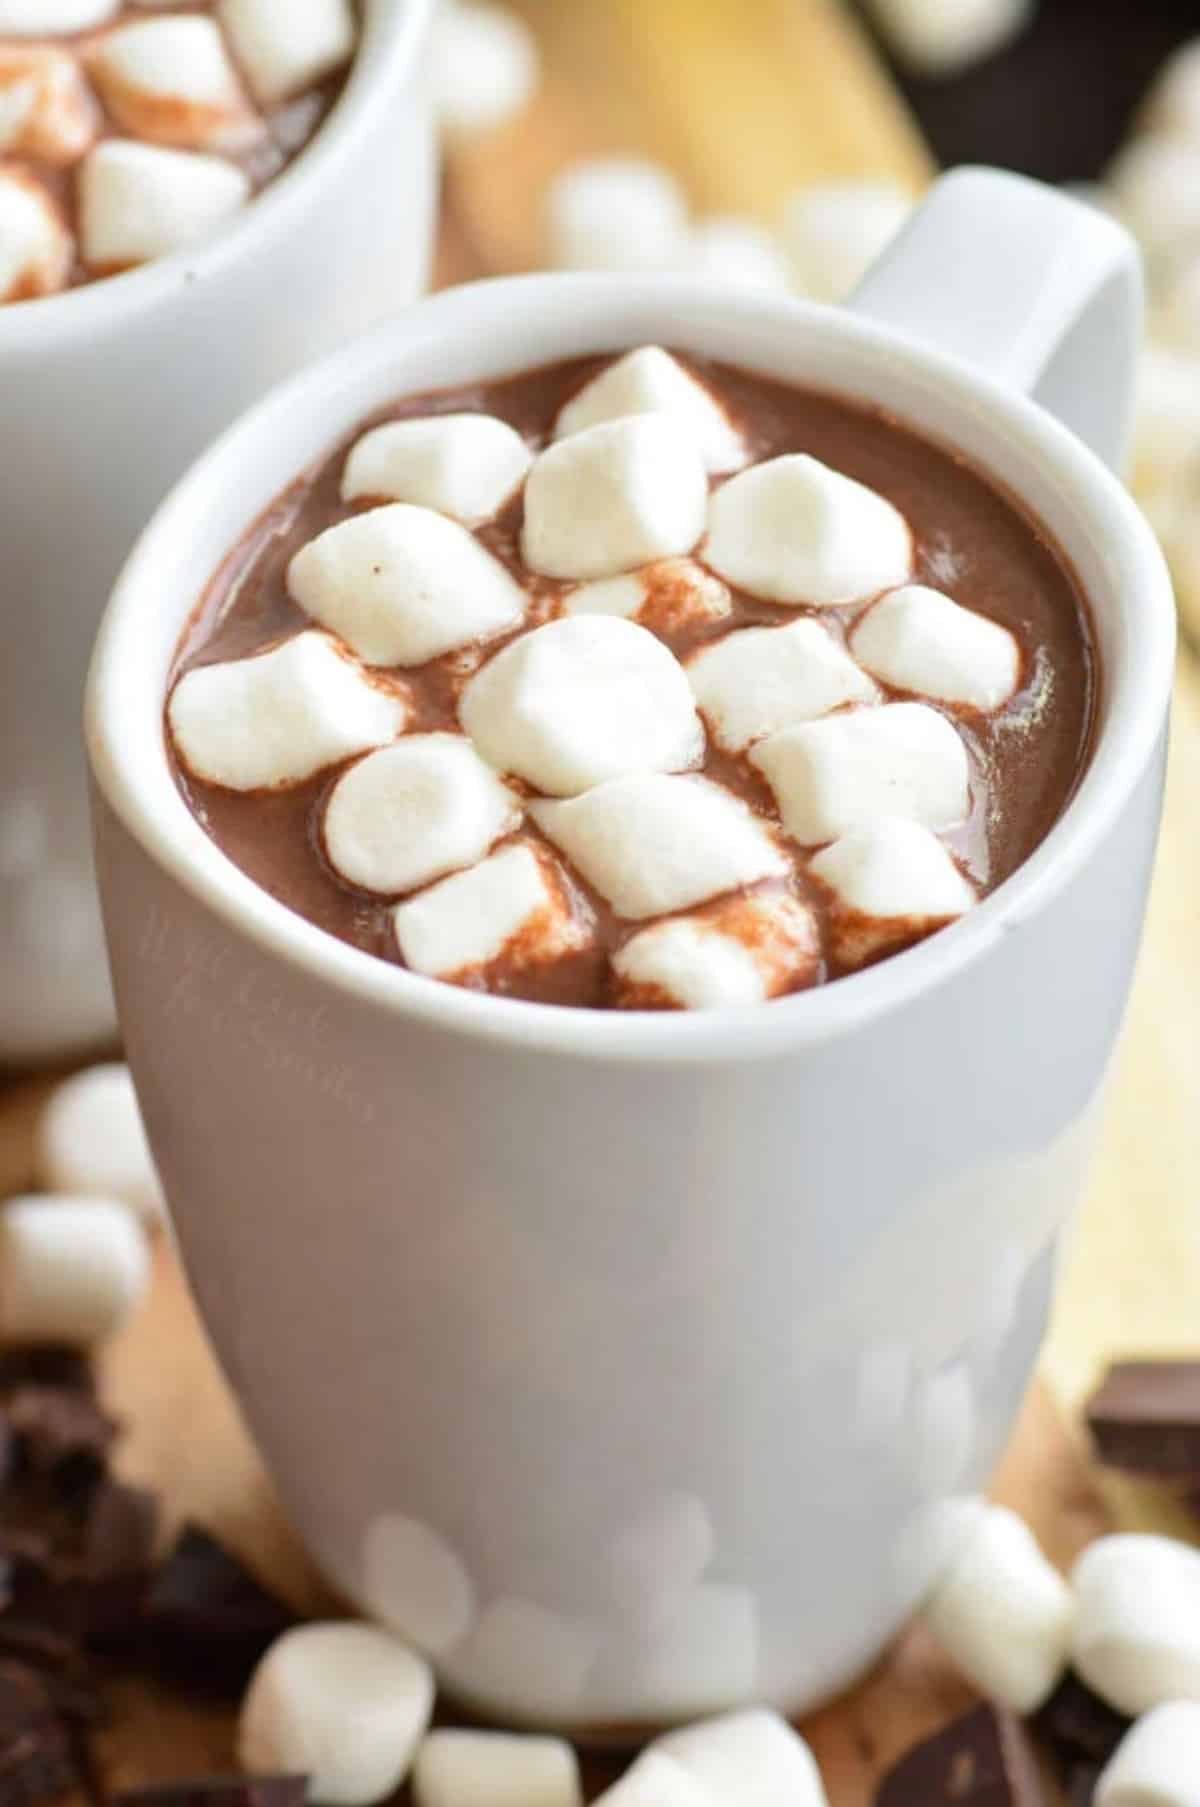
It’s official – I’ve done it. I’ve created the very best cup of hot chocolate! After testing more than a dozen versions with different chocolate ratios, milks, and techniques, I refined this recipe to achieve the perfect balance of richness, sweetness, and creaminess.
I’ve had my family and friends test several variations and vote on each one. (Not that I had to convince anyone to taste test homemade hot chocolate.) After the first few rounds, we immediately discarded ones made with just cocoa powder and ones made with higher ratio of chocolate to milk.
Using just cocoa powder just did not give the drink any body or richness, and it always tasted a little bit grainy. The cups that featured more chocolate than milk were way too thick! I felt like I was sipping on chocolate syrup.
So after testing out all the recipes, the best results came from a combination of chopped chocolate and cocoa powder. Both provide a little something to make the drink pleasant with just the right thickness. Bittersweet chocolate was the best tasting chocolate to use.
After trying a few different milks and a combination of milk and cream, 2% milk and whole milk without any cream yielded the best flavor and texture. The result is a little lighter with 2% milk and chocolate comes through strong and smooth. Whole milk makes a more creamy hot chocolate and fuller body.
Key Ingredients and Substitutions
Milk – as I mentioned, through rigorous testing, we found that 2% milk actually works the best but if you want to have a riches and creamier hot chocolate, go with whole milk.
Chocolate – for a well balanced cup of hot cocoa that is rich in chocolate flavor, I recommend using bittersweet chocolate or darker chocolate if you prefer. If you’re really not into darker chocolate and feel strongly against it, use milk chocolate.
Difference in cocoa powder:
- Dutch-processed cocoa powder is treated with an alkaline solution to neutralize its natural acidity. This gives it a darker color, milder flavor, and makes it smoother and less bitter. It doesn’t react with baking soda because it’s not acidic. Great for hot chocolate!
- Natural (regular) cocoa powder is untreated, so it’s lighter in color, sharper and more intense in flavor, and naturally acidic. This acidity can affect reactions in baking, but for hot chocolate it mainly impacts flavor—natural cocoa tastes brighter and more robust, while Dutch tastes deeper and smoother.
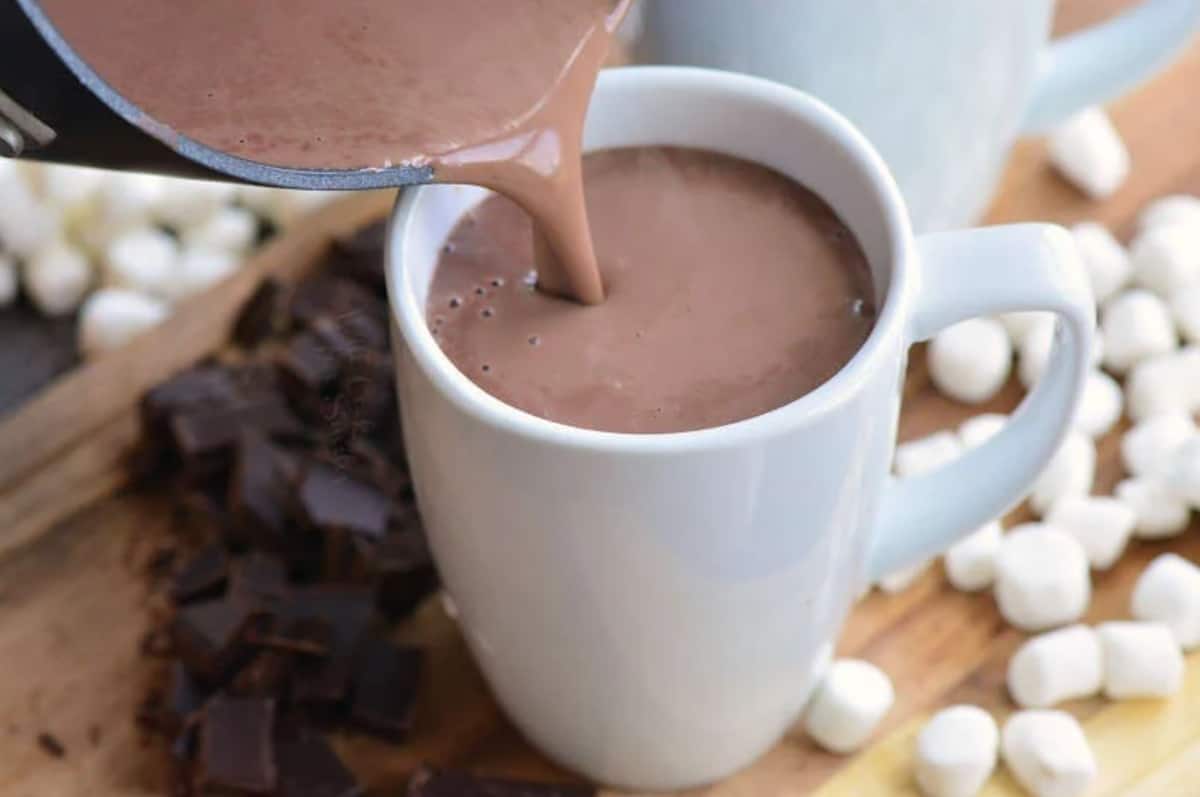
How to Make Hot Chocolate
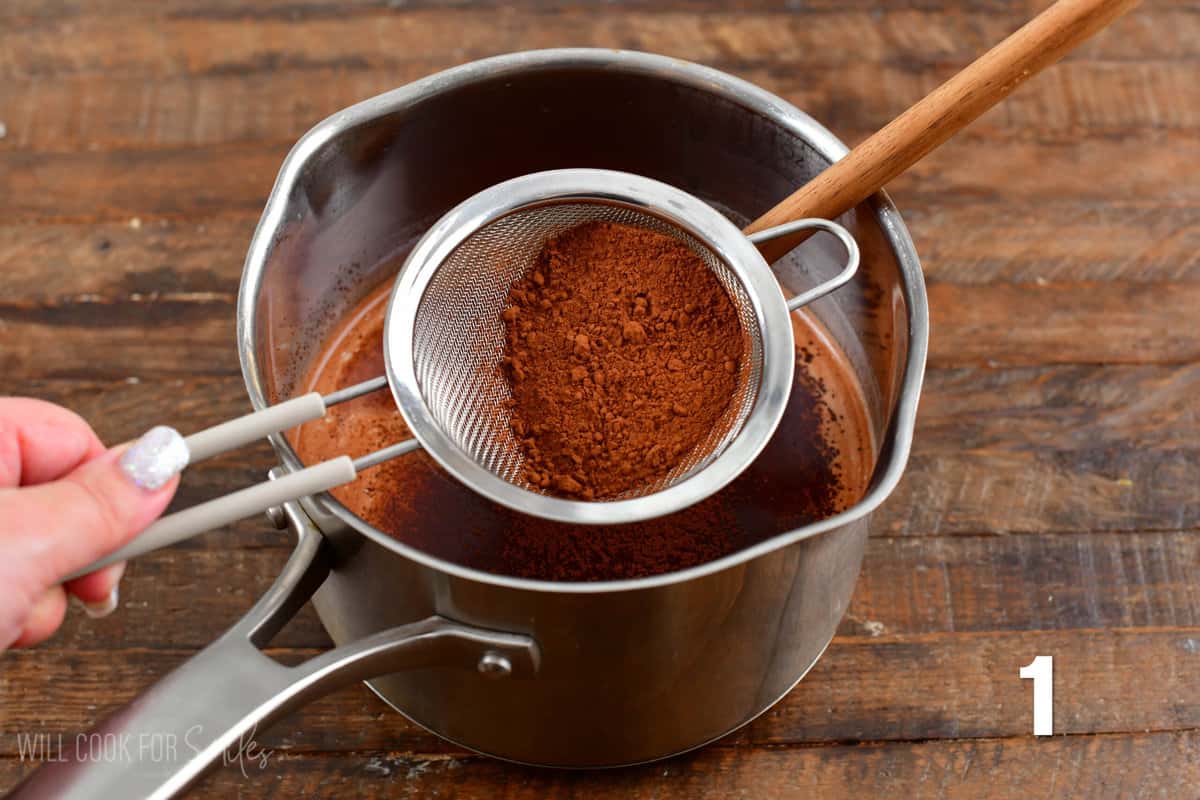
Combine the milk and cocoa powder. Set the stove heat to medium (or a little below if you stove runs hot) and heat up milk in a sauce pot until hot but not simmering. Heat until steam rises and small bubbles start to form around the edges—not a full simmer. Lower the heat to medium low! Use a fine strainer or a mesh sugar shaker to sift in the cocoa powder to ensure that there are no clumps.
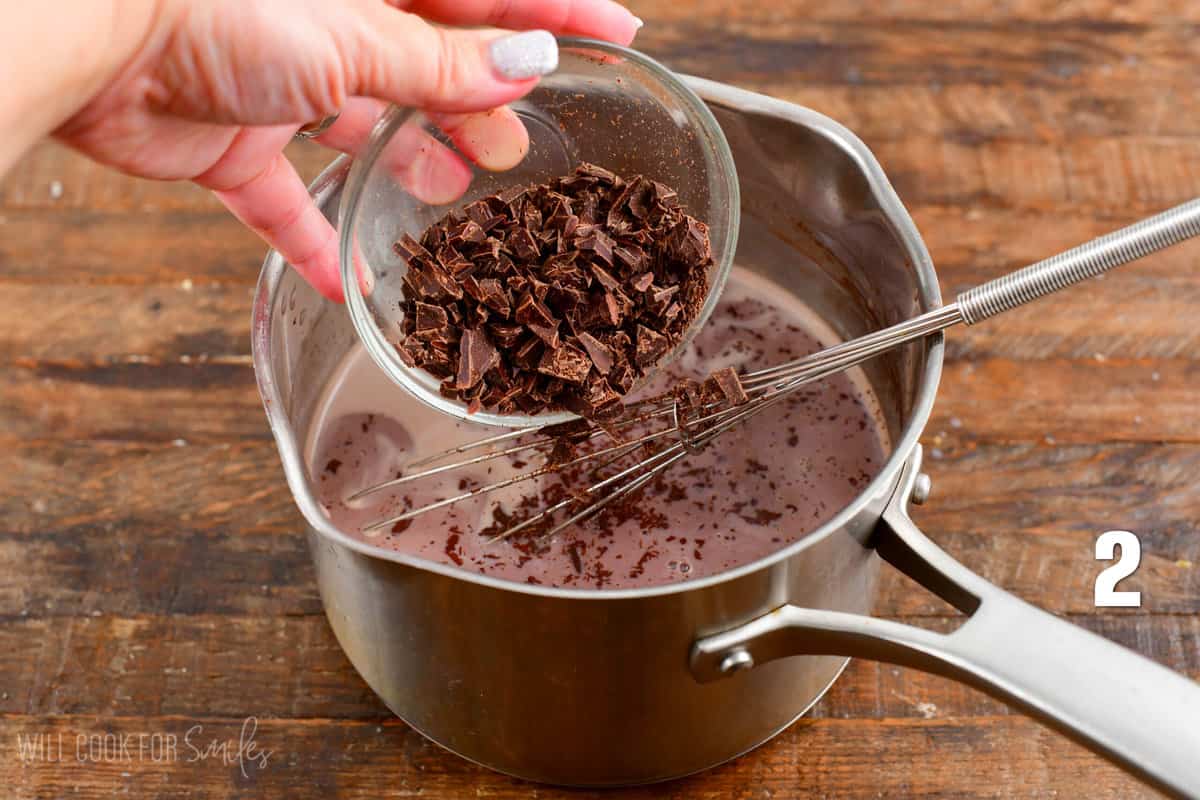
Add chocolate. Make sure you chop the chocolate before starting to make the cocoa and chop it into small pieces! The smaller the pieces, the faster it will melt. Whisk the chopped chocolate bar into the hot milk until smooth.

Add final ingredients. Mix in the vanilla extract and sugar. Vanilla is best to add at the end in recipes like hot chocolate, pudding, and custards to preserve the delicate flavor and make sure it doesn’t evaporate with higher heat.
Stir and cook. Continue to cook over the lower heat for just a few minutes. Remember to slowly stir from time to time.
Tips for the Best Hot Chocolate
Never boil milk! Make sure to cook your hot cocoa over medium to medium-low heat, not higher. Don’t let the milk boil or it will curdle.
Don’t try to speed up the process. Give you milk about 10-15 minutes to cook on medium-low heat after you’ve added all ingredients. This will help cocoa powder incorporate best for a smooth hot chocolate.
Don’t be scared of milk skin (lactoderm). It forms on top of milk when the liquids evaporate and proteins coagulate. Most people find it unpleasant in texture, but it’s harmless and you can simply stir it back into the drink. To prevent milk skin from forming, make sure to slowly stir the hot chocolate as it cooks, and often. Stir it often as it cools as well.
Milk alternatives – you can easily use lactose free milk if you need to or dairy free milk. To use dairy free milk alternative, I recommend using oat milk.
Recipe FAQs
What is the difference between natural and Dutch processed cocoa powder?
Essentially, cocoa powder is cocoa beans that are dried, fermented, roasted, and ground into the powder. Natural cocoa powder is lighter in color, has a higher acidity level and has a noticeably more bitter, rich chocolate flavor. It’s great for baking chocolate cakes, brownies, cookies, and many other baked recipes.
Dutch cocoa powder is darker and deeper in color and has lower acidity because it’s alkalized with the Dutching process. The key difference comes in during baking, because you will need to know which leavener to use. Since we are making hot chocolate and not baking, it won’t matter much which one you use.
How to keep hot chocolate warm?
Transfer the cooked cocoa into a Crockpot and keep it warm on the warm setting during the party/gathering. Remember, add the toppings to each cup when serving – don’t just toss them into the Crockpot. If you see a darker coating on the surface of hot chocolate, don’t worry. Just give it a good stir to mix it in. It’s actually best to give the cocoa a good stir before getting each serving out.
Storing and Reheating Hot Chocolate
You can store leftover hot chocolate in a glass jar with a lid or any airtight food storage container. Make sure to keep it refrigerated. Properly stored, it should be good for 2-3 days.
To reheat hot chocolate, transfer it into a small sauce pot and heat through just until hot. Make sure to reheat it slowly over medium-low heat.
More Hot Chocolate Recipes
If you love this classic version, you’ll enjoy exploring some of my other hot chocolate favorites. For a festive twist, try my Peppermint White Hot Chocolate or the cozy, warming flavor of Caramel Spicy Hot Chocolate. If you’re craving something extra indulgent, Slow Cooker Butterscotch Hot Chocolate is always crowd-pleasers. Adults can also enjoy a richer, more decadent mug with options like Red Wine Hot Chocolate, Spiked Nutella Hot Chocolate, or classic Spiked Hot Chocolate. Each recipe offers its own spin on a winter favorite, so you can pick the perfect cup for any mood or occasion.
DID YOU MAKE THIS RECIPE? PLEASE leave a 🌟 star rating! Let me know how you liked it by leaving the 📝 comment below or share and tag me on social media @willcookforsmiles. DON’T FORGET to subscribe to my newsletter!
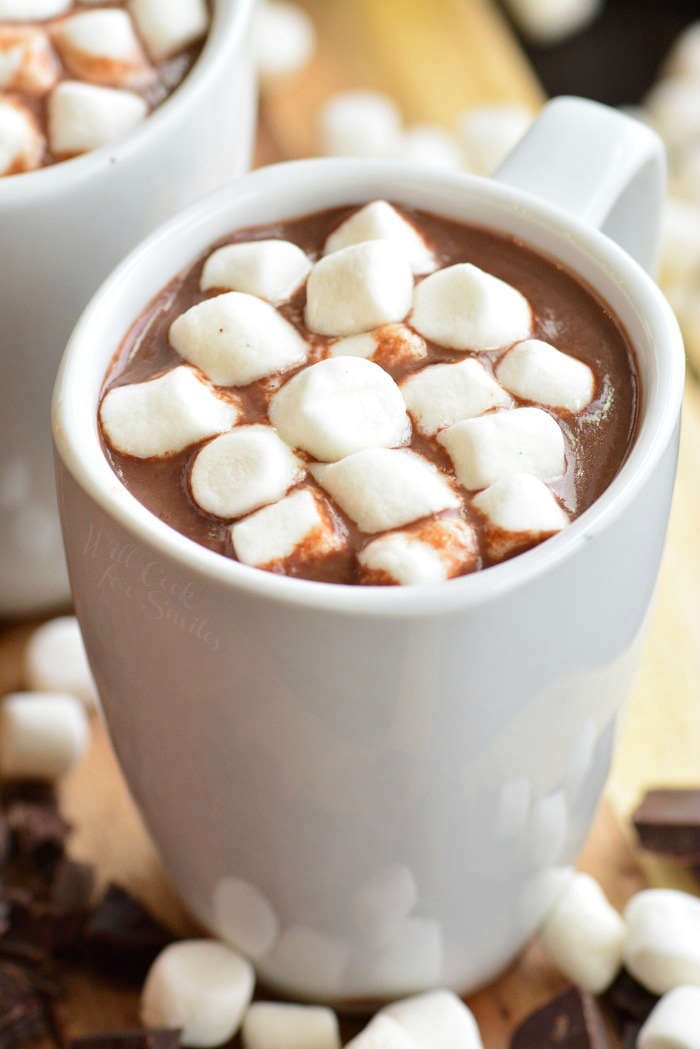
The Best Homemade Hot Chocolate Recipe
Ingredients
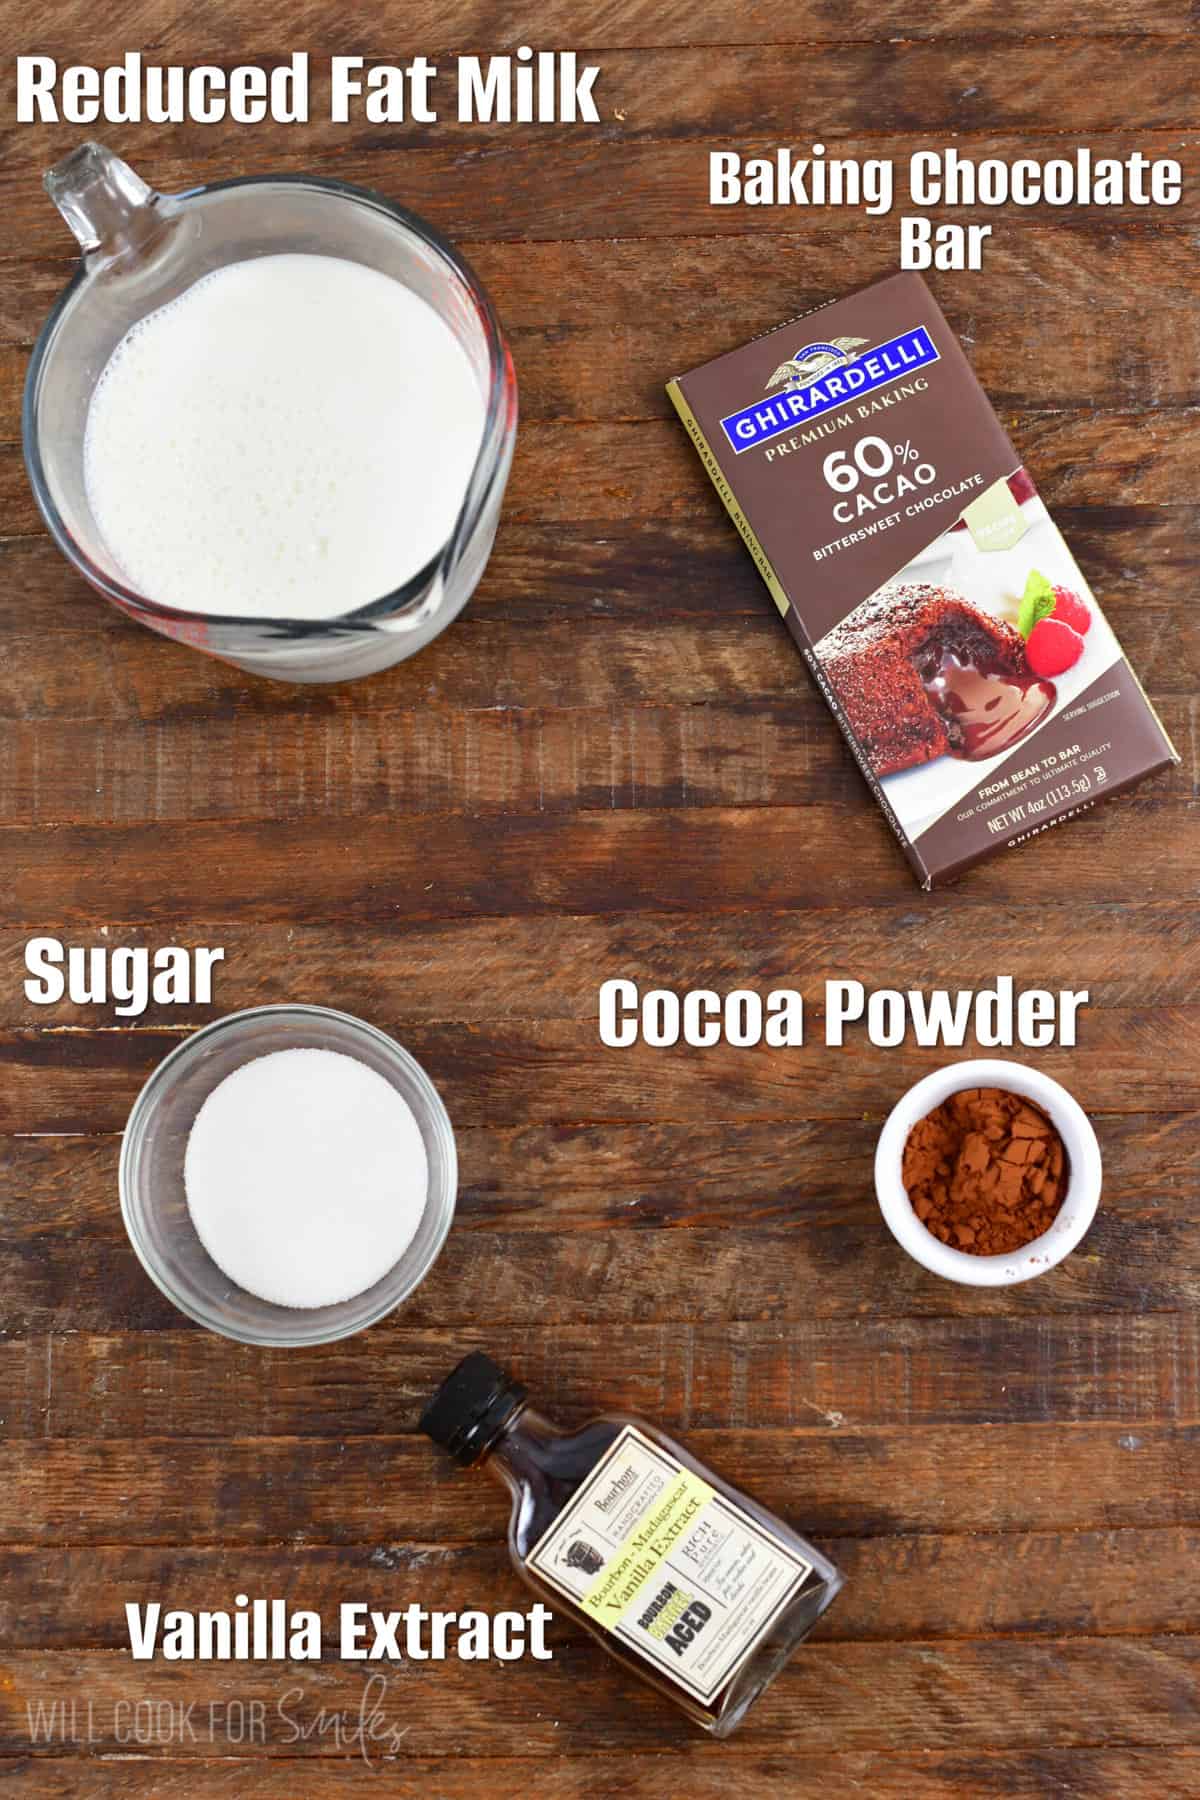
- 3 cups 2% milk (may also use whole milk)
- 4 oz bittersweet baking chocolate bar chopped
- 2 tbsp unsweetened cocoa powder
- 1/4 cup white granulated sugar
- 1 tsp vanilla extract
Instructions
- Chop the chocolate bar into small pieces ( the smaller the pieces, that easier to melt).
- Heat the milk in a saucepan over medium heat until it’s steaming and tiny bubbles start to form around the edges (about 3–4 minutes). Do not boil — boiling can cause curdling.
- Use a fine strainer or a mesh sugar shaker to sift in the cocoa powder to ensure that there are no clumps.
- Whisk in the cocoa powder and make sure to break up any tiny clumps if they form. Add chocolate and sugar. Slowly continue whisking as chocolate is melts and incorporates into milk.
- Lower the heat to medium low.
- Continue to cook for a few minutes. Make sure to slowly stir from time to time. It should look velvety and coat the back of a spoon. Add vanilla extract before taking off heat.
- Take off heat and serve.
Video
Notes
- Milk alternatives – you can easily use lactose free milk if you need to or dairy free milk. To use dairy free milk alternative, I recommend using oat milk.
- Chocolate Percentage: Bittersweet chocolate between 60–70% cocoa melts smoothly and creates the richest flavor. If using semisweet (50–60%), reduce the added sugar slightly. For very dark chocolate (70%+), add 1–2 teaspoons more sugar to balance bitterness.
- Never boil milk! Make sure to cook your hot chocolate over medium to medium-low heat, not higher. Don’t let the milk boil or it will curdle.
- Don’t try to speed up the process. Give you milk about 10-15 minutes to cook on medium-low heat after you’ve added all ingredients. This will help cocoa powder incorporate best for a smooth hot chocolate.
- Don’t be scared of milk skin (lactoderm). It forms on top of milk when the liquids evaporate and proteins coagulate. Most people find it unpleasant in texture, but it’s harmless and you can simply stir it back into the hot chocolate. To prevent milk skin from forming, make sure to slowly stir the hot chocolate as it cooks, and often. Stir it often as it cools as well.
- Easy to double: This hot chocolate recipe serves 4, but you can easily adjust it to as much as you need. You can double or triple this recipe, especially if you’re preparing for a party.
Nutrition
Originally published on Will Cook For Smiles in November, 2019.
Would you like to save this recipe?
Categories:
Chocolate Recipes, Christmas Baking Recipes, Christmas Dinner Recipes, Drink Recipes, Fall Recipes, Gluten Free Recipes, Most Popular Recipes, Thanksgiving Dinner Recipes,All images and text ©Lyubov Brooke for ©Will Cook For Smiles. Please do not use my images without prior permission. If using my posts in collections and features, please link back to this post for the recipe.
Disclaimer: Nutrition information shown is not guaranteed to be 100% accurate as most ingredients and brands have variations.


This is delicious! You must try it!
So glad you liked it, Dona! 🙂
My husband loved this hot chocolate. I decreased the milk to 2 1/2 cups (.1 3/4 of 2% milk + 3/4 c of half & half ).
Wondrtful and I loved it. The grand kids loved it
I am so happy to hear that, Charlene!